Vans are a popular choice for their durability, style, and versatility, but over time, even the most robust footwear can develop holes due to regular wear and tear. While holes can be frustrating, they don’t mean the end of your favorite pair of shoes.
With a few tools and simple techniques, you can effectively patch up the damage and extend the life of your Vans. This guide on how to fix holes in vans will walk you through the steps to repair holes in your Vans, helping you save money and reduce waste.
Common Types of Holes in Vans
Toe Box Holes
These are some of the most common holes that develop due to the constant pressure and friction exerted on the toe area. Skaters and individuals involved in high-motion activities often experience these holes from repeated stress.
Sidewall Tears
The sidewalls of Vans can weaken over time, leading to small tears or holes. These often occur from side impacts, scraping against hard surfaces, or general wear during everyday use.
Sole Separation or Holes
The soles of Vans, especially the waffle-patterned ones, can wear thin or develop punctures. This usually happens when the shoes are used on rough terrains or when the soles are frequently exposed to water and moisture.
Heel Damage
Over time, the constant rubbing of your foot in the heel area can lead to wear, resulting in holes or thinning material. This type of damage is common for those who frequently slip their shoes on and off without unfastening them.
Identifying the type of hole your Vans have will help determine the most effective repair method for restoring their functionality and appearance.
Tools and Materials Needed
- Fabric or Shoe Glue (E.g., Shoe Goo, Gorilla Glue)
- Patch Material (Canvas, Denim, Mesh, or Shoe Patch Kit)
- Scissors or Fabric Cutter
- Toothpick or Small Applicator for Glue
- Clamp or Heavy Book (for Pressing)
- Needle and Heavy-duty Thread (Optional for Sewing)
- Sandpaper (for Prepping Rubber Sole)
- Clean Cloth and Rubbing Alcohol (for Cleaning Area)
8 Step-by-Step Guidelines on How to Fix Holes in Vans
Step 1: Cut Patch Material to Size
Begin by preparing the patch material that will cover the hole. Place the patch material over the damaged area and use a pencil or marker to outline the size needed. Make sure the patch is slightly larger than the hole to ensure full coverage and stability.
Using scissors or a fabric cutter, carefully cut the patch material along the outline. Check to see that the patch fits securely over the hole without extending too far onto surrounding areas, which could make it harder to adhere properly.

Step 2: Prep Rubber Sole (Optional)
If the damaged area is on a rubber sole, it is important to prepare the surface before applying the patch. Begin by cleaning the area thoroughly with a cloth and rubbing alcohol to remove any dirt, debris, or oils.
This ensures proper adhesion for the patch material. Once the area is clean, use fine-grit sandpaper to gently roughen the surface around the hole. This added texture helps the adhesive bond more effectively to the sole. Wipe away any dust created during sanding, ensuring the area is clean and ready for the next step.
Step 3: Apply the Adhesive
After preparing the area, it’s time to apply the adhesive. Choose a high-quality shoe glue that is designed for durability and flexibility. Using the applicator provided or a small brush, carefully apply a thin, even layer of adhesive around the edges of the hole and within the prepared area.
Be sure to work quickly, as some adhesives begin to set rapidly. Smooth out any excess glue to create a flat and consistent surface, ensuring a secure bond once the patch is applied. Allow the adhesive to sit for a few moments as directed by the product instructions before continuing to the next step.
Step 4: Apply Adhesive
Carefully take the patch and position it over the prepared area, aligning it with the adhesive-coated surface. Press down firmly across the entire patch, starting from the center and working outward to remove any air bubbles and ensure full contact with the adhesive.
Use a tool or roller if necessary to apply even pressure, enhancing the bond. Once the patch is securely in place, refer to the adhesive product’s instructions for curing time, and avoid disturbing the area until the adhesive has fully set. This step is crucial to achieving a durable and reliable repair.
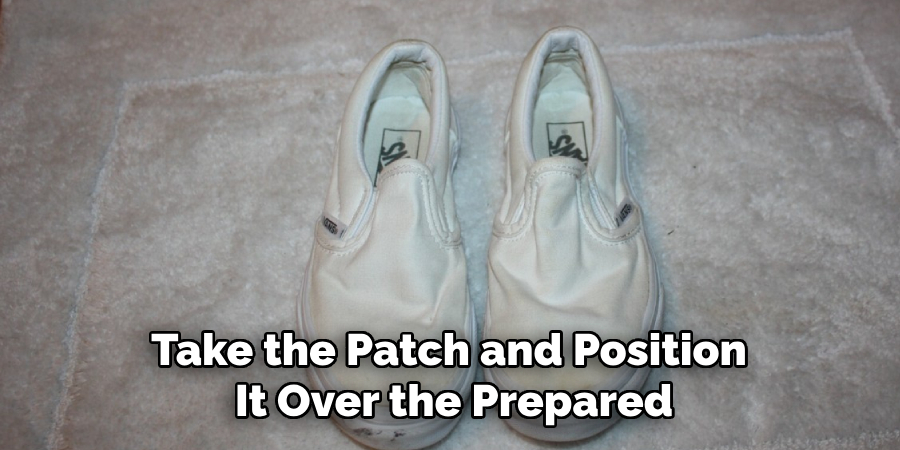
Step 5: Place Patch Material
Carefully position the patch material over the prepared area, aligning it precisely with the dimensions of the repair site. Ensure that the edges of the patch fully cover the damaged area and slightly overlap onto the surrounding surface for maximum coverage and strength.
Double-check the alignment before proceeding, as adjustments may be difficult once the adhesive begins to set. Taking the time to position the patch accurately will enhance both the appearance and the effectiveness of the repair.
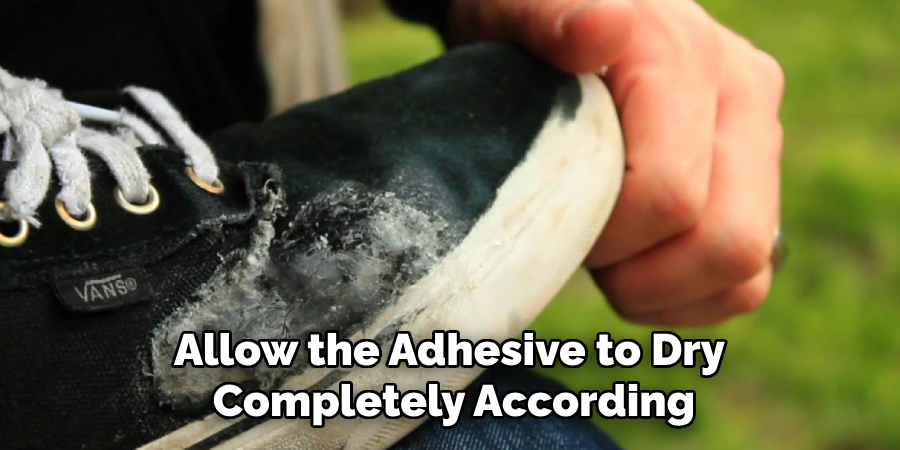
Step 6: Let Dry
After the patch is securely positioned, allow the adhesive to dry completely according to the manufacturer’s instructions. Drying times may vary depending on the type of adhesive used and environmental conditions, such as temperature and humidity.
Avoid applying any pressure or disturbing the patch during this period to ensure a strong and lasting bond. Waiting for the adhesive to fully cure is essential for the repair’s durability and effectiveness.
Step 7: Trim Excess Material (optional)
Once the adhesive has fully dried and the patch is firmly in place, you may choose to carefully trim any excess material around the edges of the patch. Use a sharp utility knife or scissors for precise trimming, ensuring you do not cut into the bonded area or compromise the repair.
This step helps achieve a cleaner, more professional-looking finish while minimizing the risk of loose edges catching on surfaces. Trimming is optional and should only be done if it will not affect the integrity of the repair.
Step 8: Sand and Paint (Optional)
If desired, you can sand the surface of the patch to create a smoother finish and blend it seamlessly with the surrounding area. Use fine-grit sandpaper and work gently to avoid damaging the repair. Once the patch is sanded to your satisfaction, wipe away any dust with a clean, damp cloth.
For an even more polished look, consider applying a coat of paint that matches the original surface. Use a suitable primer if necessary, followed by paint that adheres well to the material. Allow the paint to dry completely before handling the repaired item. This optional step enhances the repair’s appearance and may offer added protection.
Following these steps on how to fix holes in vans, sneakers, or other canvas shoes can help you extend the life of your favorite footwear. Learning a few simple DIY repair techniques can save you time and money in the long run. Plus, it’s always satisfying to see your shoes looking like new again.
Additional Tips
- It’s always a good idea to test out your patching skills on a less noticeable area of your shoe first, such as the inside or back of the heel.
- If you don’t have fabric glue, you can also use a strong adhesive like super glue or hot glue. Just be careful not to get any on your fingers or other areas of the shoe.
- It’s best to let your repaired shoes dry overnight before wearing them again to ensure that the patch has fully adhered and will hold up during regular wear.
- For more severe holes or tears, you may need to replace the entire section of canvas instead of just patching it. This can be done by cutting out the damaged area and sewing in a new piece of canvas using a needle and thread.
- To prevent future holes or tears, consider using a shoe protector spray on your canvas shoes. This will add an extra layer of protection against water and dirt.
- If your canvas shoes have become discolored or stained, you can try spot cleaning them with a mixture of mild soap and water. Gently scrub the affected area and then let it air dry.
- For tougher stains, you may need to use a stain remover specifically designed for canvas material. Follow the instructions carefully and always test on a small, inconspicuous area first.
Frequently Asked Questions
Q1: Can I Machine Wash My Canvas Shoes?
A1: It is not recommended to machine wash your canvas shoes as it can cause damage to the material and shape of the shoe. Hand washing or spot cleaning is a safer and more effective method.
Q2: How Often Should I Clean My Canvas Shoes?
A2: It depends on how frequently you wear them and the conditions in which they are worn. In general, it is good practice to clean your canvas shoes every 1-2 weeks or after they have been exposed to dirt, water, or stains. This will help maintain their appearance and prolong their lifespan.
Q3: Is There a Specific Way to Clean Canvas Shoes?
A3: Yes, there are specific steps you can follow to effectively clean your canvas shoes without causing damage. First, remove any excess dirt or debris from the surface of the shoe using a soft-bristled brush or cloth. Then, mix mild detergent with warm water and use a clean cloth to gently scrub the shoes. Rinse off the soap with clean water and let them air dry in a well-ventilated area.
Conclusion
Proper care and maintenance are essential to keep your canvas shoes looking their best and lasting longer. By following simple cleaning steps and using the right methods on how to fix holes in vans, you can ensure your shoes remain in great condition while preventing unnecessary wear and tear.
With consistent effort, your favorite canvas shoes can stay fresh and stylish for many adventures to come.