Are you experiencing problems with your GE refrigerator not cooling properly? This can be a frustrating and urgent issue, especially if you store perishable items inside.
A refrigerator that isn’t cooling can quickly become a significant problem, risking food spoilage and causing unnecessary stress. Several common issues might be the cause of this malfunction in GE refrigerators. Whether it’s a problem with the thermostat, a blocked air vent, or a defect in the compressor, identifying and addressing these issues can restore your refrigerator to its optimal performance.
This guide will show you how to fix GE refrigerator not cooling, ensuring your GE refrigerator runs efficiently and effectively. With a few simple checks and adjustments, you could avoid costly repairs or replacements and maintain the freshness of your groceries.
What Will You Need?
Before attempting any fixes, gathering the necessary tools and materials is essential. Here are some items you will need to fix your GE refrigerator:
- A thermometer (preferably a refrigerator thermometer)
- Screwdriver
- Vacuum cleaner with hose attachment
- Replacement parts (if required)
Once you have these items, you can begin troubleshooting your GE refrigerator. It’s crucial to note that if your appliance is still under warranty, it’s best to contact an authorized service technician for assistance.
10 Easy Steps on How to Fix GE Refrigerator Not Cooling
Step 1. Check the Thermostat Setting
Ensure that the thermostat is set to the correct temperature. GE refrigerators typically have a recommended temperature setting between 37°F (3°C) and 40°F (4°C) for the refrigerator compartment and 0°F (-18°C) for the freezer. Sometimes, the thermostat might get inadvertently adjusted to a higher temperature, which could prevent your refrigerator from cooling adequately.
Locate the temperature control dial, usually inside the refrigerator compartment or on the display panel. Adjust the dial to the recommended setting and wait for several hours for the temperature to stabilize. If the refrigerator still isn’t cooling correctly after adjusting the thermostat, it might indicate a malfunction with the thermostat itself, which would necessitate a replacement.

Step 2. Inspect the Door Seals
The door seals, or gaskets, are crucial to maintaining the cold air inside your refrigerator. When these seals become worn, dirty, or damaged, they can allow cold air to escape and warm air to enter, compromising the cooling efficiency. To inspect the door seals, start by visually examining them for any tears or deformities. You can also perform the dollar-bill test: close the refrigerator door over a dollar bill and try pulling it out.
If the bill slides out quickly, it might be time to clean or replace the seals. Wipe them down with warm water and mild detergent to remove any debris or buildup. If the seals are severely damaged, consider replacing them to ensure an airtight seal.
Step 3. Ensure Adequate Airflow Inside the Refrigerator
Proper airflow is essential for efficient cooling in your GE refrigerator. Overpacking the refrigerator or blocking internal vents can restrict airflow, resulting in uneven cooling or warmth. Begin by checking items’ placement in the refrigerator and freezer compartments. Ensure that there is at least a one-inch gap between the items and the walls of the refrigerator to allow for proper air circulation.
Identify and clear any obstructions around the air vents at the back, sides, or top of the compartment. Rearrange the contents if necessary to promote an even distribution of cool air.
Step 4. Clean the Condenser Coils
The condenser coils are responsible for dispersing heat from the refrigerator, and when they are coated with dust and debris, the cooling efficiency can be significantly impaired. To clean the condenser coils, first unplug your refrigerator to ensure safety. Typically, these coils are located at the unit’s back or bottom. Use a vacuum cleaner with a hose attachment to remove any loose dirt and dust from the coils.
Then, gently brush off any remaining buildup with a coil cleaning brush specifically designed for this purpose. Keeping the condenser coils clean will help your refrigerator run efficiently and reduce the risk of it not cooling properly.
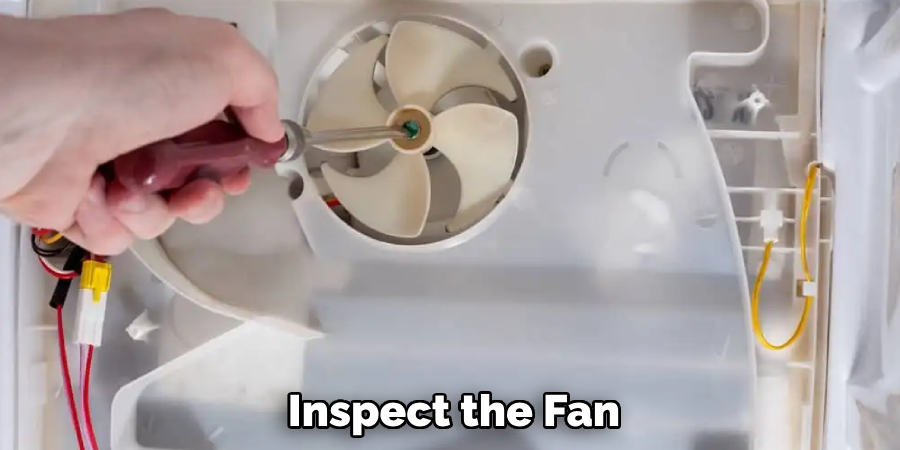
Step 5. Check the Evaporator Fan
The evaporator fan is critical in circulating cold air throughout the refrigerator compartments. If this fan fails to operate, the cooling efficiency of your refrigerator may be compromised. Listen for the fan noise, which should activate when you open the fridge door. It may be faulty if you don’t hear the fan running or if it sounds irregular. To access the evaporator fan, unplug your refrigerator for safety and locate the fan, typically found in the freezer compartment behind the rear panel.
Inspect the fan for any visible obstructions or damage. If the fan blades are obstructed, remove any debris. It may require replacement if the fan appears damaged or doesn’t spin freely. Consult your GE refrigerator’s manual for instructions on accessing and replacing the evaporator fan.
Step 6. Test the Defrost Timer
The defrost timer controls the defrost cycle of your GE refrigerator, ensuring that frost does not accumulate excessively within the freezer compartment. Malfunctioning of this component can lead to ice build-up, which can block the airflow and hinder the cooling performance. To test the defrost timer, locate it typically behind the refrigerator’s kick plate or within the control panel.
Turn the timer manually using a screwdriver until you hear a click that indicates the appliance has entered the defrost mode. If the timer advances out of the defrost cycle, it’s likely functioning correctly. However, if your refrigerator remains stuck in defrost mode, the timer may be defective and require replacement. Refer to your GE refrigerator’s manual for guidance on testing and replacing the defrost timer, or consider seeking professional assistance for this more challenging procedure.
Step 7. Verify the Temperature Control Settings
Ensuring that the temperature control settings are accurate is vital for maintaining the refrigerator’s cooling efficiency. It’s not uncommon for these settings to be accidentally adjusted, leading to improper cooling. Locate the temperature controls, typically inside the refrigerator or freezer compartments. The recommended temperature setting for a GE refrigerator is 37°F (3°C) for the refrigerator compartment and 0°F (-18°C) for the freezer.
Set the temperature controls to these standard settings and wait 24 hours for the changes to take effect. If the refrigerator still isn’t cooling correctly, it may be necessary to recalibrate the controls or consult a professional technician. Always refer to your GE refrigerator’s manual for specific details on adjusting temperature settings for your model.
Step 8. Inspect the Door Gaskets
Door gaskets are the rubber seals around the edges of your refrigerator and freezer doors. They play a crucial role in maintaining an airtight seal, preventing warm air from entering and cool air from escaping. To ensure they function correctly, regularly inspect the gaskets for any signs of tears, cracks, or deformities. An easy way to test the effectiveness of the door gaskets is to close the door on a thin sheet of paper or a dollar bill; if you can easily pull it out, the gasket may not be sealing correctly.
In the event of any damage, cleaning the gaskets with mild soap and warm water might be necessary to remove any debris or food residue that could be affecting their performance. If cleaning does not resolve the issue, consider replacing the gasket. Consult your GE refrigerator’s manual for guidance on replacing door gaskets, as proper sealing is essential for efficient cooling and energy conservation.

Step 9. Check the Main Control Board
The main control board acts as the brain of your GE refrigerator, coordinating and managing all the electrical components to ensure efficient operation. If your refrigerator is not cooling correctly despite checking all other elements, there may be an issue with the control board. Accessing the control board typically requires removing the panel at the back of the refrigerator.
Before doing so, unplug the appliance for safety. Inspect the board for any visible signs of damage, such as burnt connections or broken wiring. If damage is evident or if you suspect the control board is malfunctioning, it might be necessary to replace it. Due to the complexity involved, consider consulting a professional technician for diagnosis and replacement.
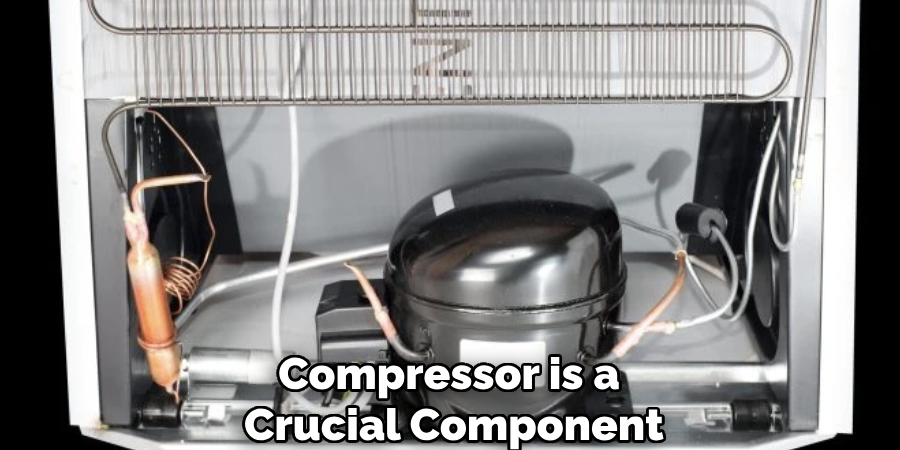
Step 10. Examine the Compressor
The compressor is a crucial component responsible for circulating refrigerant and maintaining the cooling cycle in your GE refrigerator. If the compressor fails or works inefficiently, it can lead to inadequate cooling. Begin by unplugging the fridge to ensure safety. Locate the compressor, typically found at the back of the unit near the bottom.
Listen carefully for the sound of the compressor running; a steady hum or vibration usually indicates it is functioning. It may be faulty if the compressor is silent or making unusual noises. Inspect the surrounding area for dust buildup, which can impede its efficiency, and clean if necessary.
By following these steps, you should be able to troubleshoot and resolve any cooling issues with your GE refrigerator.
Conclusion
How to fix GE refrigerator not cooling involves a systematic approach to identify and resolve issues with essential components.
By following the steps outlined—from checking and cleaning the condensing coils to examining the compressor—you can address the most common problems affecting the unit’s performance. Regular maintenance, such as keeping the coils clean and ensuring door gaskets are intact, also helps maintain cooling efficiency. When in doubt, consulting the refrigerator’s manual or seeking assistance from a professional technician can prevent further complications and ensure your appliance operates optimally.
With proper care and timely attention to potential issues, your GE refrigerator can continue to reliably meet your cooling needs.