Experiencing a flooded jet ski can be a frustrating setback for any water enthusiast. Whether you’re a seasoned rider or a beginner, dealing with waterlogged equipment is inevitable at some point.
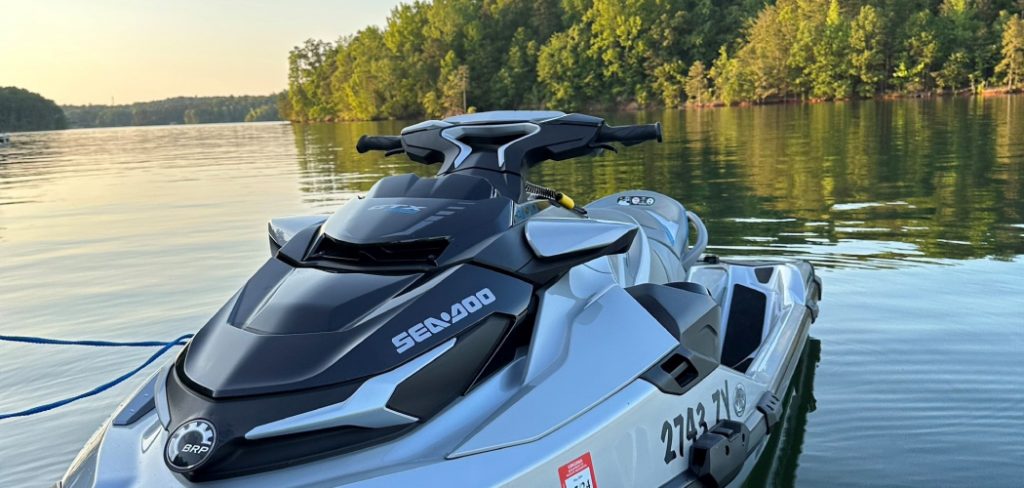
Understanding how to properly address and fix a flooded jet ski is essential to getting back on the water quickly and safely.
This guide on how to fix flooded jet ski will walk you through the necessary steps and precautions to take when dealing with a flooded jet ski, ensuring your watercraft is running smoothly and minimizing the risk of further damage.
Why Do Jet Skis Flood?
Before we dive into the steps on how to fix a flooded jet ski, it’s important to understand why jet skis flood in the first place. There are a few common reasons for this issue:
Improper Use:
One of the most common causes of a flooded jet ski is improper use, such as leaving the engine running while stationary or attempting to start the watercraft with the choke engaged. These actions can cause an excess amount of fuel to enter the engine, flooding it.
Water in Carburetor:
Another common culprit of a flooded jet ski is water in the carburetor. This can happen if the jet ski has been flipped or submerged, causing water to enter the engine and mix with the fuel, resulting in a flooded engine.
Dirty or Clogged Fuel Filter:
A dirty or clogged fuel filter can also lead to a flooded jet ski. When the fuel filter becomes blocked, it can prevent proper fuel flow and result in an excessive amount of fuel entering the engine, leading to flooding.
Needed Materials
Before attempting to fix a flooded jet ski, it’s important to gather all of the necessary materials. Here are some items you will need:
- A Set of Spark Plugs
- A Socket Wrench
- A Can of Starting Fluid
- Fresh Gasoline (if Needed)
- A Set of Pliers
- A Towel or Rag
8 Steps on How to Fix Flooded Jet Ski
Step 1: Remove the Spark Plugs
Begin by locating the spark plugs on your jet ski’s engine. Once located, use a socket wrench to carefully remove each spark plug. Removing the spark plugs will allow you to inspect them for any damage or fouling caused by excess fuel or water.
With the spark plugs removed, you can also check for water inside the engine cylinders, which is a common issue when the engine has been flooded.
Be sure to keep track of the spark plugs’ positions and store them in a safe, dry place while you complete the additional steps in the process.
Step 2: Dry Out the Engine
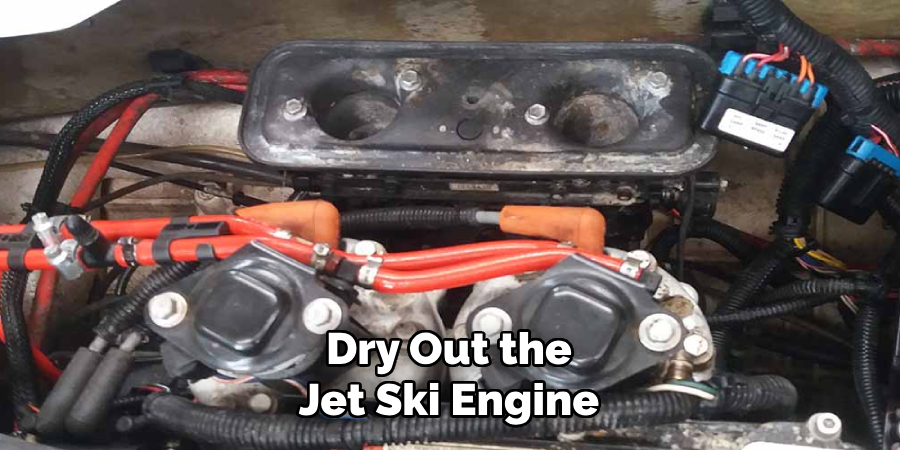
Once the spark plugs are removed, it’s essential to dry out any water that may have entered the engine cylinders. To do this, proceed to crank the engine several times by using the start button.
This process helps expel any water that may have accumulated inside the cylinders. Ensure that you do this in short bursts to prevent any potential damage to the engine components.
As water is forced out, you can use a towel or rag to absorb and clean any residual moisture around the engine area.
By thoroughly drying out the engine, you help prevent any long-term issues caused by trapped water and prepare the engine for further steps in the repairing process.
Step 3: Check the Fuel Filter
After drying out the engine, it’s time to check for any potential issues with the fuel filter. If your jet ski has a removable fuel filter, remove and inspect it for dirt or debris that may be causing blockage.
Use a set of pliers to carefully clean or replace the filter if necessary. A dirty or clogged fuel filter is often a common cause of flooding in jet skis, so be sure to pay close attention to this component.
The fuel filter also serves as a good indicator of the overall health of the engine’s fuel system. If you notice significant dirt or debris in the filter, it may be necessary to take your jet ski to a mechanic for a more thorough inspection and cleaning.
Step 4: Inspect the Carburetor
If there are no issues with the fuel filter, the next step is to inspect the carburetor. The carburetor is responsible for mixing air and fuel before it enters the engine, so any issues with this component can cause flooding.
Remove the carburetor from your jet ski and inspect it for any visible damage or blockages. You can use a can of compressed air to blow out any debris that may be clogging the carburetor.
If you are unfamiliar with inspecting and cleaning a carburetor, it may be best to take your jet ski to a professional mechanic for this step.
Step 5: Clean or Replace Spark Plugs
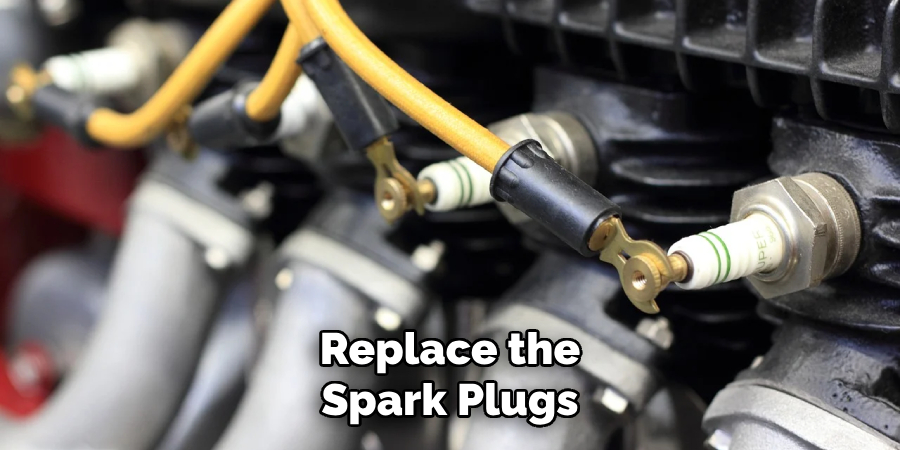
After inspecting the fuel system components, it’s time to clean or replace the spark plugs. Use a socket wrench to remove any fouled or damaged spark plugs and replace them with new ones if necessary.
Before installing the new spark plugs, use a can of starting fluid to spray into the engine cylinders for an extra boost when starting the engine.
It’s also a good idea to check the spark plug wires for any signs of damage or wear and replace them if needed.
Step 6: Reinstall Spark Plugs
Once the spark plugs have been cleaned or replaced, carefully reinstall them into their correct positions using the socket wrench.
Be sure not to over-tighten the spark plugs as this could cause damage to the engine. Once all spark plugs are securely in place, reconnect the spark plug wires.
You can also use this time to check the overall condition of your jet ski’s electrical system, ensuring all connections are clean and secure.
Step 7: Add Fresh Gasoline
If your jet ski has been sitting for a while or if the fuel in the tank is old, it’s best to drain the existing gasoline and add fresh fuel.
Old gasoline can become contaminated and cause issues with engine performance, leading to flooding. Be sure to only use high-quality gasoline recommended by your jet ski manufacturer.
It’s also a good idea to check the entire fuel system for any potential leaks or cracks that may be causing issues with fuel flow.
Step 8: Start Your Jet Ski
With all necessary repairs and maintenance complete, it’s time to start your jet ski. Turn the key and try starting up the engine for a few seconds. If the engine doesn’t start on the first try, repeat the process and give it a bit more time to crank before trying again.
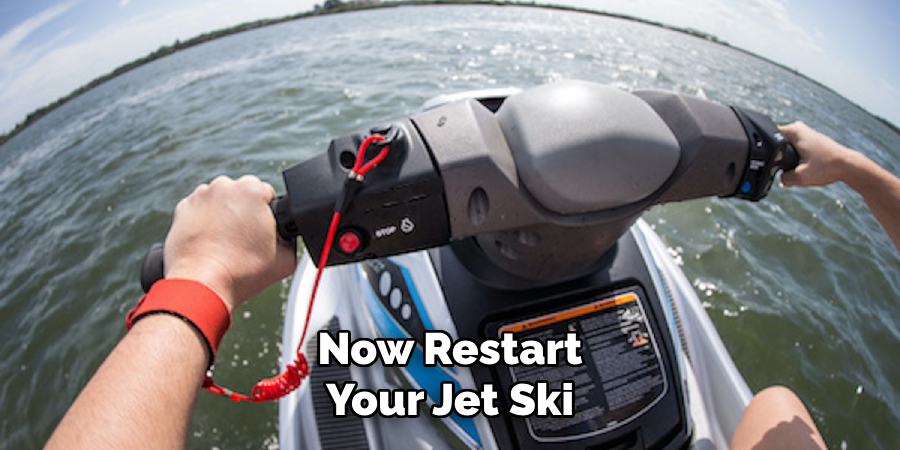
Once your jet ski successfully starts, allow it to run for a few minutes before taking it out for a test ride. This will help ensure that all repairs were successful and prevent any potential issues while out on the water.
Following these steps on how to fix flooded jet ski should help you successfully fix a flooded jet ski and get back to enjoying your time on the water.
However, if you continue to experience issues with flooding or other mechanical problems, it’s always best to consult a professional mechanic for further assistance.
Regular maintenance and care can also help prevent future flooding and keep your jet ski running smoothly for years to come. Happy riding!
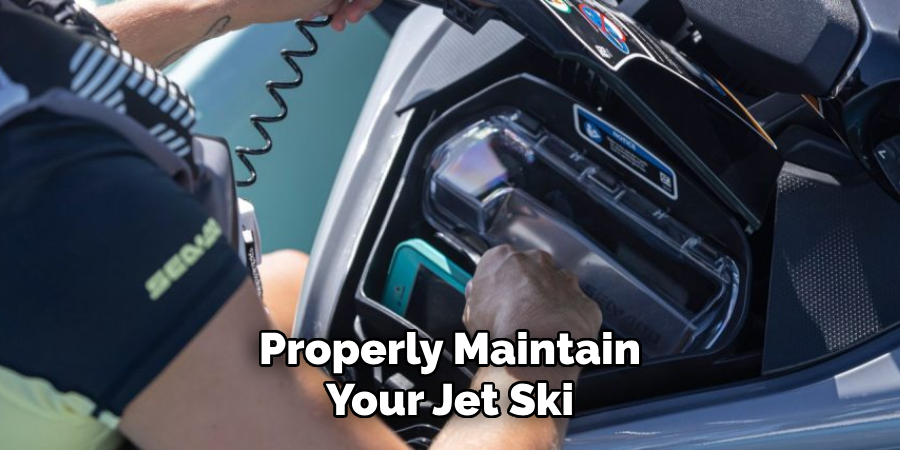
Additional Tips for Maintaining Your Jet Ski
- Always follow the manufacturer’s recommended maintenance schedule. Regularly checking and maintaining your jet ski can help prevent issues like flooding and extend the life of your machine.
- After each ride, be sure to properly flush out the engine with fresh water to remove any salt or debris that may have entered while on the water.
- Use high-quality fuel and additives designed specifically for marine engines to keep your fuel system clean and functioning properly.
- Store your jet ski in a cool, dry location when not in use to protect it from extreme weather conditions and potential damage.
- Invest in a quality cover for your jet ski to protect it from UV rays, dirt, and other environmental factors when stored outdoors. This can help prevent issues like fading and deterioration.
- Regularly check all hoses, clamps, and connections for any signs of wear or damage. Replace any worn components to avoid potential problems while riding.
- Follow safe riding practices and always wear a life jacket when out on the water. This not only protects your safety but also helps prevent unnecessary damage to your jet ski.
Conclusion
Maintaining a jet ski requires a thorough understanding of its mechanics, regular check-ups, and following the necessary steps to address issues like flooding. By keeping the engine, fuel system, and electrical components in optimal condition, you ensure a smooth and enjoyable ride on the water.
Following the outlined maintenance tips on how to fix flooded jet ski will not only prevent potential mechanical problems but also extend the longevity of your jet ski.
Remember, safety comes first, so always adhere to recommended safety practices when riding. Investing time in regular maintenance and care is key to maximizing your adventures and ensuring your jet ski remains a reliable companion on every journey.