Are you tired of constantly fixing or replacing curled shingles on your roof? Curling shingles are a common issue many homeowners face, often resulting from poor installation, inadequate attic ventilation, or the natural aging of the roofing material.
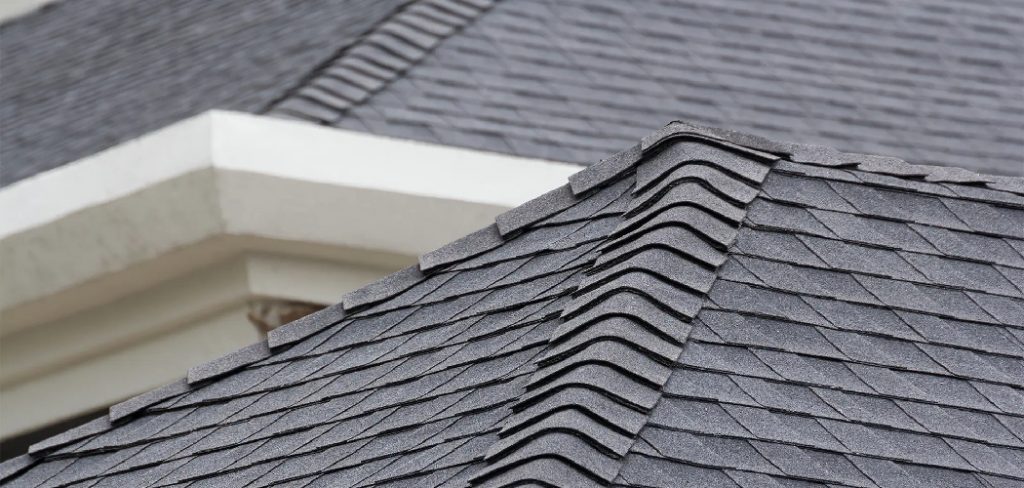
When shingles curl, they not only detract from the aesthetic appeal of your home but also leave the roof susceptible to leaks and further damage. Properly addressing this problem is crucial to maintaining the integrity and longevity of your roof.
As a homeowner, it is important to know how to fix curling shingles and prevent them from occurring in the future.
This guide will help you identify the causes of curling shingles and provide step-by-step solutions to effectively fix them, ensuring a durable and weather-resistant roof.
What Will You Need?
Before you begin, gather the necessary tools and materials to complete the job. These may include:
- Hammer
- Utility knife
- Pry bar
- Roofing nails
- Roofing cement or sealant
- Shingle adhesive
- Replacement shingles (if needed) ## Identifying the Causes of Curling Shingles
The first step in fixing curling shingles is identifying the root cause of the problem. This will help determine the appropriate solution and prevent future issues.
10 Easy Steps on How to Fix Curling Shingles:
Step 1. Inspect the Roof:
Thoroughly examine the entire roof surface to identify the extent of the curling and whether it is isolated to a few shingles or is a widespread issue. Pay close attention to areas most exposed to elements, such as ridges, eaves, and areas around chimneys or vents.
During your inspection, take note of any additional signs of damage like cracks, brittleness, or missing shingles, as these could indicate an underlying issue that might exacerbate the curling problem.
Ensure that you conduct this inspection safely, using a sturdy ladder and appropriate safety gear, and consider enlisting the help of a professional if the roof is too steep or rugged to access.
Step 2. Clean the Affected Area:
Once you have identified the curled shingles, cleaning the surrounding area is important. Remove debris, dirt, or moss that might have accumulated on or between the shingles using a broom or a gentle brush.
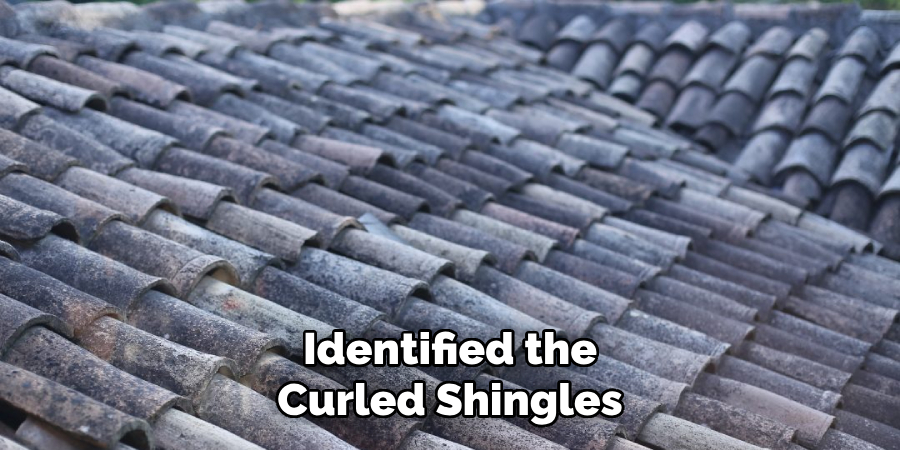
Ensuring the area is clean will allow for better adhesion when applying roofing cement or adhesive. It will prevent moisture from getting trapped under the shingle, which can worsen the curling over time.
Take care not to damage the surface of the shingles during this process, as this could lead to additional problems.
Step 3. Lift the Curled Shingle:
Carefully use a pry bar or your fingers to lift the curled edge of the shingle gently. Be cautious not to apply too much force as this can crack or break the shingle, particularly if it has become brittle due to weathering.
If the shingle offers considerable resistance or begins to crack, stop immediately to reassess or seek professional assistance, as this may indicate that the shingle is beyond simple repair.
By carefully lifting the shingle, you create a space to apply roofing cement or adhesive, essential for securing the shingle back in place and preventing future curling.
Additionally, ensuring that the shingle is adequately lifted will help clean any residual debris that might have been missed earlier, further promoting a strong bond with the adhesive.
Step 4. Apply Roofing Cement:
Once the curled shingle is lifted, apply a generous amount of roofing cement or adhesive under the shingle tab. Using a putty knife or a similar tool, spread the cement evenly to ensure full coverage that will effectively secure the shingle back in place.
The adhesive will act as a binding agent, creating a stronghold that resists future curling due to wind or other environmental factors. It’s essential to work carefully and methodically to avoid excess cement oozing out from underneath the shingle, which can lead to unsightly residue or potential damage to the roof’s surface.
Step 5. Secure the Shingle with Roofing Nails:
After applying the roofing cement, roofing nails are used to secure the shingle in place further. Position the nails about 1 inch from each end of the shingle tab, and ensure they are driven straight to prevent any damage to the roofing material.
The nails should be positioned so that they are covered by the shingle above, which helps prevent water infiltration and maintains the roof’s overall appearance. This additional securing measure provides extra stability to the shingle, keeping it firmly attached even in adverse weather conditions.
Be cautious when hammering the nails to avoid damaging the shingle or the underlying roofing structure. By reinforcing the shingle in this manner, you can effectively mitigate the risk of future curling and enhance the roof’s durability.
Step 6. Check Adjacent Shingles:
Once the curled shingle is secured, inspect the shingles surrounding the repaired area to ensure they are also in good condition. Look for signs of potential curling, cracks, or brittleness requiring similar attention.
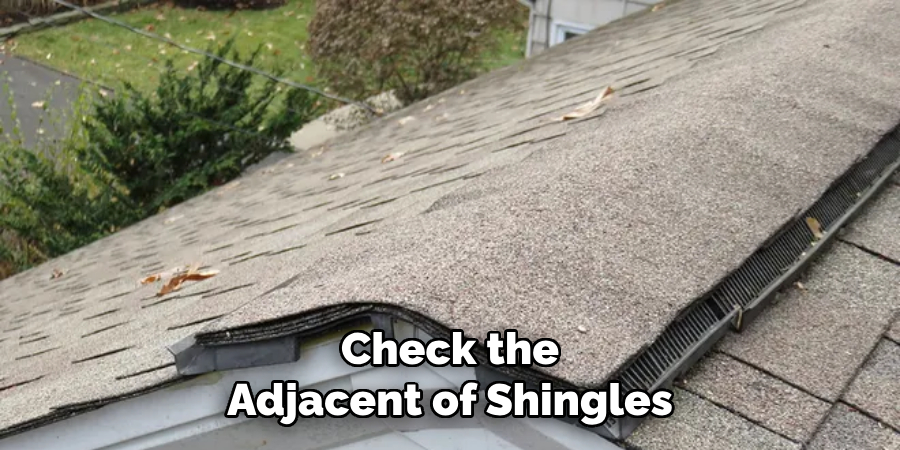
Address any issues promptly using the previous steps to prevent these shingles from curling in the future and to maintain the structural integrity of your roof.
Regular monitoring and maintenance of not just the immediately affected areas but also the surrounding sections will extend the lifespan of your roof.
This proactive approach minimizes the chances of extensive damage and costly repairs down the line, ensuring a safe and well-protected home environment.
Step 7. Replace Severe Damaged Shingles:
If any shingles are found to be severely damaged or too brittle during your inspection, it is essential to replace them rather than try to repair them. Start by removing the damaged shingle by gently lifting the edges and using a pry bar to detach the nails.
Be cautious not to damage the surrounding shingles during this process. Once removed, clean the area thoroughly before fitting a new shingle in place. Ensure that the replacement shingle matches in size, color, and material, maintaining the aesthetic consistency of the roof.
Secure the new shingle with roofing cement and nails, following the method outlined in the previous steps. This ensures a robust roof structure capable of withstanding future weather events while preserving the visual harmony of your home’s exterior.
Step 8. Regular Roof Maintenance:
To prevent future issues such as curling or damage, it’s crucial to perform regular roof maintenance. Schedule routine inspections twice a year, ideally in spring and fall, to identify any early signs of wear and tear. Pay special attention to vulnerable areas like edges, valleys, and any spots prone to debris accumulation.
Clear any leaves, branches, or moss that may have gathered, as these can retain moisture and promote deterioration. Keep gutters clean to ensure proper drainage, preventing water from pooling and potentially causing damage.
By consistently monitoring and maintaining your roof, you preserve its integrity, extend lifespan, and avert costly repairs or replacements.
Engaging a professional for comprehensive inspections can provide peace of mind and expert insights into the best maintenance practices tailored to your roof’s specific needs.
Step 9. Addressing Moss and Algae Growth:
Moss and algae often thrive in damp, shaded areas of your roof and can lead to significant damage over time if left untreated. To address this, gently clean the affected areas with a brush or a long-handled broom.
Don’t scrub too hard, as this can damage the shingles. For persistent growth, use a garden sprayer to apply a mixture of water and bleach in a 50-50 ratio. Allow this solution to sit for 15-20 minutes before rinsing it with water.
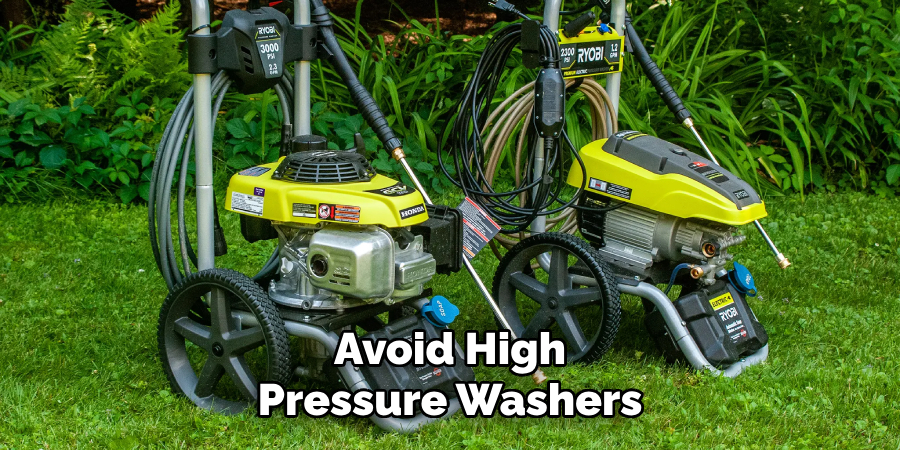
Avoid high-pressure washers, as they can strip away the protective granules on the shingles. Consider installing zinc or copper strips at the roof ridge for ongoing prevention. When it rains, small amounts of metal molecules wash down the roof, suppressing moss and algae growth.
Step 10. Inspect and Seal Roof Flashing:
Roof flashing is crucial in directing water away from areas like chimneys, vents, and skylights—where your roof intersects with walls, creating potential entry points for water.
It’s essential to regularly inspect these areas for signs of rust, cracks, or detachment that could lead to leaks. Replace any damaged flashing with new material, ensuring a fit that securely directs water away from these vulnerable spots.
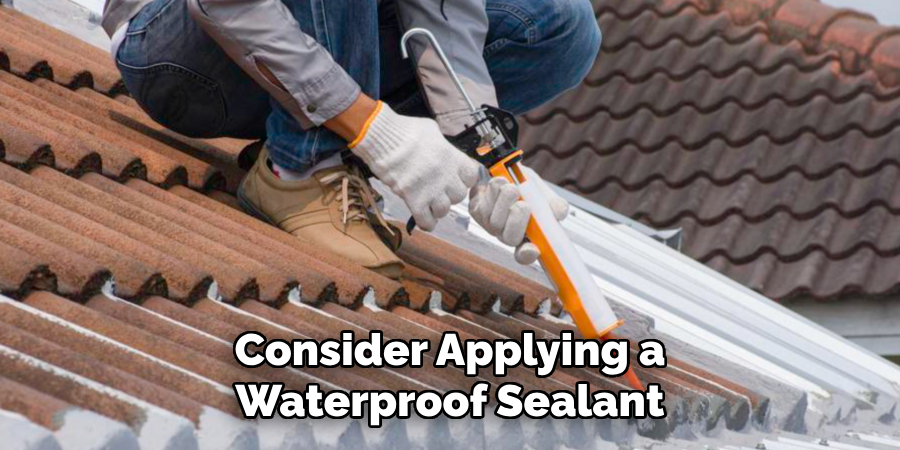
Use a high-quality waterproof sealant to reinforce the existing flashing for minor gaps or cracks. Maintaining a secure seal around your roof’s intersections ensures that water is efficiently channeled away from your home, preventing leaks and the structural damage they can cause.
By following these ten steps, you can effectively repair a curled shingle and prevent further damage to your roof.
Conclusion:
How to fix curling shingles is a vital task in maintaining the longevity and effectiveness of your roof. Homeowners can safeguard their properties from future damage by following a systematic approach, starting with understanding the underlying causes and proceeding with careful repair or replacement.
Timely intervention with suitable materials and techniques can extend the life of individual shingles and the entire roofing system.
Regular maintenance and proactive inspection play essential roles in early detection, allowing minor issues to be addressed before they develop into significant problems.
Investing effort into understanding and applying these steps not only ensures the structural integrity of your roof but also contributes to the overall protection of your home.
