Car shaking or vibrations when braking is a common issue that can be both alarming and potentially unsafe. This unsettling sensation is often linked to problems within the braking system, such as warped brake rotors, worn-out brake pads, misaligned wheels, or even suspension issues. These underlying problems compromise the comfort of your drive and pose serious safety risks if left unaddressed. Diagnosing and resolving this issue promptly is crucial to maintaining safe driving conditions and optimal vehicle performance.
This guide aims to help you understand how to fix car shaking when braking by exploring the most common causes behind this issue. Additionally, it provides detailed information on the tools you’ll need, along with step-by-step instructions to effectively diagnose and resolve the problem. Addressing the root cause can restore your car’s smooth braking function and enhance your overall driving experience.
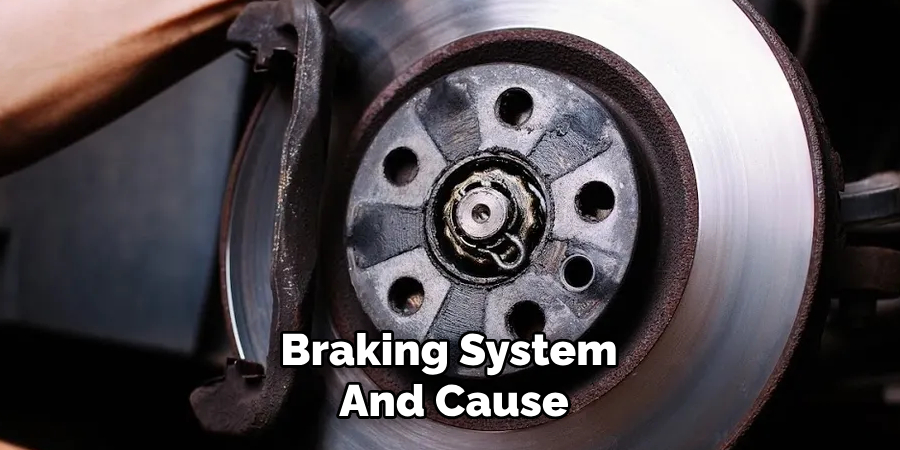
Identifying the Symptoms and Causes of Car Shaking
Signs of Car Shaking
When a car shakes during braking, it typically manifests in several noticeable ways, depending on the severity of the issue. One common symptom is a vibration in the steering wheel, which can range from a slight tremor to a more aggressive shaking that is difficult to ignore. Drivers may feel vibrations through the seat or floorboards, particularly at higher speeds or sudden deceleration. The intensity of the shaking often correlates with the underlying cause. For instance, minor shaking may suggest less severe wear or misalignment, while pronounced vibrations could indicate significant brake or suspension issues. Accurately identifying these symptoms is the first step towards diagnosing the cause.
Common Causes of Shaking When Braking
- Warped Brake Rotors: One of the leading causes of braking vibrations is warped brake rotors. Excessive heat generated during heavy or prolonged braking can cause the rotors to deform, creating uneven contact with the brake pads and resulting in noticeable shaking.
- Worn Brake Pads: Unevenly worn, old, or degraded brake pads can contribute to vibrations by failing to evenly grip the rotor’s surface. This can worsen over time if left unaddressed.
- Misaligned Wheels: Misaligned wheels or tires can interfere with the smooth operation of the braking system and cause shaking, as the tires do not make uniform contact with the road.
- Suspension or Steering Components: Worn suspension or steering components, such as ball joints or tie rods, may exacerbate vibrations, especially when the car is under the stress of braking.
Tip
Identifying the exact source of the vibration is key to effectively addressing the issue and preventing further damage or wear. Carefully inspecting the braking system and other related components will help narrow down the cause and implement the right solution.
Tools and Materials Needed
Basic Tools for Diagnosis and Repair
- Lug Wrench: This is for removing and replacing wheels.
- Jack and Jack Stands: To lift the car safely off the ground for a brake inspection.
- Torque Wrench: This is for tightening nuts and bolts to the correct specifications.
- Caliper Tool: To remove or compress the brake caliper when needed.
Materials for Brake Work
- Brake Pads: These are used to replace worn or damaged brake pads.
- Brake Rotors: For replacing warped or damaged rotors.
- Brake Cleaner: This is used to clean brake components during repairs.
- Replacement Parts: For suspension, wheel alignment, or steering components if needed.
Diagnostic Tools
- Wheel Alignment Kit (if required for suspension issues).
- Brake Rotor Measuring Tool: To check if the rotors are warped beyond repair.
Tip
Having all the right tools and materials in advance can streamline the repair process, ensuring that repairs are effective and minimizing downtime due to missing items.
How to Fix Car Shaking when Braking: Diagnosing the Cause of the Shaking
Step 1: Test Drive and Initial Observation
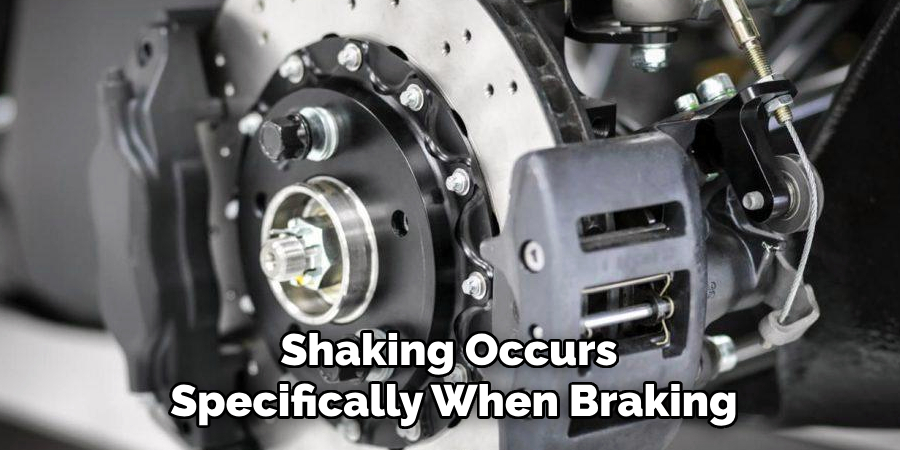
Take the car for a test drive to confirm that the shaking occurs specifically when braking. Pay close attention to the nature of the vibration—whether it is felt in the steering wheel, the seat, or throughout the entire car. Additionally, note the speed at which the shaking happens. Does it occur only at higher speeds, or is it present at all speeds? These observations provide crucial clues for identifying the underlying issue.
Step 2: Inspecting the Brake Rotors
Lift the car safely using a jack and remove the wheels to access the brake rotors. Carefully inspect the rotors for visible signs of damage, such as scoring, uneven wear, or warping. Warped rotors, in particular, can lead to vibration when braking. Utilize a brake rotor measuring tool or caliper tool to measure the thickness of the rotors. Compare your measurements against the manufacturer’s recommended specifications. If the rotors are excessively thin or visibly warped, consider replacing them.
Step 3: Inspecting the Brake Pads
Closely examine the brake pads for signs of uneven wear or damage. Ensure that the pads are not excessively worn down and that they maintain even contact with the rotor. Unevenly worn brake pads could indicate improper installation or an issue with the caliper. Replace the brake pads as necessary if any irregularities are found.
Step 4: Checking for Suspension or Alignment Issues
Inspect the car’s suspension system, including control arms, ball joints, and bushings, to identify any signs of wear, tear, or damage. Damaged suspension components can sometimes cause braking-related vibrations. Additionally, check the car’s wheel alignment, as misaligned wheels can contribute to shaking when brakes are applied. Address any identified issues, such as alignment corrections or replacing suspension parts, to ensure a smooth and stable braking experience.
Tip
A methodical approach to diagnosing the cause of the shaking will help isolate the root problem and reduce the risk of performing unnecessary repairs. Thorough testing and inspection save time and provide precise solutions.
Fixing Warped Brake Rotors
Option 1: Resurfacing the Brake Rotors
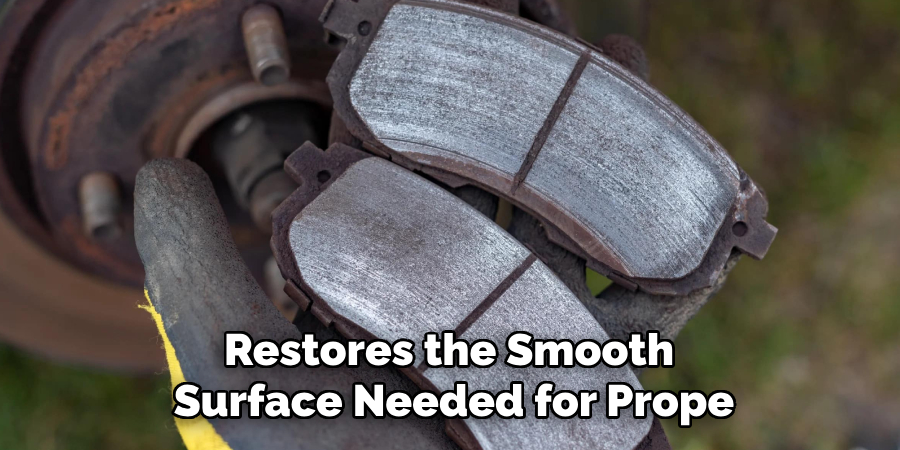
If the rotors are slightly warped, they can often be resurfaced to restore even contact with the brake pads. Take the rotors to a professional machine shop to have them resurfaced, or use a DIY brake lathe if available. Resurfacing removes the high spots caused by heat buildup and restores the smooth surface needed for proper braking. It is crucial to measure the rotors’ thickness before and after resurfacing to ensure they remain within the manufacturer’s specified limits. Once the resurfacing is complete, reinstall the rotors, ensuring they are properly torqued to the manufacturer’s specifications. Test the brakes afterward to confirm that the vibrations have been resolved.
Option 2: Replacing the Brake Rotors
If the rotors are too worn or deeply warped, they will need to be replaced entirely. Begin by using a lug wrench to loosen and remove the wheels. Next, unbolt the caliper and safely support it to avoid strain on the brake line. Carefully slide off the old rotors and inspect them for damage to understand the root cause of the warping, such as heat stress or improper torquing. Install the new rotors, making sure they are clean and properly aligned. Reassemble the brake components, replacing the brake pads if needed. Torque all fasteners to the recommended specifications and reattach the wheels securely. After replacement, perform a brake test at low speeds to ensure smooth and consistent stopping power. Always replace rotors in pairs (front or rear) to maintain balanced braking and optimal safety.
Tip
Whether choosing resurfacing or replacement, always verify that the rotors fall within the thickness limits specified by the manufacturer. This ensures safe and effective braking performance while preventing future issues. Proper installation and torquing techniques are also critical in avoiding premature rotor warping.
Replacing Worn Brake Pads
Step 1: Remove the Old Brake Pads
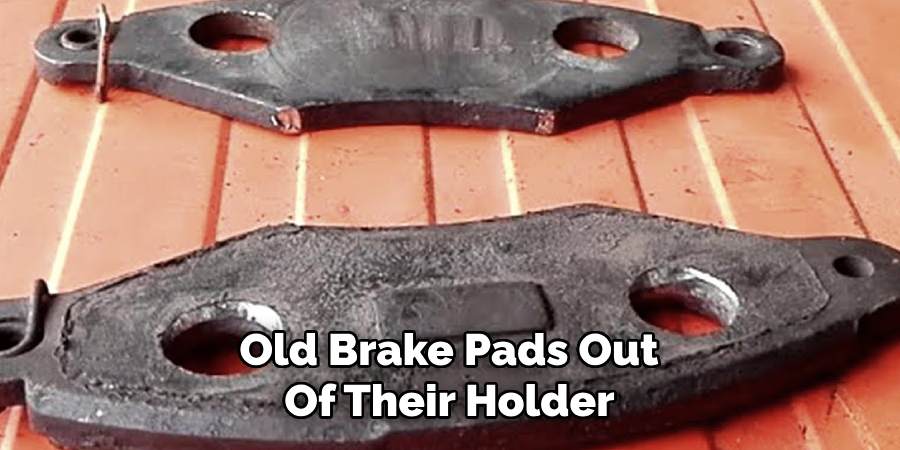
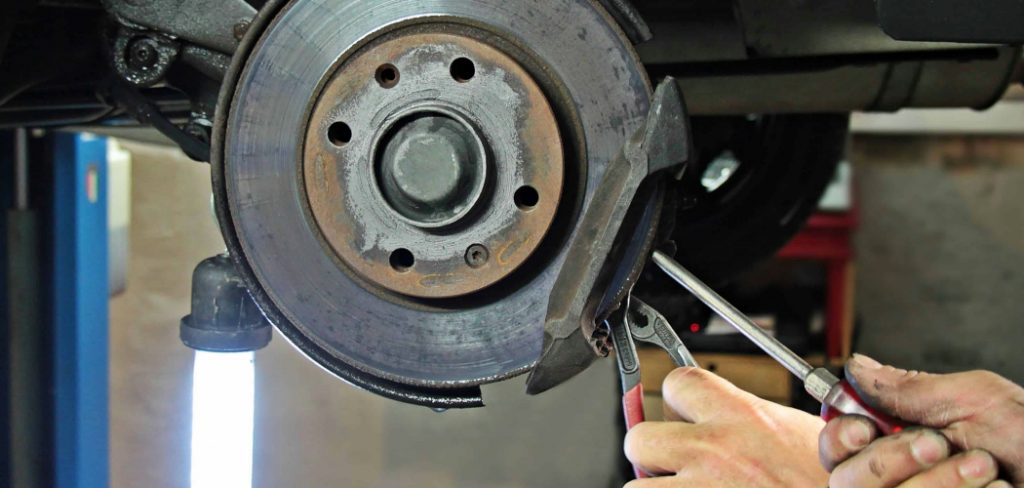
To ensure stability, lift the car safely using a jack and secure it with jack stands. Remove the wheels to access the brake assembly. Use a caliper tool or wrench to carefully unbolt and remove the brake caliper, being cautious to support it so it doesn’t strain the brake line. Slide the old brake pads out of their holder while inspecting them for wear patterns or damage that might indicate other issues, such as uneven rotor wear.
Step 2: Install New Brake Pads
Position the new brake pads within the holder, making sure they are properly aligned with both the rotor and caliper assembly. Apply a thin layer of brake lubricant to the contact points of the pads (not the friction surface) to ensure smooth operation, reduce vibrations, and prevent squeaking. Check that the pads sit firmly and snugly in their position before proceeding.
Step 3: Reassemble the Brake Components
Once the new pads are installed, carefully reinstall the brake caliper and tighten it according to the manufacturer’s recommended torque specifications. Replace the wheel, lower the car to the ground, and use a proper torque wrench to securely fasten the lug nuts. After completion, press the brake pedal multiple times to ensure the pads are seated correctly and provide proper stopping power.
Tip
Always replace brake pads in pairs (front or rear) to maintain even braking performance and avoid uneven wear on the rotors and other components. Consider bedding in the new pads by following the manufacturer’s guidelines for optimal performance and longevity.
Checking and Fixing Wheel Alignment or Suspension Issues
Step 1: Inspect Suspension Components
Examine the suspension thoroughly to identify worn or damaged components, such as control arms, ball joints, or bushings, which often lead to instability, particularly during braking. These issues can result in uneven braking forces and reduced handling performance. If any parts appear to be excessively worn, cracked, or damaged, they should be replaced promptly to restore the suspension’s functionality and ensure safe operation.
Step 2: Wheel Alignment Check
Wheel alignment is crucial in maintaining even braking performance and vehicle stability. If you notice the car pulling to one side during braking or uneven tire wear, it’s important to have the wheel alignment checked by a professional. Misaligned wheels can affect how braking forces are distributed, leading to undesirable driving and stopping conditions. Correct alignment ensures that all four wheels function harmoniously, reducing tire and suspension stress.
Step 3: Repairing Suspension or Alignment Issues
If the wheel alignment is off, it can typically be adjusted by an auto shop using specialized equipment. Suspension issues such as damaged bushings or ball joints often require the replacement of these components. It is highly recommended that a professional complete any suspension repairs to ensure accuracy and safety. Properly addressing these issues enhances vehicle performance, stability, and overall driving experience.
Tip
If you are unsure how to diagnose or repair suspension or alignment problems, always consult a qualified mechanic or technician. These systems are vital for safe vehicle operation, and professional service ensures that repairs are conducted correctly and effectively.
Final Test and Adjustments
Test Drive After Repairs
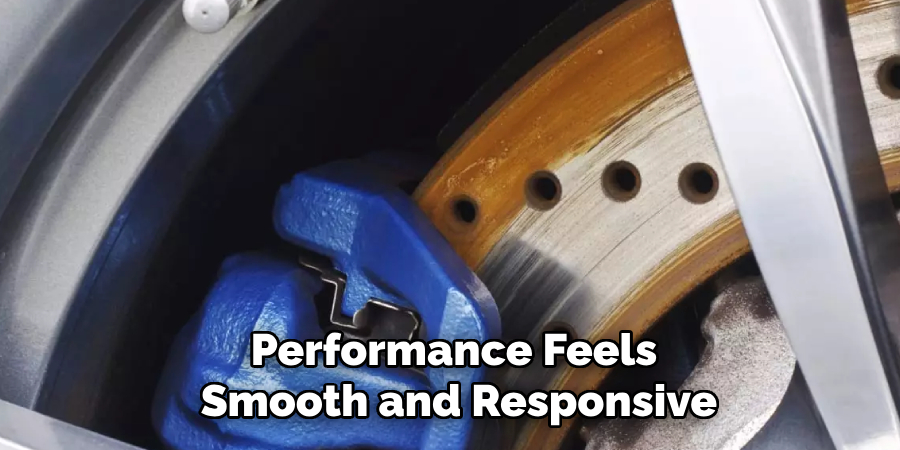
After replacing the brake pads or rotors and addressing any suspension or alignment issues, take the car for a test drive. Check that the shaking no longer occurs when braking and that the braking performance feels smooth and responsive. Pay close attention to handling the vehicle, ensuring there are no changes or new symptoms. During the test drive, assess the overall stability and listen for any unusual noises that might indicate unresolved problems.
Double-Check Brake Components
Before finishing, inspect all brake components before finishing to ensure that bolts, fasteners, and other parts are tightened and secure. Confirm that there are no loose connections or misalignments. Carefully check for vibrations or abnormal sounds during braking, as these could point to another issue requiring further attention.
Tip
A thorough test drive and inspection ensure that the problem is resolved and your car is safe for use, giving you confidence in its performance.
Conclusion
Fixing car shaking when braking involves critical steps to ensure safety and optimal performance. Begin by diagnosing the problem to identify the root cause, such as worn brake pads or warped rotors. Replace damaged brake pads and resurface or replace warped rotors to restore smooth braking. Additionally, any alignment or suspension issues should be addressed to eliminate instability. Properly functioning brakes are essential for your vehicle’s safety and reliability. If the issue persists or the repairs seem complex, consult a professional mechanic for assistance. Promptly resolving these problems is key to learning how to fix car shaking when braking and enhancing your driving experience.