An automatic transmission fluid leak is a common issue that can affect the performance and longevity of your vehicle.
Ignoring the problem can lead to serious damage and costly repairs, as the transmission relies on this fluid to function effectively. By identifying the source of the leak and addressing it promptly, you can maintain your vehicle’s performance and prevent further complications.
This guide on how to fix automatic transmission fluid leak will provide you with step-by-step instructions on how to locate, assess, and fix automatic transmission fluid leaks with ease.
Why is Transmission Fluid Important?
Transmission fluid serves as a lubricant for all moving parts within the transmission system, reducing friction and preventing wear and tear. It also acts as a coolant, regulating the temperature of the transmission to prevent overheating. Without enough transmission fluid, your vehicle’s gears can grind together and cause significant damage.
In addition to its vital functions, transmission fluid also helps maintain hydraulic pressure within the transmission, ensuring smooth shifting between gears. Any leaks in the transmission system can lead to a loss of fluid and a subsequent drop in hydraulic pressure, resulting in jerky gear shifts or complete failure of the transmission.
Needed Materials
Before starting the process of fixing an automatic transmission fluid leak, you will need to gather some materials to help you along the way. These may include:
Jack Stands or Ramps:
These will help elevate your vehicle and provide enough space for you to work underneath it comfortably.
Wheel Chocks:
Chocks are essential in preventing the vehicle from rolling while you work on it. Place them behind the wheels that are not being worked on.
Transmission Fluid:
You may need to top up or replace the fluid if a significant amount has been lost due to the leak.
Jack and Lug Wrench:
These tools will be necessary if you need to remove the wheels for better access.
8 Step-by-step Guidelines on How to Fix Automatic Transmission Fluid Leak
Step 1: Identify the Source of the Leak
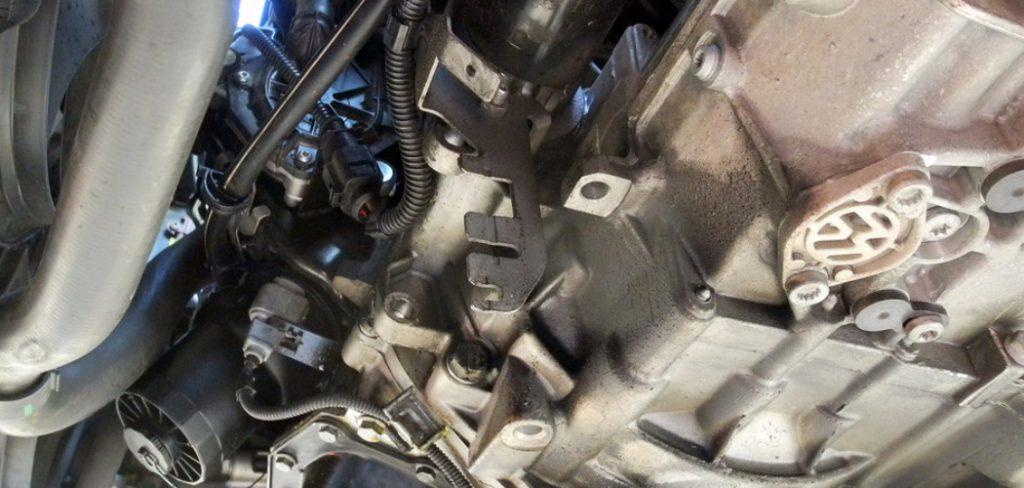
Before fixing the leak, it is crucial to pinpoint its exact location. Start by inspecting the area under your vehicle where you park. Look for reddish or brownish fluid stains on the ground, which can help determine the general vicinity of the leak. Next, elevate your vehicle using jack stands or ramps, ensuring it is securely supported, and visually examine the transmission system. Common areas to check include the transmission pan, seals, gaskets, and cooler lines.
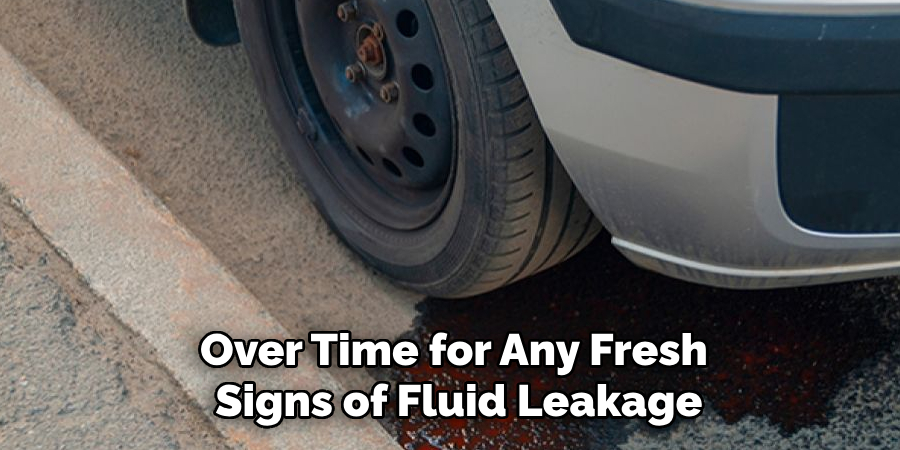
If the source of the leak is not immediately visible, you can clean the suspected areas with a degreaser and monitor them over time for any fresh signs of fluid leakage. This step is essential to address the issue accurately and effectively.
Step 2: Secure the Vehicle
Before starting any repairs, it is crucial to take safety precautions. Make sure your vehicle is turned off and in park or neutral with the emergency brake engaged. Place wheel chocks behind the wheels that are not being worked on for added stability.
Most importantly, it should never work under a vehicle that is only supported by a hydraulic jack. Always use jack stands or ramps for extra support and stability.
Step 3: Remove the Wheels
If the leak is located near components that are obstructed by the wheels, you will need to remove them for better access. Begin by loosening the lug nuts on the wheels while the vehicle is still on the ground. Once loosened, elevate your vehicle securely using jack stands or ramps.
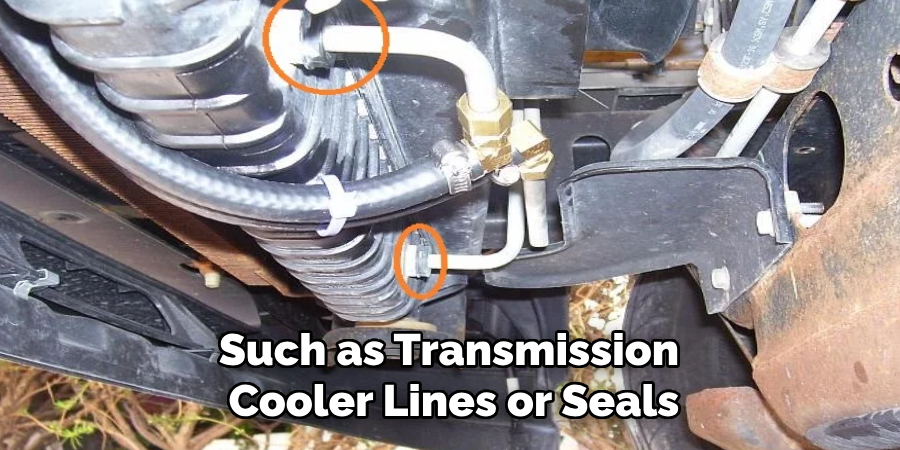
After ensuring the vehicle is properly supported, fully remove the loosened lug nuts and carefully take off the wheels. Place the wheels and lug nuts in a safe area to avoid losing any parts. This step will give you a clearer view of certain areas, such as transmission cooler lines or seals, that might be contributing to the leak. It also ensures you have the space needed to perform any necessary repairs effectively.
Step 4: Drain the Transmission Fluid
To prevent a mess, place a large drain pan under the transmission pan before draining any fluid. Use a wrench to loosen and cautiously remove the bolts that secure the transmission pan in place. Slowly pull the pan downwards to allow any remaining fluid to drain into the pan completely. Next, remove any old gasket material from both the transmission and pan surfaces using a scraper or solvent.
It is also a good idea to inspect the transmission pan for any damage or wear and replace it if necessary.
Step 5: Inspect for Damage
While you have access to the transmission system, inspect it thoroughly for any damages that may require immediate attention. Look for cracks or holes in components such as seals or gaskets, as well as signs of wear and tear. You may also want to check the condition of the transmission filter and replace it if it is dirty or clogged.
Step 6: Replace Damaged Components
If any components are found to be damaged, they will need to be replaced. It is essential to use high-quality replacement parts that are compatible with your vehicle’s make and model for optimal performance.
But before installing any new components, make sure to clean the surfaces of the transmission and pan thoroughly and apply a thin layer of transmission fluid or gasket sealer for added protection against leaks.
Step 7: Reattach the Transmission Pan
Place the new gasket on the pan’s surface and carefully position it back onto the transmission. Use your hand to finger-tighten all bolts first before using a torque wrench to tighten them further. Refer to your vehicle’s manual for specific torque specifications for your particular model.
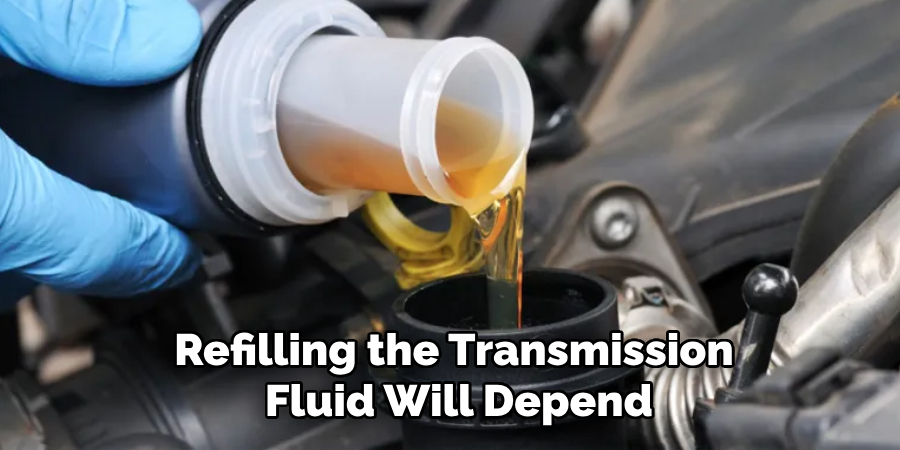
The process of refilling the transmission fluid will depend on your vehicle’s make and model. Some vehicles may require you to add fluid through a dipstick tube, while others may have a fill plug located on the side of the transmission.
Step 8: Refill the Transmission Fluid
Using a funnel, slowly add new transmission fluid using your vehicle’s recommended type and formulation until it reaches the proper level indicated by the dipstick or fill plug. Start your vehicle and let it idle for a few minutes while monitoring for any leaks. If there are no signs of leakage, replace any removed wheels and take your vehicle for a short test drive to ensure everything is working correctly.
Following these steps can help you effectively fix an automatic transmission fluid leak. However, if the issue persists or seems too complex to handle yourself, it is always best to seek professional assistance. A certified mechanic will have the necessary tools, experience, and knowledge to accurately diagnose and repair any transmission problems efficiently. Remember, addressing a fluid leak promptly can help prevent further damage and costly repairs in the future.
Regular Maintenance Tips
Maintaining your vehicle’s transmission system is key to avoiding leaks and ensuring smooth operation. Here are some essential tips to keep your transmission in optimal condition:
Check Fluid Levels Regularly
Periodically inspect your transmission fluid levels using the dipstick or appropriate indicator. Ensure the fluid is at the recommended level and has a clean, reddish appearance. Low or dirty fluid can signal potential issues that need attention.
Use the Correct Transmission Fluid
Always use the type of transmission fluid recommended by your vehicle’s manufacturer. Using the wrong type can cause improper lubrication, overheating, or even damage to the transmission system.
Inspect for Leaks
Make it a habit to visually check under your vehicle for any signs of fluid puddles. Catching a leak early can prevent major repairs and extensive damage.
Service the Transmission Periodically
Refer to your owner’s manual for the recommended intervals to replace the transmission fluid and filter. Regular servicing helps maintain proper fluid quality and prevents buildup of contaminants.
Avoid Overloading Your Vehicle
Excess weight places strain on the transmission, increasing the likelihood of overheating and wear. Stick to the recommended load capacity for your vehicle.
Allow Your Engine to Warm Up
During colder months, give your engine and transmission a few minutes to warm up before driving. This helps ensure the fluid flows properly and lubricates essential components.
Drive Responsibly
Avoid aggressive driving habits like rapid acceleration, frequent hard braking, or unnecessarily towing heavy loads. These actions can strain your transmission and reduce its lifespan.

Monitor for Unusual Noises or Shifting Issues
Pay attention to how your vehicle shifts gears or any unusual noises. Grinding, slipping, or delayed shifting may indicate underlying transmission issues that need immediate attention.
By following these maintenance tips on how to fix automatic transmission fluid leak, you can prolong the life of your vehicle’s transmission and reduce the risk of costly repairs. Regular care not only ensures a smoother drive but also safeguards your vehicle’s overall health.
Conclusion
Proper maintenance and timely repairs are crucial for ensuring the longevity and efficiency of your vehicle’s transmission system. By addressing issues like fluid leaks promptly and adhering to regular maintenance practices, you can avoid costly repairs and ensure optimal performance.
Always follow your vehicle manufacturer’s guidelines on how to fix automatic transmission fluid leak for care and use, and when in doubt, consult a certified mechanic for professional assistance. A well-maintained transmission not only contributes to smoother driving but also enhances the overall reliability and safety of your vehicle.