Are you tired of dealing with a sink stopper that is stuck in place? Don’t worry, you are not alone. A stuck sink stopper can be frustrating and lead to water buildup and clogs.
Discovering that your sink stopper is stuck can be a frustrating experience, disrupting your routine and potentially leading to water drainage issues. However, how to fix a sink stopper that is stuck is often a straightforward process that doesn’t require professional assistance. With the right tools and a few simple steps, you can restore the stopper to a fully functional state quickly.
This guide will walk you through the necessary steps to identify the issue and provide practical solutions to get your sink working smoothly again. Whether the problem lies with a clogged mechanism or a misaligned linkage, these instructions will help you resolve the issue efficiently.
What Will You Need?
To fix a stuck sink stopper, you will need the following tools:
- A pair of pliers
- A small bucket or container for water
- A screwdriver (if necessary)
Additionally, it’s helpful to have some old towels on hand to soak up any excess water that may spill out during the process. Now that you have your supplies ready let’s fix a stuck sink stopper.
10 Easy Steps on How to Fix a Sink Stopper That is Stuck
Step 1: Identify the Issue
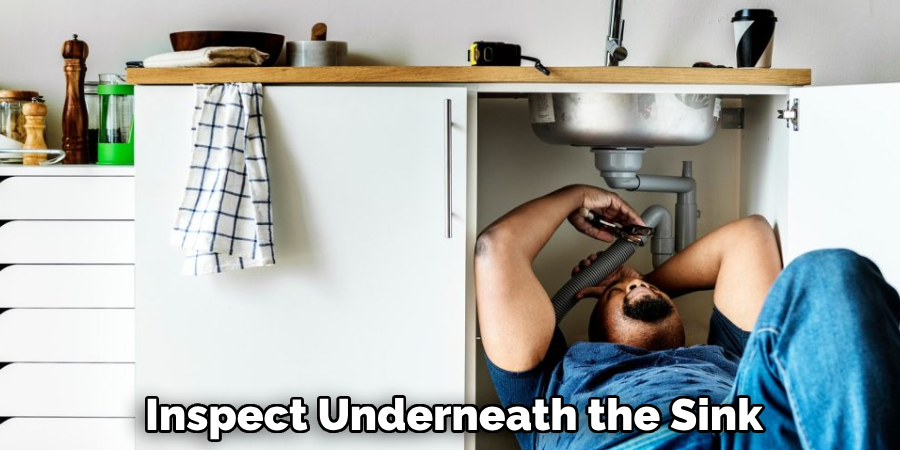
Start by examining the sink stopper and the surrounding area to identify what might be causing it to become stuck. Check if the stopper is misaligned or has any visible debris or buildup around it. Gently try to lift or turn the stopper to see if it moves freely without forcing it. Also, inspect underneath the sink, focusing on the linkage that connects the stopper to the lift rod.
Sometimes, the issue can stem from a loose or disconnected linkage, which can prevent the stopper from moving correctly. By closely examining these components, you will be better equipped to determine the exact cause of the problem and decide on the next steps in the repair process.
Step 2: Remove the Stopper
If the stopper isn’t moving freely, the next step is to remove it for a closer inspection. Start by going underneath the sink and locating the pivot rod. The pivot rod is a horizontal arm usually connected by a clip to the vertical strap, which in turn is linked to the lift rod on your faucet. Use your pliers to carefully disconnect the pivot rod by removing the spring clip that holds it in place.
Once the pivot rod is released, you should be able to pull the stopper out from the drain gently. This will allow you to examine it more thoroughly for any clogs or buildup causing it to stick.
Step 3: Clean the Stopper
After removing the stopper, it is essential to clean it thoroughly. Over time, stoppers can accumulate soap scum, hair, and other debris, leading to blockages. Rinse the stopper with warm water to remove loose particles, and use an old toothbrush or a similar tool to scrub away any stubborn buildup. Pay particular attention to the rubber seal at the base of the stopper, as debris here can prevent a proper seal. Once cleaned, set the stopper aside and inspect the drain to ensure no additional obstructions.
Step 4: Inspect the Drain
With the stopper removed, take a moment to inspect the inside of the drain for any remaining debris. Use a flashlight if necessary to get a clear view. Look for hair clumps, soap deposits, or any other materials that could impede the stopper’s function. If you find any obstructions, use a pair of tweezers or needle-nose pliers to extract them carefully. Alternatively, a pipe cleaner or drain snake can be helpful in reaching further down the pipe. Ensuring the drain is clear of blockages is crucial before reassembling the stopper components.
Step 5: Reassemble the Stopper
To reassemble the stopper, first, ensure that all components are wholly debris-free and any water residues have been wiped away. Carefully replace the stopper in the drain, ensuring it is aligned correctly in its seat. Underneath the sink, reconnect the pivot rod to the stopper by inserting it into the small hole or eye at the base of the stopper. This step is crucial as it allows the stopper to move up and down correctly when the lift rod is engaged.
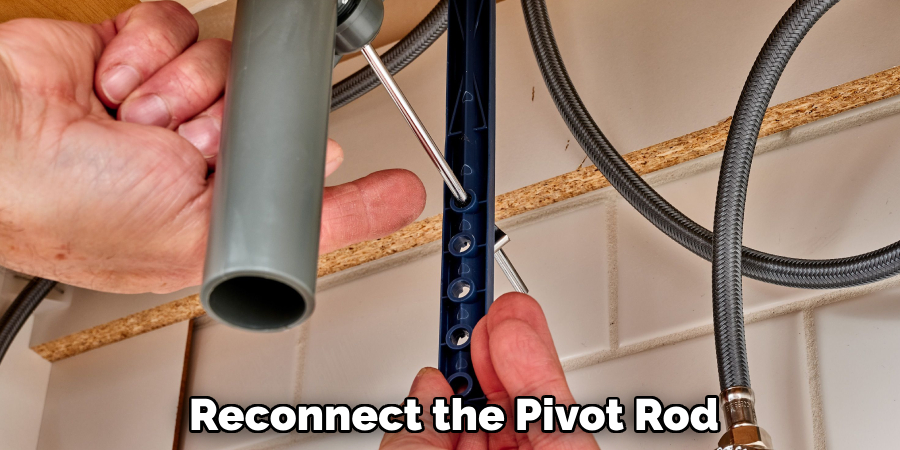
Secure the pivot rod with the spring clip, confirming it is locked firmly to prevent any slipping or disconnections. Before proceeding further, test the stopper’s movement by lifting and lowering it using the lift rod from above. If it operates smoothly without resistance, you have successfully reassembled it. However, if there are any difficulties, double-check each connection to ensure everything is tightly secured and properly adjusted. Proper reassembly will ensure that the stopper functions efficiently and helps prevent potential water drainage issues in the future.
Step 6: Test the Seal
Once the stopper is reassembled, it’s time to test the seal to ensure the sink can hold water effectively. Fill the sink with a few inches of water and observe if the water level remains constant. If the water begins to drain or the stopper doesn’t seal properly, you may need to adjust the position of the pivot rod or ensure the rubber seal at the base of the stopper is clean and intact.
Tighten any loose connections underneath the sink, where the lever mechanism connects to the stopper. A proper seal is essential for the stopper to function correctly and to prevent any unwanted water leakage.
Step 7: Adjust the Linkage
If the stopper still isn’t functioning smoothly after testing, you may need to adjust the linkage. The linkage is the series of connected parts that transfer motion from the lift rod to the stopper. Begin by locating the screw attached to the metal strap where the lift rod passes through. Loosen this screw slightly to allow for adjustments. Move the strap up or down as needed to ensure that the stopper can open and close entirely when the lift rod is operated.
Once adjusted, tighten the screw securely to lock the strap in position. Test the stopper again by operating the lift rod to ensure that the adjustments have improved its movement and that it maintains a proper seal when closed. A correctly adjusted linkage will ensure efficient operation and extend the life of your sink components.
Step 8: Final Inspection
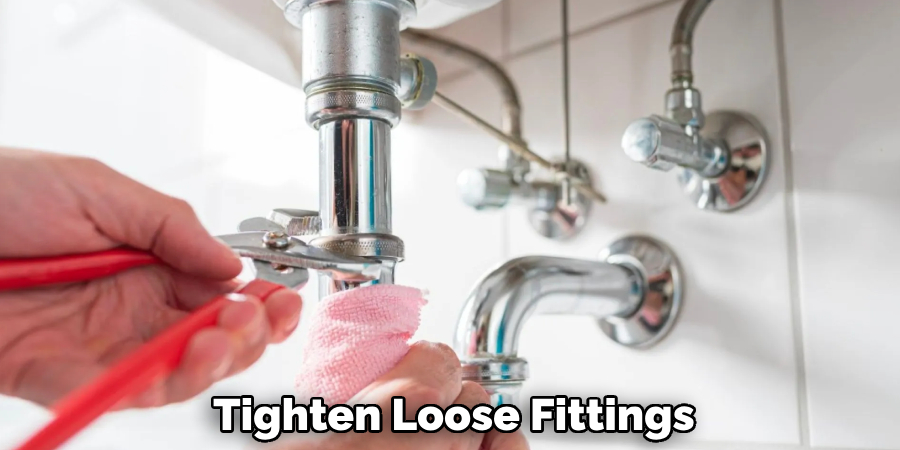
After adjusting the linkage, conduct a final inspection to ensure all components function as intended. Begin by checking under the sink for leaks, paying close attention to all connection points, such as the pivot rod and linkage assembly. Tighten loose fittings with a wrench if necessary, as even minor leaks can lead to significant problems over time.
Next, test the stopper operation several times to verify that it opens and closes smoothly without hesitation and forms a secure seal when closed. This inspection will confirm that the stopper mechanism is correctly reassembled and ensure long-term reliability and proper sink functionality.
Step 9: Clean-Up and Maintenance
After ensuring that the stopper is functioning correctly, cleaning up any tools and materials used during the repair process is essential. Store them in their appropriate locations to maintain an organized workspace. To prevent future issues with your sink stopper, incorporate a regular maintenance routine. Periodically check under the sink for leaks or loose connections clean the stopper, and drain off any accumulated debris.
This proactive approach will help maintain optimal sink performance and extend the life of your plumbing components. Implementing these simple practices will prevent clogs and ensure the sink functions smoothly for years to come.
Step 10: Educate on Best Practices
Educating yourself and others who use the sink regularly on best practices can prevent future issues with the stopper and drain. Encourage users to avoid pouring grease, oil, and other substances that can solidify and cause blockages down the drain. Instead, dispose of these materials in the trash. Additionally, a drain guard can help catch hair and debris that could otherwise contribute to clogs.
Ensure everyone understands the importance of using the sink responsibly and regularly cleaning as outlined in the maintenance step. By fostering good habits and awareness, you can quickly minimize disruptions and maintain a functioning sink-stopper system.
By following these steps, you can confidently and efficiently repair your sink stopper without hiring a professional.
Conclusion
How to fix a sink stopper that is stuck can seem daunting at first, but by following a systematic approach, it becomes manageable and straightforward.
Begin by identifying the specific area where the problem lies, such as a blockage or a misaligned component. Each step, from disassembling the stopper to testing and adjusting the linkage, is crucial in ensuring the stopper functions correctly. Patience and attention to detail are key, as overlooking any part may lead to recurring issues. Regular maintenance and adherence to best practices in sink usage can prevent future problems, thereby extending the functionality and lifespan of your sink components.
By implementing these steps, you will not only save on possible repair costs but also gain a better understanding of your household plumbing, empowering you to tackle similar issues in the future.