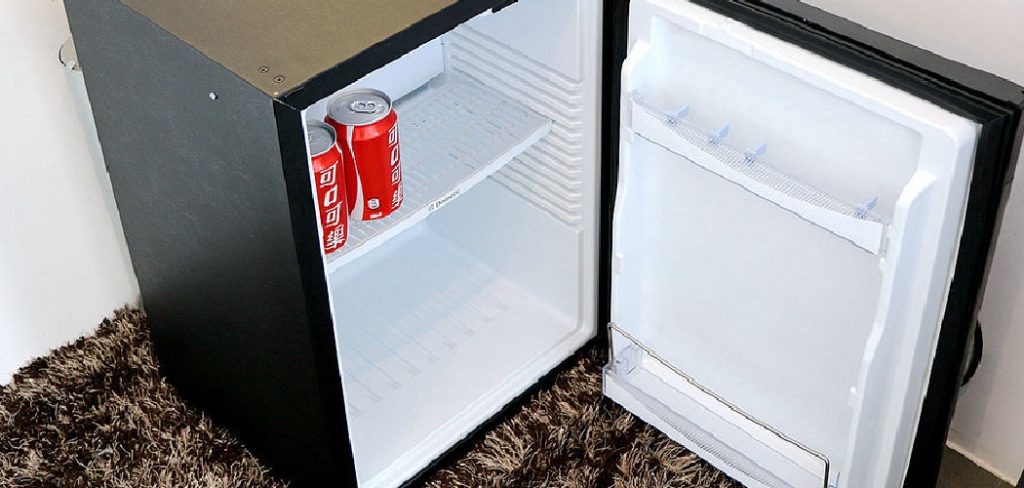
Are you tired of opening your mini fridge only to find that everything inside is frozen solid? It can be frustrating and wasteful to constantly throw away food because your mini fridge isn’t malfunctioning.
A mini fridge that freezes everything can be pretty bothersome, turning what should be a convenient appliance into a source of frustration. This common issue can lead to ruined food and beverages, making it essential to address the problem promptly. Fortunately, fixing a mini fridge that over-freezes often involves straightforward troubleshooting and adjustments.
In this guide, we will explore practical steps on how to fix a mini fridge that freezes everything, ensuring your mini fridge operates optimally, preserving your food items without turning them into ice blocks. Whether it’s a temperature setting mishap or a need for maintenance, we’ll cover the essentials to help restore balance to your cooling needs.
What Will You Need?
Before diving into the troubleshooting steps, gathering all the necessary materials for a successful fix is essential. Here are some essential tools and supplies you may need during this process:
- Small screwdriver
- Soft cloth or sponge
- Warm water
- Baking soda
- Bowl or container
Once you have these items, you’re ready to start troubleshooting your mini fridge.
10 Easy Steps on How to Fix a Mini Fridge That Freezes Everything
Step 1: Check the Temperature Setting
Begin by examining the temperature control inside your mini fridge. An accidental adjustment may have set the thermostat colder than necessary. The temperature setting is typically inside the refrigerator, near the top, or on the back wall. It might range from numbers, often from 0 to 7, or simply a dial with an indicator for cold to colder. Adjust the setting to a middle range, effectively balancing the cooling requirement.
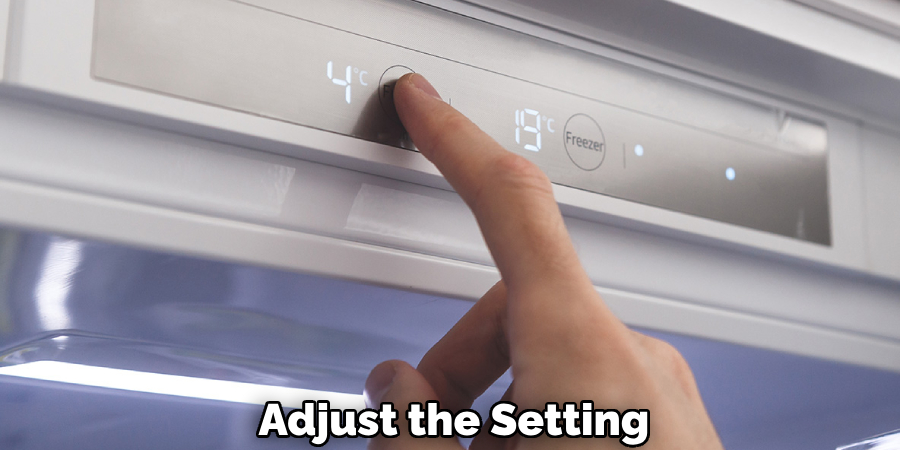
If your fridge uses numerical settings, try setting it to a lower number, such as 3 or 4, assuming seven is the coldest. After adjusting the temperature, give your fridge a few hours to regulate and stabilize. Observe the contents to ensure they reach a consistent cooling level without freezing. If everything appears normal, this simple adjustment may solve the issue.
Step 2: Inspect the Door Seal
A faulty or damaged door seal can lead to excessive cooling, allowing cold air to escape and warm air to enter more easily. This could cause the compressor to work harder and longer, driving temperatures lower than desired. Carefully examine the door gasket for wear or damage, such as tears, cracks, or gaps. To test the seal’s effectiveness, close the door on a thin sheet of paper and see if it can be easily pulled out.
The seal may not be tight enough if the paper slides out with little resistance. Clean the gasket and surrounding areas with a soft cloth and warm, soapy water to remove debris or sticky residue. If cleaning doesn’t improve the seal, consider replacing the gasket to ensure a snug fit, which can help keep the interior temperature consistent and prevent freezing.
Step 3: Defrost the Fridge
Over time, frost can build up in a mini fridge, particularly around the evaporator coils, leading to uneven cooling and freezing of food items. To remove the frost, unplug the fridge and emptying its contents. Place towels around the base to catch any melting water. Leave the fridge door open to allow the frost and ice to melt naturally; this process might take several hours.
Do not use sharp objects or tools to scrape off ice, as this can damage the components. Once the ice has melted, thoroughly dry the interior using a soft cloth. After defrosting, plug the fridge back in and monitor its temperature to ensure the freezing issue is resolved.
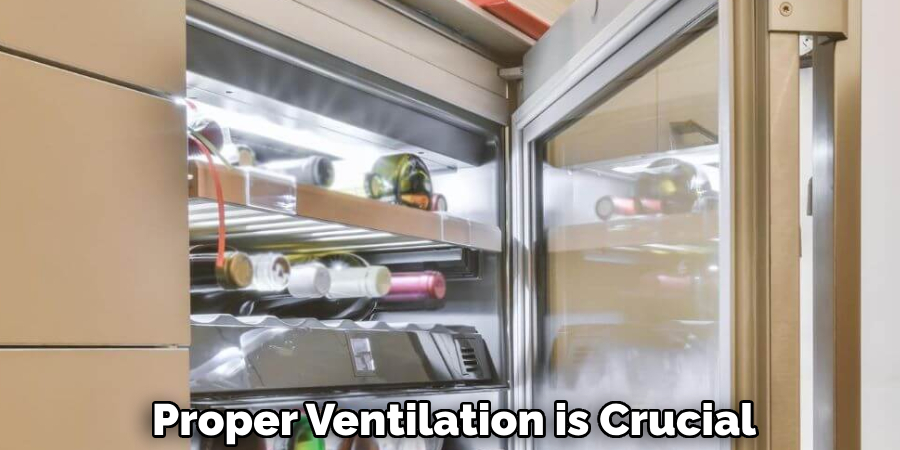
Step 4: Check the Ventilation
Proper ventilation is crucial for the efficient operation of your mini fridge. Blocked vents can obstruct the air circulation necessary to maintain an even temperature. To address this, begin by locating the vents typically positioned at the back or sides of the fridge’s interior. Ensure that no food items or containers are obstructing these areas. If vents are blocked, rearrange the contents of the refrigerator to allow air to flow freely. Additionally, clean the vents using a soft brush or vacuum cleaner attachment to remove any dust or debris that may have accumulated.
Step 5: Examine the Thermostat
If previous steps haven’t resolved the issue, it’s time to examine the thermostat, the component responsible for regulating the fridge’s temperature. A malfunctioning thermostat might sense the wrong temperature and cause the fridge to over-cool. Locate the thermostat inside the fridge, usually near the temperature control dial. Begin by carefully removing any housing to access the thermostat and inspect it for signs of damage, such as frayed wires or burnt connections.

If you’re comfortable doing so, test the thermostat with a multimeter to check for continuity. If the thermostat is faulty, it may need to be replaced. Ensure the replacement part is compatible with your mini fridge model. Reinstall or replace the thermostat accordingly and test the fridge’s operation afterward.
Step 6: Investigate the Compressor
The compressor is a key component that pumps refrigerant throughout your mini fridge. A malfunctioning compressor can cause irregular cooling and result in freezing. Start by unplugging the fridge and accessing the compressor at the back of the unit. Listen for any unusual sounds it makes, such as rattling or clicking, which might indicate mechanical failure. Carefully inspect the compressor and the surrounding area for visible signs of damage, leaks, or corrosion.
If you suspect the compressor is defective, consider consulting a professional for further diagnostics and repair, as replacing this component can be complex and costly. Should the compressor be in good condition but freezing persists, continue with the following troubleshooting steps to help identify the root cause and restore balanced cooling.
Step 7: Assess and Clean the Coils
Dirty or clogged coils can hinder the cooling efficiency of your mini fridge, potentially causing improper temperature regulation and freezing. Locate the coils, usually at the back or underneath the fridge. Start by unplugging the refrigerator to ensure safety, then gently move it away from the wall to access the coils. Use a vacuum cleaner with a brush attachment or a soft brush to remove accumulated dust and debris on the coils.
By cleaning the coils, you improve their ability to dissipate heat, which can help prevent the fridge from becoming too cold. After cleaning, return the refrigerator to its original position, plug it back in, and monitor its performance. If this step does not resolve the freezing issue, additional troubleshooting may be required to pinpoint the problem.
Step 8: Evaluate the Temperature Control Board
The temperature control board is the central unit that manages the settings and operation of your mini fridge, ensuring it maintains the desired temperature. If all previous steps have failed to resolve the freezing issue, there may be a malfunction with the control board itself. Access the temperature control board, typically behind a panel inside or at the back of the fridge.
Inspect for any signs of visible damage, such as burnt areas or loose connections. If comfortable, test the board with a multimeter to verify its functionality. Should you find it faulty, the control board might need replacing. Ensure the new board is compatible with your fridge model before installation.
Step 9: Check the Door Seal
A worn or damaged door seal can affect the efficiency of your mini fridge by allowing cold air to escape, leading the appliance to overcompensate and freeze food items. Inspect the door seal visually for any signs of wear, cracks, or tears. Close the door on paper or a thin sheet to ensure a tight seal. If you can easily pull it out, the seal may be compromised and require replacement. Clean the seal with warm water and mild detergent to remove any dirt or residue preventing a proper seal. If cleaning does not improve the seal, consider replacing the gasket with a new one that fits your fridge model.
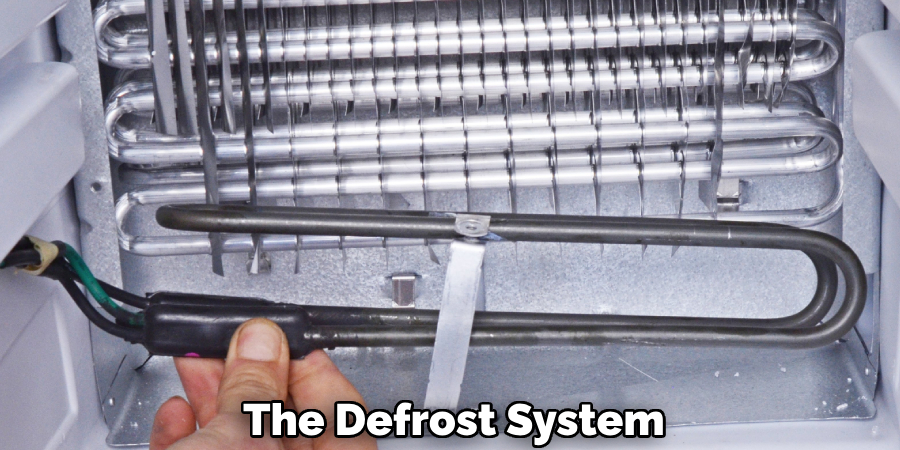
Step 10: Assess the Defrost System
The defrost system could malfunction if your mini fridge continues to freeze despite following the previous steps. The defrost system, including the heater, timer, and thermostat, prevents the buildup of frost that can contribute to freezing issues. First, locate the defrost components, which are often near the evaporator coils inside the fridge. Inspect the defrost heater and thermostat for signs of wear or damage, such as burnt or broken parts. A multimeter tests for continuity and determines whether these components function correctly.
Following these troubleshooting steps, you can identify and resolve common causes of a mini fridge freezing food.
Conclusion
In conclusion, how to fix a mini fridge that freezes everything requires a systematic approach to identify the underlying issue.
Following the detailed troubleshooting steps, you can address common problems, from airflow obstruction to malfunctioning components such as the thermostat and defrost system. Start by checking more straightforward solutions like rearranging contents and cleaning coils, then inspect more technical aspects like the compressor and control board if necessary. Addressing these elements logically ensures a thorough evaluation of your mini fridge, potentially saving on expensive professional repairs. Remember to exercise caution and consult a professional if you are unsure about handling electrical components.
You can restore your fridge’s optimal performance and prevent future freezing issues by taking proactive steps.