Holes in plastic fuel tanks are a common issue that can lead to fuel leaks, posing serious safety hazards and contributing to environmental damage. Whether caused by wear and tear, impact, or corrosion, these holes need to be addressed promptly to prevent further risks, such as fire hazards, toxic exposure, or contamination of soil and water sources.
Understanding how to fix a hole in a plastic fuel tank is essential for restoring its functionality and ensuring safety. Common repair methods include using epoxy resin for sealing small cracks, plastic welding to bond the material back together, or specialized tank repair kits designed for durable fixes. While many of these solutions are suitable for DIY enthusiasts, extensive damage or larger holes may require professional repair services or an outright tank replacement to guarantee a reliable fix.
Understanding the Problem
How Holes in Fuel Tanks Occur
Fuel tank holes can develop for various reasons, with impact damage being one of the most common causes. Collisions or heavy objects striking the tank may leave small dents that can progress into cracks or punctures. Over time, regular wear and tear also contribute to these defects, especially in older tanks.
For tanks made of plastic exposed to harsh conditions, corrosion isn’t usually an issue, but repetitive stress, UV exposure, or harsh chemicals can weaken the material. Even small cracks or pinholes, while seemingly minor, can escalate into larger issues if left unaddressed.
Signs of a Hole in the Tank
Recognizing the signs of a damaged fuel tank is essential. Common indicators include the strong smell of fuel, visible leaks, or a noticeable decrease in fuel efficiency. You may also observe puddles of fuel under the vehicle or machinery when it is stationary. These signs point to a possible breach and require immediate attention to avoid further complications.
Why It’s Important to Act Quickly
Addressing a hole in the fuel tank as soon as it’s identified is critical for several reasons. First, it helps prevent unnecessary fuel wastage and environmental contamination, such as soil or water pollution.
Additionally, leaks increase the risk of fire hazards, especially in high-temperature settings. Lastly, a compromised fuel tank can lead to insufficient fuel delivery to the engine, causing performance issues or even engine failure. Tip: Always start by identifying the size and exact location of the hole to determine the best repair approach.

Safety Precautions Before Repair
Drain the Fuel
Before beginning the repair process, it is essential to empty the fuel tank. This helps prevent fuel spills, which can create slippery and hazardous conditions and minimizes the risk of fire hazards. Use a fuel-safe container to collect the drained fuel and ensure it is stored securely, away from the work area, and in a cool, well-ventilated place.
Ventilate the Work Area
Proper ventilation is crucial to disperse potentially harmful fuel vapors that can accumulate during repair. Always work in an outdoor setting or a space with sufficient air circulation. This reduces the risk of inhaling toxic fumes and greatly diminishes the chances of an accidental ignition due to flammable vapors.
Wear Protective Gear
Always wear appropriate protective gear to protect yourself from fuel exposure and harmful fumes. This includes gloves to shield your hands, goggles for eye protection, and a mask to prevent inhalation of fuel vapors. These precautions are vital in ensuring your safety throughout the repair process.
Eliminate Fire Hazards
Fuel is highly flammable, so removing any potential ignition sources from the work area is important. This includes open flames, electrical sparks, and heat-producing tools. Ensure that the environment is free from anything that could ignite the fuel or its vapors.
Tip: Prioritize safety at every step to avoid accidents or health risks during the repair.
Materials and Tools Needed
Adhesive or Repair Materials
- Epoxy resin or a fuel tank repair kit specifically designed for plastic tanks.
- Plastic welding kit for durable and permanent repairs.
Tools for Preparation
- Sandpaper or a wire brush to clean and roughen the damaged area.
- Utility knife or scissors to trim damaged plastic edges carefully.
Cleaning Supplies
- Degreaser or rubbing alcohol to thoroughly clean the surface.
- Microfiber cloths to wipe and ensure the area is dry.
Additional Equipment
- A heat gun is essential for efficient plastic welding.
- Clamps are used to secure patches during the curing process.
Tip: Ensure all materials and tools are specifically designed for compatibility with fuel tanks and are resistant to gasoline or diesel exposure to guarantee a reliable repair.
How to Fix a Hole in A Plastic Fuel Tank: Step-by-Step Repair Using Epoxy or Repair Kits
Step 1: Clean the Area
Thoroughly clean the area around the hole using a degreaser or rubbing alcohol. Ensure that all dirt, grease, and residue are removed, leaving a clean surface to work with.
After cleaning, sand the surface around the damaged area to remove any remaining debris and create a rough texture. This rough surface helps the epoxy adhere more effectively, ensuring a secure repair.
Step 2: Prepare the Epoxy
Carefully mix the epoxy according to the manufacturer’s instructions. Most epoxies come in two parts that need to be combined in exact proportions. Blend the components thoroughly until you achieve a consistent texture, ensuring the adhesive will provide maximum strength and durability once applied.
Step 3: Apply the Epoxy
Spread the mixed epoxy over the hole, making sure to cover not just the hole but also the surrounding area for added reinforcement. Use a spatula, applicator tool, or even a piece of cardboard to smooth the epoxy evenly and eliminate air pockets. The coverage should be thick enough to effectively seal the hole and hold firm under pressure.
Step 4: Allow to Cure
Leave the epoxy to cure according to the product’s instructions. This usually takes about 24 hours, but curing times may vary depending on the brand and type of epoxy. During this period, avoid moving or filling the tank to allow the bond to strengthen fully without disturbance.
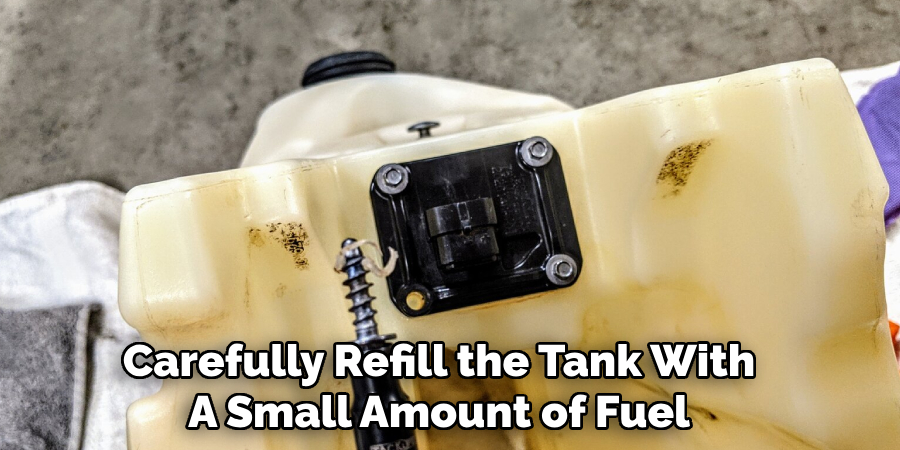
Step 5: Test the Repair
Once the epoxy has fully cured, carefully refill the tank with a small amount of fuel to test the repair. Observe the area closely for leaks. If no leaks are present, the repair can be considered successful. Make sure to monitor for any signs of weakness over time and address them promptly if they arise.
How to Fix a Hole in A Plastic Fuel Tank: Step-by-Step Repair Using Plastic Welding
Step 1: Prepare the Area
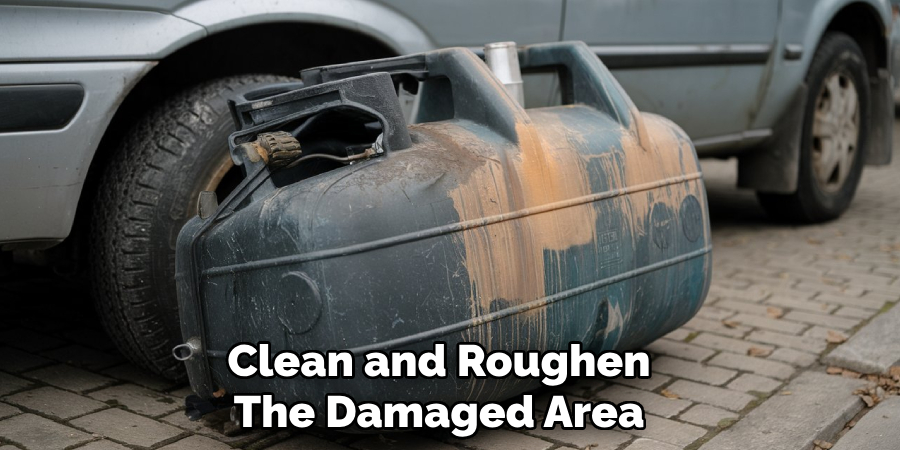
Begin by preparing the damaged area. Clean the surface around the hole thoroughly to remove any dirt, grease, or debris, as these can interfere with the repair.
Use a sandpaper or abrasive pad to roughen the surface surrounding the hole, which helps the plastic filler adhere better. If there are jagged or uneven edges around the hole, use a utility knife to trim them, ensuring a smoother repair process.
Step 2: Heat the Plastic
Using a heat gun, carefully heat the plastic around the hole until it becomes soft and malleable. Be cautious not to overheat the plastic as it can cause further deformation or weaken the material. Maintain a steady distance between the heat gun and the surface to ensure gradual heating.
Step 3: Add Plastic Filler
Once the plastic is adequately heated, introduce a plastic welding rod to the damaged area. Melt the rod into the hole using the heat gun, filling the gap completely. Use a welding tool or spatula to spread the melted plastic evenly over the surface and ensure proper coverage.
Step 4: Smooth the Surface
While the melted plastic is still warm, smooth the surface to create a uniform and seamless repair. This step helps improve the durability of the repair and prevents weak points where new leaks could develop. Be careful not to disturb the plastic too much during this stage.
Step 5: Allow to Cool
After smoothing the surface, let the repaired area cool and solidify fully. This step is crucial, as premature handling could compromise the quality of the repair. Be patient and ensure the plastic is completely hardened before proceeding.
Step 6: Test the Repair
Once the area has cooled and solidified, partially refill the tank with fuel and check the repaired area for any signs of leakage. If no leaks are present, the repair is successful. Continue to monitor the tank periodically to ensure the repair holds under normal use conditions.
When to Seek Professional Help
Severe Damage
There are instances where professional expertise is necessary to ensure the safety and reliability of your fuel tank. Large holes, significant cracks, or structural damage may exceed the capabilities of DIY repair methods. Professionals have access to advanced plastic welding techniques that effectively address severe damage.
Additionally, in cases where the damage is too extensive, they can replace specific sections or even the entire tank if needed, ensuring your vehicle’s integrity and performance.
Persistent Leaks
If your DIY repair attempts fail to stop leaks completely, it’s time to consult a professional. Persistent leaks could pose safety risks, including fuel wastage and potential fire hazards. A professional repair service can provide a more durable and reliable solution, using specialized tools and high-grade materials to resolve the issue fully.
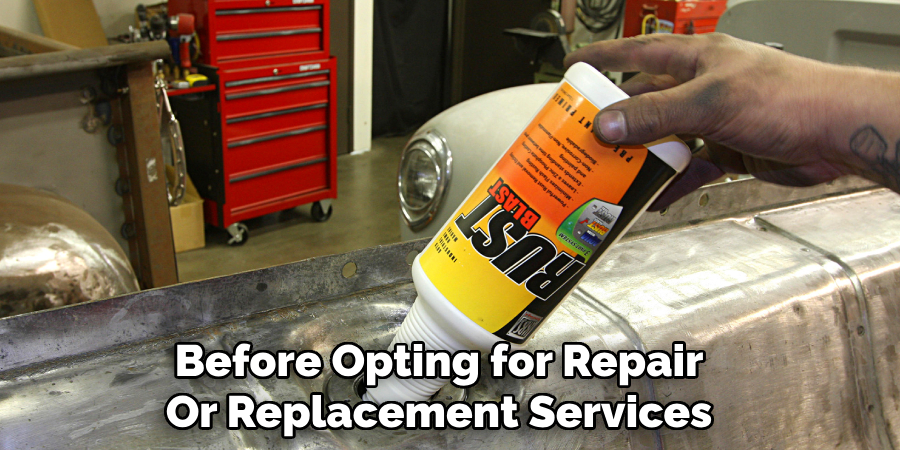
Warranty or Insurance Considerations
Before opting for repair or replacement services, check if your fuel tank is covered under a warranty or an insurance policy. Many manufacturers provide coverage for defects or damages, saving you significant costs. Professionals are equipped to handle such claims and provide documentation to streamline the process, ensuring hassle-free and efficient repair.
Conclusion
Understanding how to fix a hole in a plastic fuel tank is essential to prevent fuel leaks, environmental harm, and safety hazards. Repairing holes requires careful steps such as using epoxy resin or plastic welding techniques, both of which provide effective solutions when performed correctly.
Always prioritize safety measures, like working in a well-ventilated area and avoiding open flames during the repair process. Regular maintenance and inspections help detect early damage and prevent costly repairs in the future. For severe damage or persistent leaks, seeking professional assistance ensures a safe, reliable, and lasting fix for your fuel tank issues.