Carts are indispensable tools used in various settings, from transporting groceries to organizing storage or completing utility tasks. However, a common issue many people encounter is the bottom of the cart coming loose or detaching entirely.
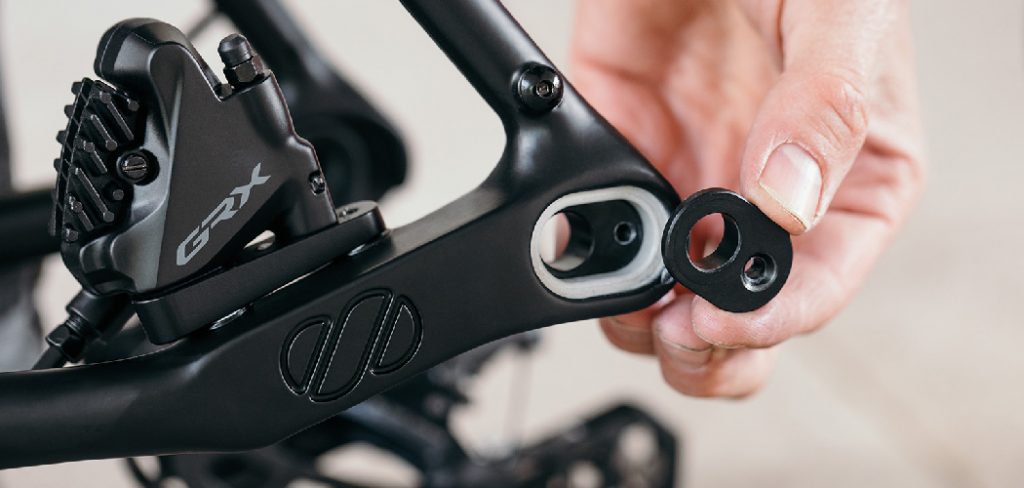
This problem can turn an otherwise functional cart into a source of frustration, as it becomes unusable and makes transporting items nearly impossible. Thankfully, knowing how to fix a cart when the bottom comes off can save you time, money, and the hassle of replacing it.
Fixing this issue typically involves reattaching the bottom securely, addressing any weak points, and reinforcing the structure to ensure long-term durability. This guide provides step-by-step instructions, from assessing the damage to using the appropriate tools and materials for the repair. By following these simple methods, you can restore your cart and extend its lifespan, keeping it reliable for future use.
Assessing the Damage
Before you begin the repair process, it’s crucial to assess the damage to your cart thoroughly. This step ensures you use the right tools and methods for a successful restoration.
Identifying the Type of Cart
The material of your cart—whether it’s metal, plastic, or wood—will significantly affect the repair approach. Metal carts may require welding or the use of heavy-duty screws, while plastic carts might need adhesives or epoxy for a secure fix. Wooden carts, on the other hand, often involve wood glue, nails, or screws designed specifically for wood. Determining the cart’s construction is key to selecting the appropriate tools and materials for the job.
Checking for Missing or Broken Components
Carefully inspect the cart for any screws, bolts, or fasteners that might be missing or damaged. Missing hardware can compromise the cart’s stability, so you’ll need to replace these components with ones of the correct size and type. Additionally, check the frame and bottom surface for cracks or broken sections that may require reinforcement or replacement.
Determining the Extent of the Damage
Examine whether the bottom has completely detached or is simply loose. This will help you decide whether you need to fully reattach the panel or just reinforce the weak spots.
For severely damaged components, consider replacing them with new parts. A thorough inspection allows you to determine whether repairing, reinforcing, or replacing pieces is the best course of action.
Tip: Investing time in a detailed assessment ensures a more efficient repair and minimizes the likelihood of future issues.
Gathering the Necessary Tools and Materials
To efficiently repair your cart, gathering all the tools and materials you’ll need beforehand is crucial. Having the right supplies on hand saves time and ensures the quality of your repair work.
Basic Tools for the Job
Start by assembling the essential tools for the task. These typically include screwdrivers, pliers, wrenches, hammers, and power drills. Each tool serves a specific purpose, such as tightening loose screws or disassembling parts for replacement. Additionally, make sure to select the correct size and type of screws, bolts, or fasteners for your cart. Using mismatched hardware can lead to an unstable structure or further damage.
Materials for Reinforcement
To strengthen your cart, consider using materials such as wood glue, epoxy, or metal brackets. These can be ideal for fixing cracks, securing joints, or reinforcing weak areas. For wooden carts, wooden dowels or corner brackets work well to add structural support while maintaining the integrity of the design.
Replacement Parts
Replacing any components is often the best option if they are too damaged to repair. Opt for durable replacements such as high-quality screws, bolts, or rivets. If the cart’s bottom panel is cracked or broken, prepare to replace it with a new plywood panel or metal sheet that suits the cart’s design and intended use.
Tip: Having all the necessary tools and materials ready before starting ensures a smoother repair process and reduces the chances of delays.
Preparing the Cart for Repair
Emptying the Cart
Ensure the cart is empty of items before starting the repair to avoid additional strain on the structure. Move the cart to a clean, flat work surface to allow for easy access to all areas.
Cleaning the Cart
Clean the cart thoroughly to remove dirt, dust, or debris that may interfere with the repair. Wipe down the frame and the bottom surface to ensure a secure bond when reattaching.
Removing Old Fasteners or Damaged Parts
Use a screwdriver or wrench to remove any loose or damaged screws, bolts, or fasteners that are holding the bottom in place. If the bottom was glued or nailed, carefully pry off the damaged components.
Tip: A clean and properly prepared surface ensures solid and durable repair.
How to Fix a Cart When The Bottom Comes Off: Reattaching or Reinforcing the Bottom
Using Screws or Bolts
If the cart’s bottom can be screwed back in place, align the holes in the bottom panel with those on the cart frame. Insert new screws or bolts through these aligned holes, ensuring a snug fit. Use a screwdriver or wrench to tighten the fasteners firmly.
Make sure the bottom sits flush against the frame to avoid gaps that might weaken the structure. If existing holes are damaged or misaligned, drilling new ones slightly wider can provide a more secure fit. Make sure to center the holes appropriately to distribute the weight evenly.
Using Glue or Epoxy for Plastic or Wood Carts
For plastic or wood carts, a strong adhesive or epoxy can serve as an effective alternative to mechanical fasteners. Begin by applying a generous layer of glue or epoxy along the edges of the bottom panel and the corresponding sections of the cart frame. Place the bottom back into position and press firmly to ensure proper adhesion.
Clamps are used to hold the pieces together to strengthen the bond while the adhesive sets. Consult the adhesive manufacturer’s instructions for specific drying times to ensure the glue cures completely before using the cart. A properly cured adhesive provides a seamless bond and restores the cart’s functionality.
Reinforcing with Brackets or Corner Supports
Consider reinforcing the cart bottom with metal brackets or wooden corner supports for added durability. Attach these reinforcements at key stress points where the frame and bottom meet. Secure the brackets using screws or bolts, ensuring they are tightly fastened to both the frame and the bottom panel.
Reinforcements like these help distribute weight evenly across the frame and can prevent the bottom from sagging or detaching over time. If the cart has weak or cracked sections, reinforcing these areas with additional supports will enhance its strength and longevity.
Tip: Reinforcement not only improves the immediate repair but also ensures that the cart can handle weight and be used regularly without recurring issues. Choose high-quality materials for screws, glue, or brackets to maximize the effectiveness of the repair.
Replacing the Cart Bottom
When to Replace the Entire Bottom
Replacing the entire bottom may be necessary if the cart’s bottom is severely damaged or cracked beyond repair. For wooden carts, consider using a new, durable plywood panel as a replacement. For metal carts, a replacement metal bottom can be purchased or custom-fitted. Determining when to fully replace the bottom is essential to ensure the cart remains functional and safe for use, particularly when damage compromises its load-bearing capacity.
Measuring and Cutting the New Bottom
To achieve a proper replacement, start by accurately measuring the dimensions of the existing bottom or the cart’s frame. This ensures the new piece will fit seamlessly. For wooden replacements, use a saw to carefully cut a plywood panel to the required size.
For metal replacements, a metal cutter or grinder can be used to shape the piece precisely. Taking accurate measurements and cutting carefully will ensure the replacement is effective and avoids costly mistakes.
Attaching the New Bottom
Once the new bottom is ready, position it securely against the cart frame. Use screws, bolts, or strong adhesive to attach it firmly. To enhance stability and durability, reinforce the attachment with brackets or additional screws at stress points. This ensures the new bottom can handle heavy loads and be used regularly without failure.
Tip: Replacing the bottom ensures a long-lasting repair, especially when the damage is irreparable. Using high-quality materials for the replacement and attachments will further improve the cart’s durability and reliability.
Conclusion
Learning how to fix a cart when the bottom comes off is a straightforward process that, when done correctly, can result in a sturdy and functional repair. Begin by assessing the damage to determine whether you can reattach the existing bottom or need to replace it completely.
Gather the necessary tools and high-quality materials, such as screws, bolts, brackets, or strong adhesives. Carefully prepare the surface by cleaning and smoothing it, then reattach or replace the bottom securely, reinforcing weak spots with brackets or additional screws to enhance durability.
Regular maintenance is vital to preventing future issues—periodically check for wear and tear, tightening or replacing components as needed. Using the right tools, materials, and techniques can save time and money on professional repairs while ensuring your cart remains in good working condition. With proper care, your cart will operate reliably for years to come.