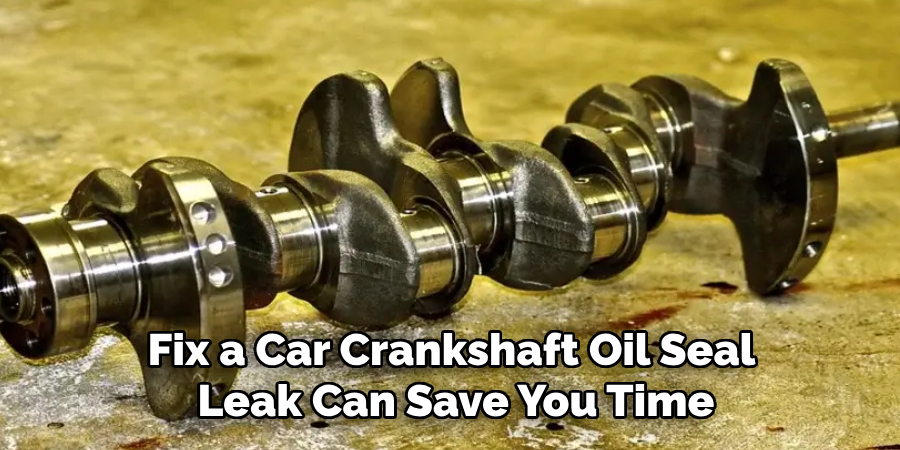
The crankshaft is a vital component of your car’s engine, responsible for converting the linear motion of the pistons into rotational motion needed to drive the vehicle. Over time, crankshafts can experience wear, damage, or misalignment, which can lead to engine problems or even complete failure. Understanding how to identify issues and fix a crankshaft can save you significant repair costs and help ensure the longevity of your engine.
This guide on how to fix a car Crankshaft will walk you through the fundamentals of diagnosing, repairing, and maintaining your car’s crankshaft.
Common Causes of Crankshaft Damage
Crankshaft damage can arise from several factors, many of which are tied to improper maintenance or operational stress. Some of the most common causes include:
Oil Starvation:
Insufficient lubrication can lead to excessive friction and heat, causing wear or warping of the crankshaft. Regular oil changes and monitoring oil levels are critical to avoiding this issue.
Overloading the Engine:
Pushing the engine beyond its designed limits, such as through excessive towing or aggressive driving, can impose excessive stress on the crankshaft and lead to cracks or bending.
Improper Installation:
During engine assembly or repair, an improperly installed crankshaft can result in misalignment or uneven stress distribution, leading to premature damage.
Poor Maintenance of Bearings:
Worn-out or damaged bearings can cause the crankshaft to move erratically, potentially leading to scuffing, scoring, or outright failure of the component.
Contamination in the Oil:
Dirt, debris, or metal particles in the engine oil can accelerate wear on the crankshaft’s surface. Regular oil filtration and system checks can help prevent this.
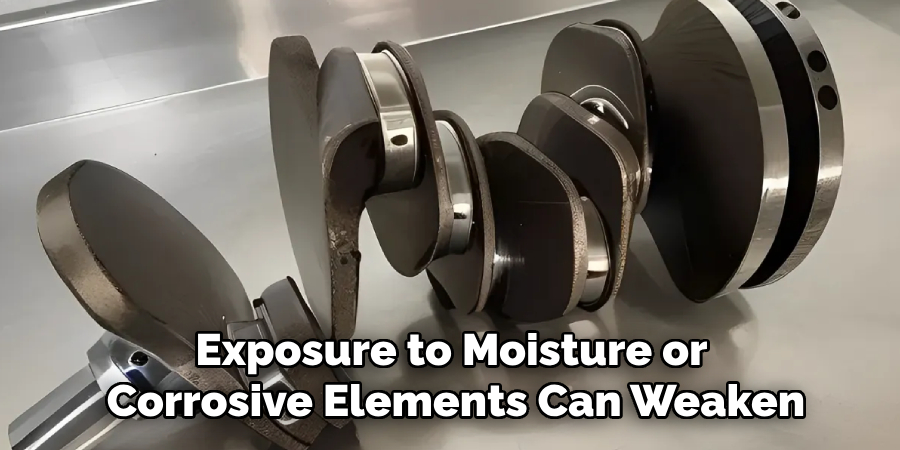
Corrosion:
Prolonged exposure to moisture or corrosive elements can weaken the crankshaft material over time. This is especially common in engines left idle for extended periods.
Understanding these common causes is crucial to identifying early signs of crankshaft damage and taking preventive action to protect your engine.
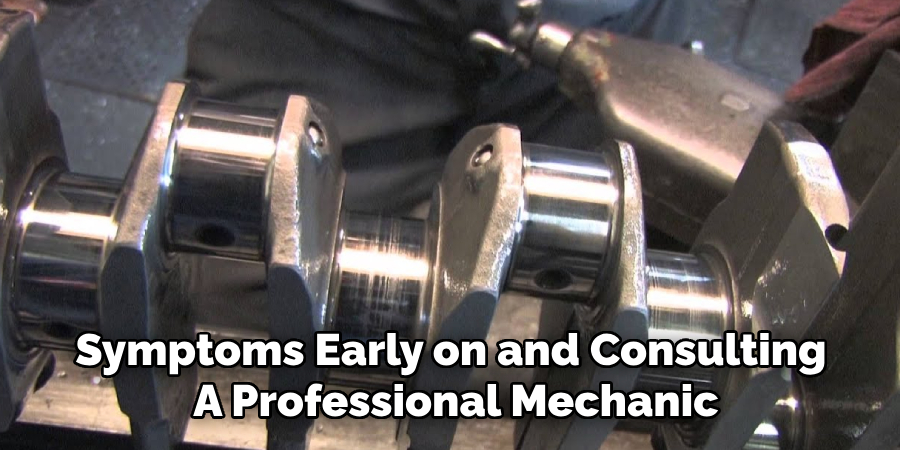
Symptoms of a Damaged or Failing Crankshaft
Recognizing the symptoms of a damaged or failing crankshaft is vital to maintaining engine performance and avoiding costly repairs. Here are some common signs to watch for:
Unusual Engine Vibrations
A damaged crankshaft can cause an imbalance in the engine, leading to excessive vibrations. This may result in an unusually shaky driving experience and potential damage to other engine components.
Difficulty Starting the Engine
A failing crankshaft may disrupt the engine’s timing or alignment, making it harder to start the vehicle. It may take multiple attempts to get the engine running.
Knocking or Tapping Sounds
Worn crankshaft bearings can create knocking or tapping noises, especially at lower RPMs. These sounds are an early warning sign that the crankshaft needs inspection.
Oil Leaks or Low Oil Pressure
Damage to the crankshaft seals or bearings can cause engine oil to leak, which might lead to drops in oil pressure. Prolonged low oil pressure can exacerbate crankshaft wear and engine damage.
Reduced Engine Performance
A faulty crankshaft can disrupt the combustion process, leading to decreased power, poor acceleration, or lower fuel efficiency.
Identifying these symptoms early on and consulting a professional mechanic for further diagnostics can help prevent significant engine damage and ensure a longer lifespan for your vehicle.
Tools and Materials Needed
- Socket and Torque Wrench Set
- Engine Hoist (if Full Removal is Needed)
- Crankshaft Pulley Puller
- Micrometer or Dial Gauge (for Measuring Wear)
- Plastigauge (for Bearing Clearance)
- New Crankshaft or Repair Kit (if Applicable)
- Main and Rod Bearings
- Engine Rebuild Gasket Kit
- Engine Oil and Filter
- Shop Manual for Specifications
10 Steps on How to Fix a Car Crankshaft
Step 1: Prepare Your Tools and Materials
Start by gathering all the tools and materials listed above to ensure a smooth and efficient repair process. Double-check that you have the appropriate sizes for wrenches, sockets, and any specialized tools like the crankshaft pulley puller.
Organize everything in a clean, well-lit workspace to avoid frustration during the repair. Having easy access to all items, including the shop manual for reference, will help prevent delays and potential mistakes as you proceed with the crankshaft repair.
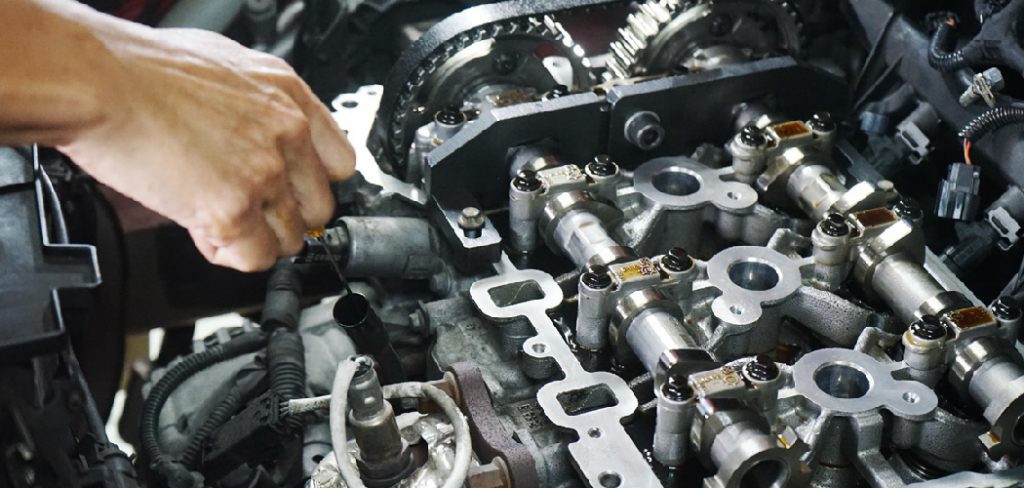
Step 2: Remove the Engine
Begin by disconnecting the negative terminal of the battery to ensure safety during the removal process. Drain the engine oil and coolant by opening the respective drain plugs, being cautious to collect the fluids in appropriate containers for later disposal or recycling. Next, disconnect all wiring harnesses, fuel lines, and cooling hoses attached to the engine, labeling them if necessary to simplify reinstallation.
Remove the exhaust manifold, motor mounts, and any brackets securing the engine to the vehicle frame. Use an engine hoist or lift to carefully support and extract the engine from the vehicle. Proceed slowly and methodically, double-checking that nothing remains attached or obstructing the engine during removal. Place the engine on a sturdy work stand to prepare it for further disassembly.
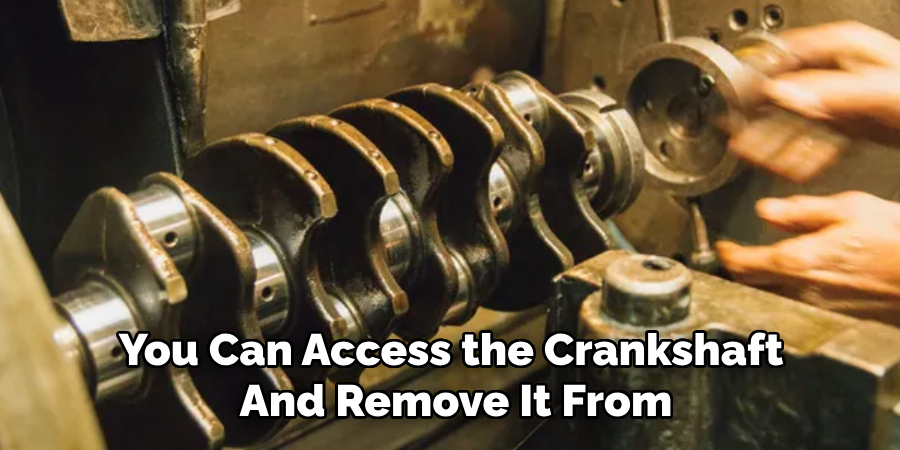
Step 3: Disassemble the Engine
Next, you will need to disassemble the engine in order to access and remove the crankshaft. This may involve removing components such as the oil pan, timing chain or belt, connecting rods, pistons, and camshaft. It is important to carefully keep track of all parts removed and their location for reassembly.
Once the engine is disassembled, you can access the crankshaft and remove it from the engine block. This may involve using a special tool to support the engine while removing the main bearing caps and then lifting out the crankshaft. Be sure to also remove any remaining bearings or seals on the crankshaft before proceeding.
Step 4: Inspect and Clean
After removing the crankshaft, it is important to inspect it for any signs of damage or wear. Look for cracks, scratches, or uneven wear as these could indicate potential issues with your engine’s performance. You may also want to use a micrometer tool to measure the crankshaft’s journals and compare them to factory specifications.
If the crankshaft appears to be in good condition, you can clean it with a degreaser and a wire brush. This will remove any built-up grime or debris that could affect its performance. Be sure to also clean the oil passages thoroughly to ensure proper lubrication. Once cleaned, dry the crankshaft with compressed air or a lint-free cloth.
Step 5: Install New Bearings
After inspecting and cleaning the crankshaft, it is time to install new main bearings. These bearings provide a smooth surface for the crankshaft to rotate on and help reduce friction. Begin by applying a thin layer of assembly lube to each bearing before placing them into their respective positions in the engine block.
Make sure to follow the manufacturer’s instructions for proper placement and orientation of the bearings.
Step 6: Reinstall the Crankshaft
With the new bearings in place, carefully lower the crankshaft back into the engine block. Ensure that it is properly seated and aligned with the bearings. Take your time during this step to avoid causing any damage to the newly installed components.
Once the crankshaft is in position, check that it rotates smoothly by hand. If you feel any resistance or binding, double-check the alignment and seating of the crankshaft and bearings. Proper installation is crucial for the engine’s performance and longevity.
Step 7: Replace Rear Main Seal
With the crankshaft properly installed, the next step is to replace the rear main seal. Begin by selecting the correct seal for your engine to ensure a proper fit. Apply a thin layer of engine oil or sealant around the edges of the new seal to assist with installation and prevent leaks. Carefully position the seal over the rear of the crankshaft and press it into place using a seal driver or a similar tool.
Make sure the seal sits evenly and flush with the engine block or housing. This step is vital to prevent oil leaks and to maintain proper engine function, so take your time and double-check the installation before moving on.
Step 8: Install New Oil Pump
Before installing the new oil pump, ensure that the mounting surface is clean and free of any debris or old gasket material. Position the oil pump carefully over the engine block, aligning it with the bolt holes. If a gasket is required, place it in position prior to mounting the pump. Once aligned, hand-thread the bolts to secure them in place before tightening them to the specified torque using a torque wrench.
Follow the recommended pattern for tightening to ensure even pressure across the oil pump. After installation, double-check all connections and ensure the pump moves freely, as proper installation is crucial for maintaining oil circulation and engine performance.
Step 9: Reattach Oil Pan
Carefully position the oil pan back into place, ensuring that the gasket is properly aligned to create a secure seal. Hand-thread the bolts to hold the oil pan in position, then tighten them evenly using a torque wrench to the specified torque value.
Follow a crisscross tightening pattern to distribute pressure uniformly across the gasket and prevent leaks. Once the oil pan is securely attached, double-check the seal and bolt tightness before proceeding to the next step.
Step 10: Install New Oil Filter and Fill with Fresh Oil
Finally, install a new oil filter and fill the engine with fresh oil. It’s important to use the recommended type of oil for your specific engine to ensure optimal performance.
Following these steps on how to fix a car Crankshaft oil seal leak can save you time and money, as well as prevent further damage to your engine. Regularly checking and maintaining the condition of your car’s seals can also help avoid future leaks and costly repairs.
Conclusion
Fixing a crankshaft oil seal leak requires careful attention to detail and adherence to the correct steps. By addressing the issue promptly, you can extend the life of your engine and maintain your vehicle’s performance.
Regular maintenance and inspections are key to preventing leaks and ensuring your car runs smoothly. With the right tools, materials, and knowledge, you can handle this repair confidently and keep your engine in excellent condition. Thanks for reading this article on how to fix a car Crankshaft.