Are you tired of your double-walled tumbler constantly leaking or not staying insulated? Don’t worry, you’re not alone. Many people experience this issue with their tumblers, but luckily, it’s an easy fix!

Double wall tumblers are a popular choice for keeping beverages at their optimal temperature, whether hot or cold. However, these tumblers can sometimes encounter issues like condensation between the walls, cracks, or a loose seal. Fixing these problems might seem daunting, but with the right tools and guidance, most issues can be resolved at home.
This guide on how to fix a double wall tumbler will walk you through identifying common problems with double wall tumblers and provide step-by-step solutions to restore their functionality and prolong their lifespan.
What Are the Benefits of Using a Double-Wall Tumbler?
Double wall tumblers have gained popularity in recent years as they offer a variety of benefits compared to traditional single-wall tumblers. Some of the main advantages include:
- Temperature Control: The double wall design provides insulation, keeping your drink hot or cold for longer periods without any external heat or cold being transferred.
- Durability: The extra layer adds strength and durability, making these tumblers less prone to cracks or breaks.
- Condensation Prevention: With two layers, there is minimal contact between the inner and outer walls, preventing condensation from forming on the outside of the tumbler.
- Versatility: Double-walled tumblers can be used for both hot and cold drinks, making them a versatile choice for all seasons.
- Eco-friendly: Reusable double-walled tumblers are an environmentally friendly option that reduces the use of disposable cups and bottles, reducing waste and promoting sustainability.
What Will You Need?
To make your double-walled tumbler, you will need the following materials:
- A clear tumbler or glass
- An inner tumbler or glass that fits snugly inside the outer one (this can be found at most kitchen supply stores)
- Epoxy resin glue
- Paint brush
- Measuring cup and spoon
- Optional: glitter, stickers, or other decorations for personalization
10 Easy Steps on How to Fix a Double Wall Tumbler
Step 1. Clean the Tumbler Components
Before beginning the repair, ensure that both the outer and inner components of the tumbler are thoroughly cleaned. Use warm, soapy water to wash away any dust, dirt, or residue that may have accumulated on the surfaces. Once washed, dry both parts completely with a lint-free cloth to prevent moisture from interfering with the adhesive process. It’s essential to have a clean and dry surface to ensure the epoxy resin glue bonds effectively. If there are stubborn stains or adhesive remnants, consider using rubbing alcohol or a mild cleaning solution to remove them. This preparation step sets the foundation for a seamless and durable repair.

Step 2. Inspect for Damage
Carefully examine both surfaces for any cracks, chips, or other forms of damage. Pay particular attention to areas where the adhesive will be applied, as imperfections can weaken the bond. Use a magnifying glass if necessary to identify small cracks or flaws that may not be immediately visible. If any loose debris or particles are present, gently remove them to ensure a clean surface. For extensive damage, consider sanding the area lightly to create a smooth and even surface, which will help improve the adhesion of the epoxy resin glue.
Step 3. Prepare the Epoxy Resin
To prepare the epoxy resin, begin by reading and following the manufacturer’s instructions carefully, as the mixing ratio may vary depending on the product. Typically, epoxy resin consists of two components: the resin and the hardener, which must be combined in the correct proportions. Use a clean, disposable container to mix the two parts, as the mixture will harden and become difficult to remove. Stir the components thoroughly for the recommended amount of time, ensuring a uniform and homogenous mixture. Avoid mixing too quickly as this can introduce air bubbles, which may weaken the adhesive bond. Once prepared, use the epoxy resin immediately, as its working time is limited before it starts to cure.
Step 4. Apply the Epoxy Resin
Using a clean applicator or tool, carefully apply the mixed epoxy resin to the desired surface. Ensure an even and consistent layer to maximize adhesion and durability. For bonding surfaces, press them together firmly and secure them in place using clamps or weights if necessary. Be precise during application, as excess resin can be difficult to remove once curing begins. Work efficiently but cautiously, keeping in mind the resin’s limited working time.

Step 5. Fit the Inner and Outer Tumblers Together
Once the epoxy resin is applied, carefully align the inner tumbler with the outer tumbler. Ensure that the pieces are properly oriented and fit snugly together without excessive force. Slowly slide the inner tumbler into the outer tumbler, making adjustments as needed to achieve a perfect fit. If necessary, use a soft cloth or a rubber mallet to gently tap the pieces into place, avoiding damage to the tumblers. Double-check the alignment to ensure there are no gaps or misalignments before allowing the resin to begin curing.
Step 6. Allow the Resin to Cure
Once the tumblers are properly aligned and securely in place, allow the resin to cure undisturbed. Refer to the manufacturer’s instructions for the recommended curing time, which typically ranges from 24 to 48 hours. Ensure the tumblers are placed on a flat, level surface in a well-ventilated area, away from direct sunlight or dust. Resist the urge to touch or move the pieces during this period, as any disturbance can compromise the strength and finish of the bond. Proper curing is essential to achieve a durable and long-lasting result.
Step 7. Seal Any Gaps
Inspect the edges and seams of the tumbler carefully to identify any gaps or areas where the epoxy might not have fully settled. Using a small applicator or brush, apply a thin layer of epoxy resin to these areas to ensure complete coverage and a seamless finish. Smooth the epoxy with a gloved finger or a silicone tool to blend it with the surrounding surface. Allow the additional epoxy to cure according to the manufacturer’s instructions. Sealing these gaps not only enhances the appearance of the tumbler but also ensures it remains watertight and durable over time.
Step 8. Decorate Your Tumbler
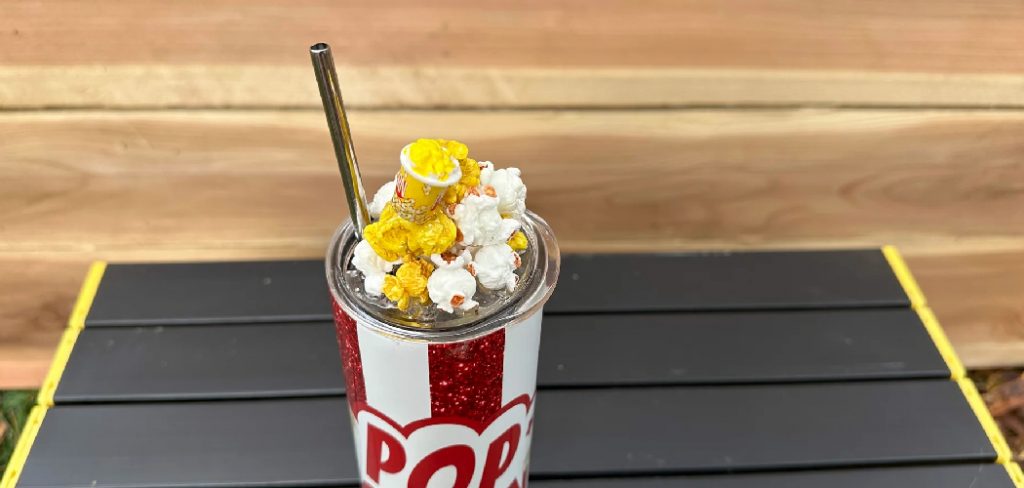
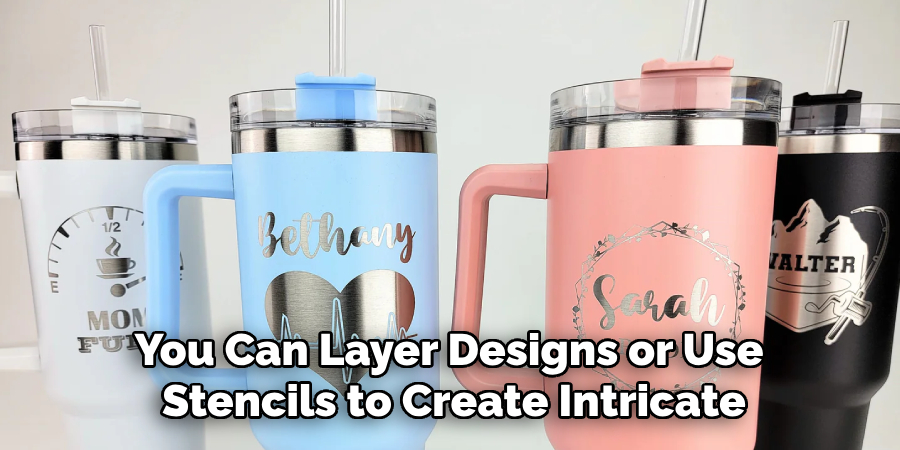
Now that your tumbler is fully sealed and ready, it’s time to bring your creativity to life. Start by planning your design, whether it’s using vinyl decals, paint, glitter, or patterned wraps. Carefully apply your chosen decorative elements, ensuring they adhere properly to the tumbler’s surface. For a more polished look, you can layer designs or use stencils to create intricate patterns. Once you’re satisfied with your decoration, consider applying an additional layer of epoxy resin to seal the design and provide a smooth, glossy finish. This final touch will not only protect your artwork but also give your tumbler a professional and durable appearance.

Step 9. Test for Leaks
Before using your customized tumbler, it’s essential to ensure that it is watertight and free of any leaks. Begin by filling the tumbler with water and securely attaching the lid. Gently tilt the tumbler in different directions and observe for any signs of leaking around the seams or lid. If any leaks are detected, consider resealing the areas using food-safe, waterproof silicone or double-checking the lid for proper fit. This step is crucial to confirm that your tumbler is ready for regular use without compromising functionality.
Step 10. Enjoy Your Restored Tumbler
Now that your tumbler has been thoroughly cleaned, inspected, and restored, it’s time to enjoy the results of your efforts. Fill your tumbler with your favorite beverage, whether it’s a piping hot coffee, a refreshing iced tea, or just good old water. Take pride in knowing that you’ve extended the life of your tumbler while supporting sustainability. Maintain regular care, and your tumbler will continue to serve you well for years to come!
By following these steps, you can easily restore your stainless steel tumbler and keep it looking as good as new.
5 Things You Should Avoid
- Using Harsh Chemicals
Avoid using abrasive cleaners or harsh chemicals like bleach when cleaning or attempting to fix your tumbler. These substances can damage the stainless steel or compromise the integrity of the double-wall insulation.
- Applying Excessive Heat
Never expose your tumbler to extreme heat, such as placing it in an oven or using a high-heat blow dryer. Excessive heat can damage the vacuum seal or warp the materials.
- Submerging in Water for Prolonged Periods
Prolonged soaking can cause water to seep into the space between the walls, undermining the insulating properties and leading to internal damage.
- Using Sharp Tools
Avoid using sharp objects to remove dents or repair your tumbler. This can scratch the surface, compromise the vacuum seal, or even puncture the inner lining.
- Over-tightening the Lid
Over-tightening the lid or other components can wear down seals or threads, leading to leaks or a less effective seal over time. Always screw the lid on snugly but don’t force it.

Conclusion
How to fix a double wall tumbler requires care and an understanding of its design. Identify the issue, whether it’s a dent, a damaged seal, or condensation between the walls, and address it appropriately.
Avoid using tools or methods that could compromise the tumbler’s structure or vacuum insulation. Regular maintenance, such as cleaning with mild detergent and ensuring the seals are intact, can help prevent issues before they arise. If a problem persists or cannot be fixed at home, consider reaching out to the manufacturer for support or replacement options.
Proper handling and repair can extend the life of your tumbler and maintain its performance.
