Are you wondering how to fix scratches on the beloved Stanley Cup? Look no further! In this guide, we will walk you through the steps to restore the shiny surface of the Stanley Cup.
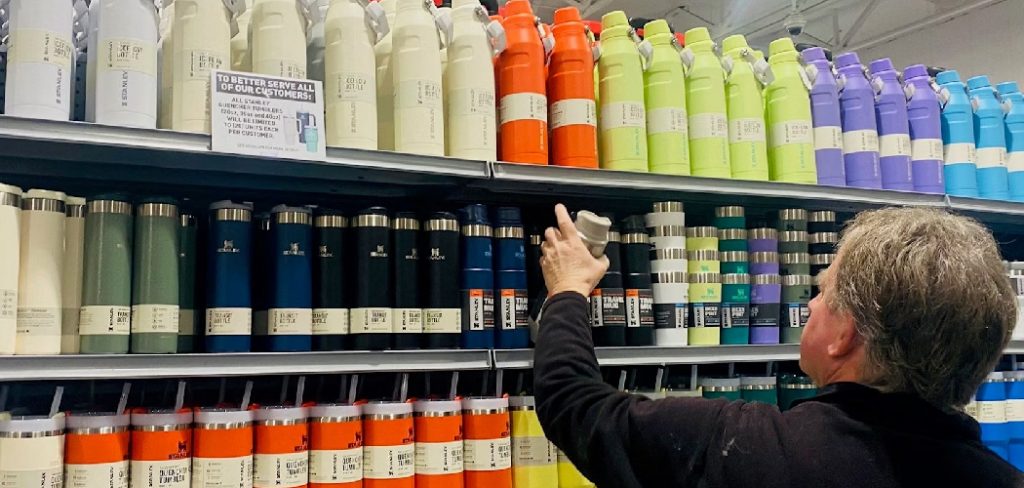
Scratches on your Stanley Cup can be frustrating, especially if you want to keep it looking as pristine as the day you got it. Fortunately, there are simple and effective ways to address minor surface scratches and maintain the cup’s sleek appearance. With a few household items and a little effort, you can restore its charm and keep it in great condition for years to come.
This guide on how to fix scratches on stanley cup will walk you through the steps to fix scratches on your Stanley Cup and ensure it continues to shine like new.
What Are the Causes of Scratches?
Scratches on your Stanley Cup can be caused by various factors, including:
- Regular wear and tear from handling the cup
- Accidental drops or bumps
- Contact with rough surfaces, such as countertops or other metal objects
While these scratches may seem minor, they can accumulate over time and detract from the overall appearance of the cup. That’s why it’s important to address them as soon as you notice them.
What Will You Need?
To fix scratches on your Stanley Cup, you will need:
- Soft cloths
- Metal polish or chrome cleaner
- Microfiber cloth
- Sandpaper (optional)
Once you have gathered all the necessary materials, you can start working on removing those pesky scratches.
10 Easy Steps on How to Fix Scratches on Stanley Cup
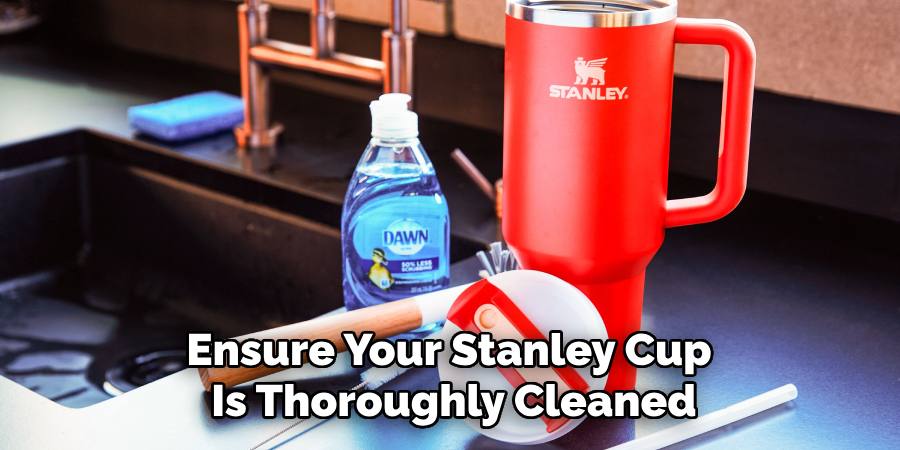
Step 1. Clean the Cup
Before you begin addressing the scratches, ensure your Stanley Cup is thoroughly cleaned. Use warm, soapy water and a soft cloth to wipe down the entire surface of the cup. This will remove any dirt, grime, or residues that could interfere with the scratch removal process. Pay close attention to the scratched areas, as any debris left behind might cause further damage during polishing. Once cleaned, rinse the cup with clean water and dry it completely using a microfiber cloth to prevent water spots. Starting with a clean surface is crucial for achieving the best results in restoring your Stanley Cup’s shine.
Step 2. Inspect the Scratches
Examine the scratched areas carefully to determine the depth and severity of the scratches. This step is essential for selecting the most appropriate method to address them. For light surface scratches, polishing compounds or metal cleaners may suffice, while deeper scratches might require more intensive methods such as sanding or professional repair. Use a good source of light and, if necessary, a magnifying glass to ensure you don’t miss any imperfections. Make a mental note or mark the areas you need to target, as this will guide you through the restoration process more efficiently.
Step 3. Apply Metal Polish or Chrome Cleaner
Using a clean, soft cloth or applicator, apply a small amount of metal polish or chrome cleaner to the affected area. Gently rub the product onto the surface in a circular motion, ensuring even coverage. This process helps to remove any oxidation, tarnish, or minor scratches while restoring the original shine of the metal or chrome. Be careful not to use excessive pressure, as this can cause further scratching or damage. Once you’ve polished the area, use a separate clean cloth to buff the surface until it gleams. Repeat the process if necessary for heavily tarnished areas, but always follow the product instructions for optimal results.
Step 4. Buff with a Microfiber Cloth
Using a high-quality microfiber cloth, gently buff the polished surface to remove any remaining residue and enhance the shine. Microfiber cloths are ideal for this step as they are soft, non-abrasive, and highly effective at trapping smaller particles without causing scratches. Work in circular motions, applying light pressure to ensure an even finish. Inspect the surface under good lighting for any missed spots, and buff again as needed for a flawless, gleaming result.
Step 5. Address Deeper Scratches
If deeper scratches are present, they will require a more intensive approach to restore the surface. Begin by using a fine-grit sandpaper (such as 1500 to 2000 grit) to gently sand the scratched area. Always sand in a consistent direction and avoid excessive pressure, as this can cause further damage. After sanding, clean the area with a damp microfiber cloth to remove any dust or debris. Next, apply a specialized polishing compound designed for scratch removal, following the product’s instructions carefully. Work the compound into the surface using a soft applicator or cloth in small, circular motions. Once the scratch is no longer visible, finish by buffing the area with a clean microfiber cloth to restore its smoothness and shine.
Step 6. Re-polish the Area
After ensuring the scratch has been removed and the surface is smooth, it is time to re-polish the area to restore its original luster. Use a high-quality automotive polish or a product suitable for the specific material you are working with. Apply a small amount of polish to a clean, soft cloth or applicator, and work it into the surface using gentle, circular motions. Be consistent and thorough to achieve an even finish. Once the polish has been fully worked in, wipe away any excess with a clean microfiber cloth, revealing a refreshed and glossy appearance. This final step not only enhances the surface but also helps protect it from future wear and tear.

Step 7. Wipe Down the Entire Cup
Using a damp microfiber cloth, carefully wipe down the entire cup to remove any remaining polish residue or smudges. Ensure you reach all areas, including hard-to-reach spots, to leave the surface spotless. For best results, follow up with a dry, lint-free cloth to buff the surface, restoring its full shine and smoothness. This step ensures the cup is clean, polished, and ready to use or display.
Step 8. Final Buffing
Using a clean, dry microfiber cloth, gently buff the entire surface of the cup in circular motions. This final buffing step enhances the shine and ensures an even, polished finish. Pay special attention to any spots where fingerprints or streaks may remain, and continue buffing until the cup gleams flawlessly. Taking the time to complete this step will provide a professional, long-lasting luster to your cup.
Step 9. Inspect Your Work
Carefully examine the entire surface of the cup under good lighting to ensure there are no imperfections, streaks, or missed spots. Rotate the cup to inspect it from different angles, checking for consistency in the finish. If you notice any areas that require additional attention, lightly buff or clean those spots as needed. This final inspection step ensures that your efforts result in a flawless and professional appearance, leaving the cup ready for use or display.
Step 10. Maintain Regular Care
Maintaining regular care for your cup is essential for preserving its polished look and longevity. Clean the cup gently after each use using a soft cloth or sponge with mild soap and warm water. Avoid using abrasive cleaners or scrubbers that could damage the finish. For deeper cleans, consider a specialized cleaning solution appropriate for the material of the cup. Additionally, store the cup in a safe, dry place to prevent scratches or tarnishing. By incorporating these practices into your routine, you can ensure that your cup remains in excellent condition for years to come.
By following these steps, you can effectively restore your Stanley Cup to its original glory and enjoy its perfect appearance once again!
5 Things You Should Avoid
- Using Abrasive Materials
Avoid using harsh scrubbers, steel wool, or abrasive cleaning pads, as these can cause further damage to the surface of your Stanley Cup by creating more scratches or dulling the finish.
- Applying Harsh Chemicals
Stay away from strong chemical cleaners like bleach or ammonia. These substances can discolor or weaken the material of the cup, leading to irreversible damage.
- Polishing with Unapproved Products
Do not use metal polish or other products not specifically designed for the cup’s material. These can leave residue, harm the coating, or alter the appearance.
- Scrubbing Aggressively
Excessive force while cleaning or polishing can worsen existing scratches and create additional ones. Always clean with gentle, consistent motions to preserve the integrity of the surface.
- Ignoring Proper Maintenance
Neglecting regular gentle cleaning and care can allow minor scratches to become more prominent over time. Always address marks and blemishes promptly using proper techniques to maintain the cup’s pristine condition.
Conclusion
How to fix scratches on Stanley Cup requires a careful and methodical approach to ensure the surface is restored effectively without causing additional damage.
Begin by cleaning the cup gently to remove any dirt or debris that could worsen scratches during polishing. Use a non-abrasive cleaner and a soft cloth to avoid creating further marks. For minor scratches, a mild metal polish or a paste of baking soda and water can often be effective; apply it in gentle, circular motions. Always test any product on a small, inconspicuous area first to ensure it does not harm the finish. For deeper scratches, consulting a professional may be necessary to achieve the best results.
Regular maintenance and handling with care are crucial steps to keep the Stanley Cup looking its best over time.