Retractable leashes are a popular and convenient tool for pet owners, offering a perfect balance between control and freedom during walks. These leashes allow pets to explore their surroundings within a safe radius, making strolls enjoyable for both pets and their owners. However, retractable leashes can encounter issues over time, like any frequently used device. Common problems include jamming, snapping cords, or retraction mechanisms that fail to work properly.

While many leashes come with visible screws for easier repair, others present a unique challenge for troubleshooting without visible fasteners. Learning how to fix a retractable leash without screws requires creativity, patience, and a clear understanding of the internal components. This guide will help you through the process by identifying common issues, gathering necessary tools, providing step-by-step repair instructions, and detailing preventive care tips to prolong the leash’s lifespan. With persistence, you can save money and restore your leash to its former functionality!
Understanding the Problem
Retractable leashes, while convenient, can develop issues over time due to regular wear and tear. Understanding common problems is essential for effective troubleshooting.
Common Issues in Retractable Leashes
- Jammed leash due to accumulated dirt or improper retraction, preventing smooth operation.
- Broken spring mechanism that disrupts the tension needed for the leash to extend or retract.
- Snapped leash cord or frayed material, compromising durability and safety during use.
Signs of Damage
- Difficulty in extending or retracting the leash, often indicating internal malfunctions.
- Visible damage to the leash cord, such as fraying or snapping, poses safety risks.
- Clicking or grinding noises emanating from the casing, signaling mechanical problems within the retractable unit.
Importance of Timely Repair
Addressing these issues promptly is crucial to ensure the safety of your pet during walks. Timely repairs can prevent accidents caused by leash failure and eliminate the need to buy a new leash, saving you money.
Tip: Before beginning repairs, carefully inspect your leash to identify the root cause of the problem. This will allow you to resolve the issue effectively and restore its functionality.
Tools and Materials Needed
Basic Tools
- Flathead screwdriver or pry tool for opening the casing.
- Tweezers or needle-nose pliers for handling small parts.
Repair Materials
- Replacement cord or nylon strap if the leash cord is damaged.
- Super glue or adhesive tape for minor fixes.
- Lubricant spray for smooth operation of internal mechanisms.
Safety Equipment
- Gloves to protect hands during repair.
Tip: Gather all tools and materials in advance to avoid interruptions during the repair process. This preparation will help streamline your work and ensure a more efficient and effective repair.
How to Fix a Retractable Leash Without Screws: Step-by-Step Repair Guide
Step 1: Open the Casing Without Screws
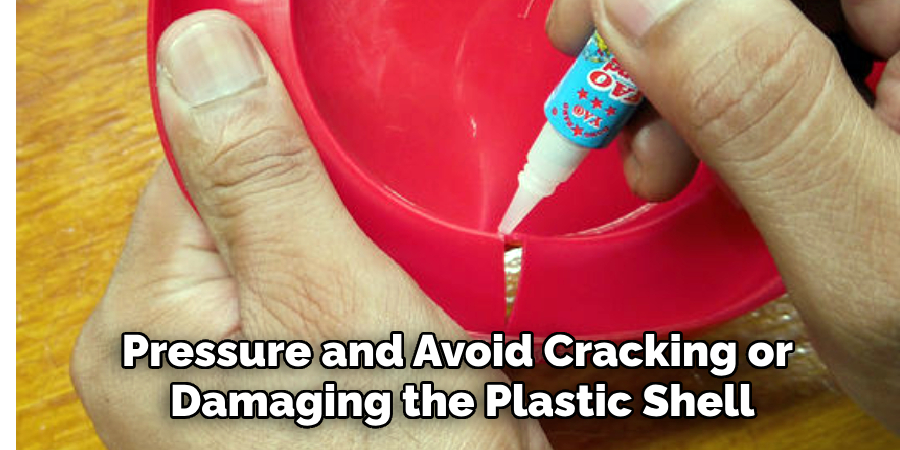
Identify the seams or clips holding your leash’s casing together. Using a flathead screwdriver or a pry tool, gently work around the edges to separate the casing. Be careful to apply even pressure and avoid cracking or damaging the plastic shell during this step.
Step 2: Inspect Internal Components
Once the casing is open, thoroughly examine the internal components. Focus on the spool, spring mechanism, and leash cord to identify any visible signs of damage. Look closely for frayed cords, loose or broken springs, and any dirt or debris clogging up the mechanism and causing it to jam.
Step 3: Fix the Spring Mechanism
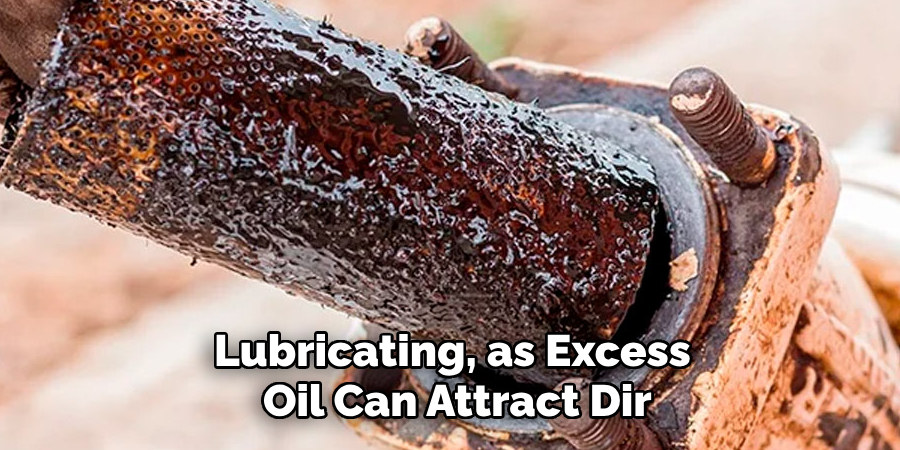
If the spring mechanism has become dislodged, carefully reposition it back into its proper place. Pay close attention to aligning the spring correctly with the spool. To ensure smooth operation, lightly apply a lubricant spray to the mechanism. Avoid over-lubricating, as excess oil can attract dirt over time.
Step 4: Replace or Repair the Leash Cord
If the leash cord is damaged—such as being frayed, torn, or broken—it’s essential to replace it. Cut a new cord or nylon strap to the appropriate length and attach it securely to the spool using either strong knots or adhesive tape. Ensure the attachment is firm to prevent the cord from slipping when the leash is in use.
Step 5: Reassemble the Casing
Align the two halves of the casing and press them back together until you hear a click, indicating they are firmly secured. Give the leash a thorough test to ensure the spool retracts smoothly and all components are functioning correctly.
Common Mistakes to Avoid
Forcing the Casing Open
When disassembling the leash, apply gentle and steady pressure to avoid cracking or breaking the casing. Forcing it open can lead to permanent damage, making the leash unusable.
Ignoring Spring Tension
Mishandling the spring mechanism is a common error. If the spring tension isn’t correctly managed, the leash may fail to retract properly, compromising its functionality. Always handle the spring with care and precision.
Using Improper Replacement Materials
Replacing a damaged cord with inferior materials can significantly reduce the leash’s durability. Always select a replacement cord or strap that matches the original in strength and flexibility to ensure safety and longevity.
Skipping Lubrication
Overlooking the lubrication of moving parts can lead to recurring jams or inconsistent performance. A small amount of lubricant goes a long way in maintaining a smooth operation.

Tip: Take your time and follow the steps carefully to complete effective and lasting leash repairs.
Testing the Repaired Leash
Check Retraction
Extend and retract the leash multiple times to confirm that it operates smoothly. The cord should glide without hesitation or uneven movement, indicating that the spring mechanism and lubrication are functioning properly. Take note of any unusual resistance or noises during the process.
Test for Strength and Durability
Apply slight tension to the leash while fully extended to verify the cord’s strength and its secure attachment within the casing. This step is crucial to ensure the leash can hold up without snapping or coming loose.
Inspect for Safety
Examine the leash casing carefully for any loose parts or sharp edges that could pose a safety risk to you or your pet. If you notice anything out of place, address it immediately to prevent future issues.
Real-Life Testing
Once everything checks out, use the leash on a short walk to assess its performance under real-world conditions. Observe whether it responds well to tension, maintains smooth retraction, and stays firmly secured.
Tip: Always conduct initial testing indoors before transitioning to outdoor use with your pet. This precaution helps ensure that the leash is safe and fully functional in a controlled environment.
Preventive Maintenance Tips
Regular Cleaning
After every walk, especially in dirty or wet conditions, take a moment to wipe down the leash and casing with a damp cloth. This simple practice removes dirt, moisture, and debris that could potentially affect the leash’s functionality over time.
Inspect for Wear and Tear
Periodically examine the cord and casing for any visible signs of damage, such as fraying, cracking, or weakening. Identifying issues early allows for timely repairs or replacements, ensuring your pet’s safety during use.
Avoid Overextension
Be mindful not to pull the leash beyond its maximum length, as this can place undue strain on the internal spring mechanism. Overextension can lead to reduced performance or even permanent damage to the leash components.
Store Properly
Store the leash in a clean, dry, and cool place when it is not in use. Proper storage helps to prevent rust, corrosion, or other damage caused by environmental conditions.
Tip: Routine care and maintenance significantly extend the life of your retractable leash, keeping it reliable and safe for you and your pet.
When to Replace Instead of Repair
While regular maintenance can extend the life of your retractable leash, there are instances when replacement is a better option than repair.
Extensive Damage
If the casing is cracked or broken beyond repair and cannot be securely reassembled, it may fail under pressure and should be replaced immediately.
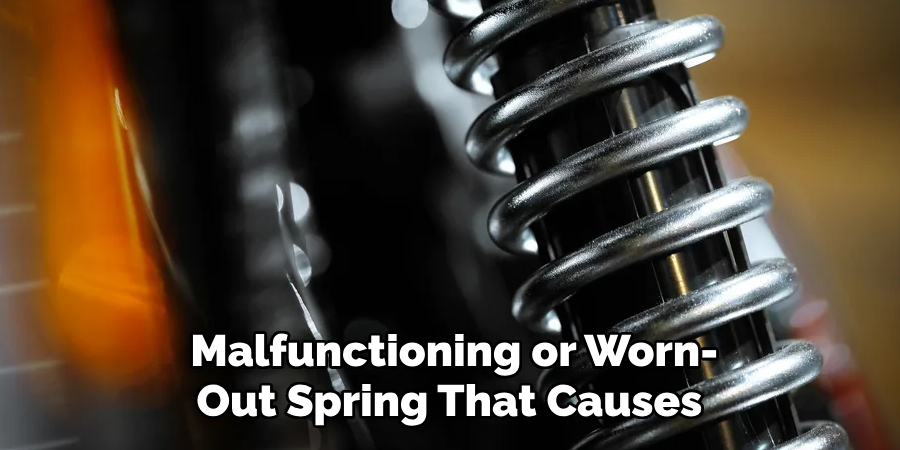
Spring Mechanism Failure
A malfunctioning or worn-out spring that causes inconsistent retraction is difficult to repair and can make the leash unreliable. A properly functioning spring is crucial for safe and effective use.
Compromised Safety
Any damage to the cord, casing, or other key components that pose a risk to you or your pet’s safety should prompt replacement. For example, frayed cords or weakened parts increase the risk of accidents and must be taken seriously.
Outdated Model
If your leash is older, consider upgrading to a newer version that offers improved features, enhanced durability, or advanced safety mechanisms. Upgrading can provide a better overall experience for you and your pet.
Tip: Replacement is always safer when repairs compromise the leash’s functionality or the safety of you and your pet. Always prioritize a leash that ensures reliability and peace of mind.
Conclusion
Learning how to fix a retractable leash without screws involves a few straightforward steps. Start by carefully opening the casing, ensuring no components are damaged. Next, address issues such as repairing the spring mechanism or reattaching a broken cord, being meticulous in your adjustments. Finally, the leash should be reassembled with attention to detail to restore its functionality. Regular maintenance is vital to prevent recurring problems and extend the leash’s lifespan. While repairs can be cost-effective and rewarding, always prioritize safety—replace the leash if needed. Successfully fixing a retractable leash yourself can be both satisfying and economical.