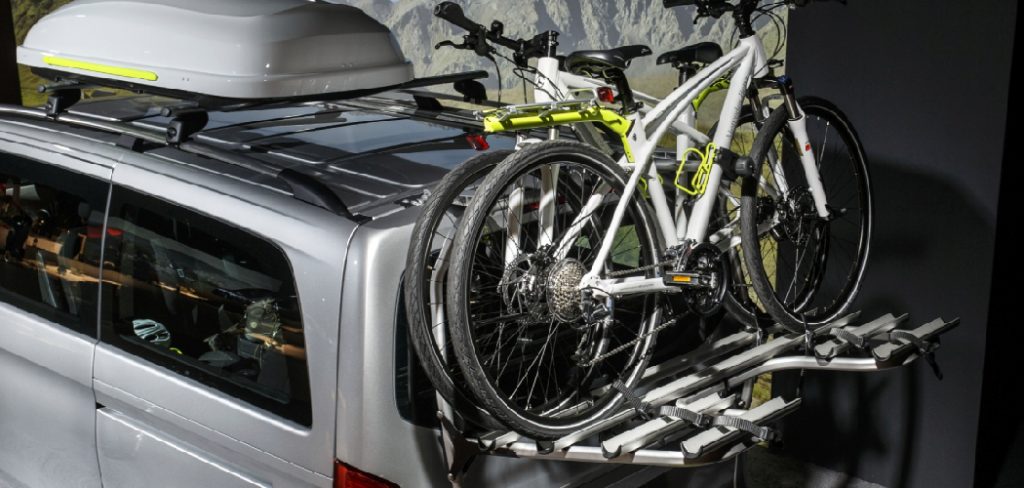
Thule bike racks are renowned for their durability and high-quality design, making them a go-to choice for safely transporting bikes in cars. These racks are built to endure regular use and demanding conditions, but like any equipment, they may encounter issues over time. Common problems include loose mounts, worn or damaged straps, and malfunctioning locking mechanisms,
all of which can impact the rack’s reliability and safety. Knowing how to fix Thule bike rack problems can save you both time and money while also extending the lifespan of this valuable product. By repairing the rack yourself, you regain its optimal functionality without the expense of professional servicing. This guide will take you through the process of identifying common issues, gathering the necessary tools, performing step-by-step repairs, and incorporating preventive maintenance tips. With the right approach, you can confidently resolve problems and keep your Thule bike rack in peak condition.
Understanding Thule Bike Rack Components
Thule bike racks consist of several key parts that work together to ensure safe and secure bike transport. The mounting arms hold the bike in place, while straps and cradle arms provide additional stability. Locking mechanisms safeguard the bike by preventing theft, and frame holders minimize movement to protect the bike’s frame during transit. Each component plays a crucial role in the rack’s overall functionality, making it important to understand their purpose.
Common Problems
Some of the most frequent issues include loose or broken straps, which can compromise the bike’s security, and malfunctioning tilt or folding mechanisms that make the rack difficult to use. Damaged cradles or locking systems can also pose significant safety and usability concerns. Addressing these problems promptly is essential to maintain the bike rack’s reliability.
Importance of Proper Diagnosis
When repairing your Thule bike rack, identifying the specific part causing the issue is critical. Proper diagnosis saves time and effort by allowing you to focus your repairs on the exact source of the problem. Regular inspections of all components ensure that minor wear and tear does not escalate into major issues. Tip: Keep an eye on high-stress parts like straps and locks to catch problems early!
Tools and Materials Needed
Basic Tools
- Screwdrivers (flathead and Phillips) for tightening or loosening screws on various parts of the rack.
- Allen wrenches are used to adjust bolts and make precise corrections.
- Pliers for gripping and manipulating small components.
- A rubber mallet is used to adjust tight connections without causing damage.
Repair Materials
- Replacement straps to secure the bike properly.
- Bolts and cradle arms are readily available from Thule or trusted third-party suppliers.
- Lubricant spray to ensure smooth operation of moving parts and prevent rust.
Safety Gear
- Durable gloves to protect your hands during disassembly, adjustments, or reassembly.
Tip: Keep Thule’s user manual nearby to accurately identify and replace specific parts during repairs. It’s an invaluable resource for troubleshooting and ensuring you use the correct materials.
How to Fix Thule Bike Rack: Step-by-Step Repair Guide
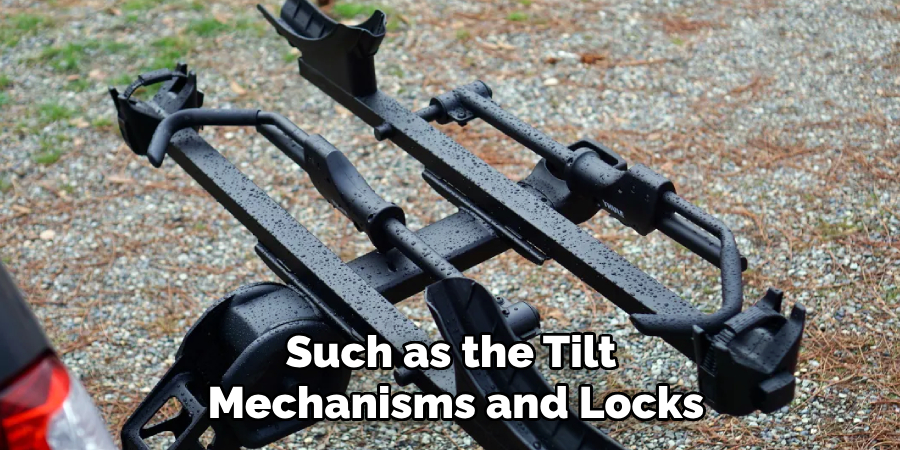
Step 1: Inspect the Bike Rack
Begin by thoroughly inspecting your bike rack for any visible damage or wear and tear. Pay close attention to the condition of straps, cradles, and mounts. Test moving parts, such as the tilt mechanisms and locks, to ensure they operate smoothly. Identifying issues early will save time during the repair process.
Step 2: Tighten Loose Connections
Using the appropriate tools, such as screwdrivers or Allen wrenches, check all screws, bolts, and straps to ensure they are securely fastened. If you find any damaged bolts or connectors, replace them promptly. Secure connections are essential for the safety and stability of the rack.
Step 3: Fixing Strap Issues
Inspect all straps for signs of fraying, cracking, or breakage. Replace any defective straps using new ones from Thule or other reliable suppliers. Once replaced, test the straps by securing them tightly and ensuring they can hold bikes firmly in place without slipping or loosening.
Step 4: Repairing Tilt and Folding Mechanisms
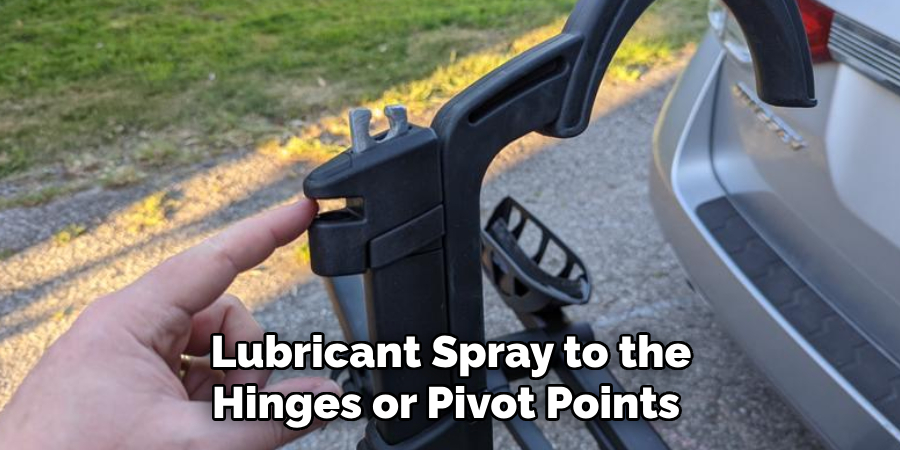
If the tilt or folding mechanisms are not functioning as expected, apply lubricant spray to the hinges or pivot points to reduce friction and improve movement. Tighten any loose bolts or springs controlling these mechanisms. If any parts are extensively damaged, consider replacing them to restore full functionality.
Step 5: Addressing Lock Problems
For locks that are sticking or not working, first clean and lubricate the locking mechanism to eliminate dirt or rust. If the lock remains unresponsive, replace the lock cylinder with a compatible part. This ensures the security of the rack and your bike during transport.
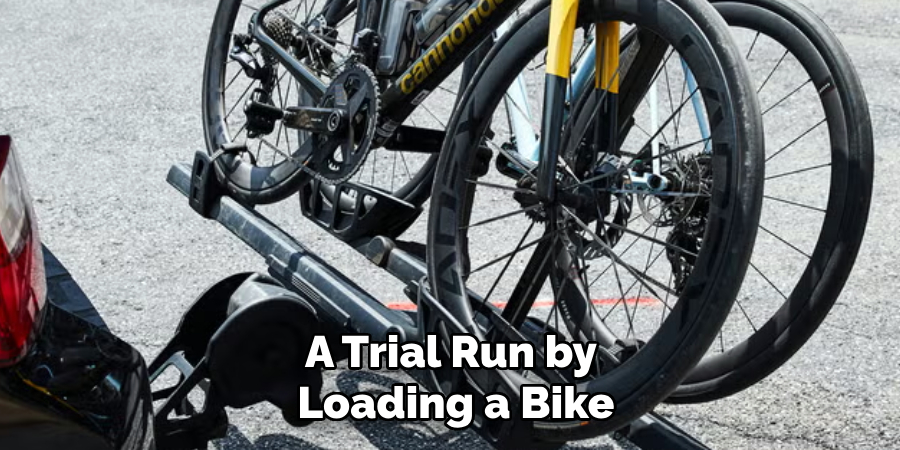
Step 6: Reassemble and Test
Once repairs are complete, reassemble the rack and double-check that all components are properly placed. Mount the rack on your vehicle and perform a trial run by loading a bike. Verify that all parts are functioning as they should and the bike is secure before using the rack on the road.
Common Mistakes to Avoid
When maintaining or repairing your Thule bike rack, you must be aware of common mistakes that could complicate the process or lead to future issues.
Forgetting to Lubricate Moving Parts
Neglecting to lubricate hinges, locks, or other moving components can cause recurring problems with folding or tilting mechanisms, reducing their functionality over time.
Using Incorrect Replacement Parts
Using straps, bolts, or other components not specifically designed for your Thule model can result in improper fits or compromised performance. Always ensure compatibility when replacing parts.
Overtightening Screws and Bolts
Excessive force may strip threads or crack fragile components, making the bike rack unsafe or difficult to repair.
Ignoring Small Cracks or Wear
Overlooking minor cracks, rust, or other signs of wear can lead to larger structural problems. Addressing issues early prevents costly damage later.
Tip: Take a methodical approach when inspecting and repairing your bike rack to ensure no problem areas are missed.
Testing the Repaired Rack
Check Stability
Ensure the bike rack is securely mounted to your vehicle by thoroughly inspecting the mounting points. Tighten bolts and clamps as needed, but avoid overtightening to prevent damage. Gently shake and pull on the rack to confirm it remains stable without any noticeable looseness.
Test Strap Strength
Attach a bicycle to the rack and check that the straps hold it firmly in place. Adjust the straps to ensure they are tight without over-tensioning, which could damage the bike’s frame. Monitor for any slipping or stretching during the test.
Verify Movement and Locking Mechanisms
Open and close the tilt or folding mechanisms several times to verify they operate smoothly. Ensure locking mechanisms engage fully and are easy to secure. Use the provided keys to confirm all locks function correctly without resistance.
Simulate Real-World Use
Drive with the bike attached to the rack in a controlled environment, such as an empty parking lot. Pay attention to any unusual noises or movements. This process helps confirm the rack’s stability and the bike’s security during transit.
Tip: Performing all these tests before hitting the road ensures your repaired rack is functioning safely and effectively.
Preventive Maintenance Tips
To keep your bike rack in excellent condition and ensure its longevity, follow these preventive maintenance tips:
Regular Cleaning
Wipe down the rack after each use, especially if it has been exposed to dirt, grime, or road salt. This helps prevent buildup that can lead to corrosion or reduced performance.
Lubrication
Apply a suitable lubricant to all moving parts periodically. This prevents rust, ensures smooth operation, and reduces wear on joints and mechanisms.
Inspection for Wear and Tear
Regularly inspect straps, mounts, and locking systems for any damage or signs of wear. Replace worn-out straps or dysfunctional components immediately to avoid problems during use.
Proper Storage
When not in use, store the rack in a dry, cool place. This minimizes exposure to moisture, extreme temperatures, and other environmental factors that could cause corrosion or damage.
Tip: Preventive care is essential to keeping your bike rack functional and safe for years to come. A little attention to maintenance now can save time and money in the long run.
When to Seek Professional Help
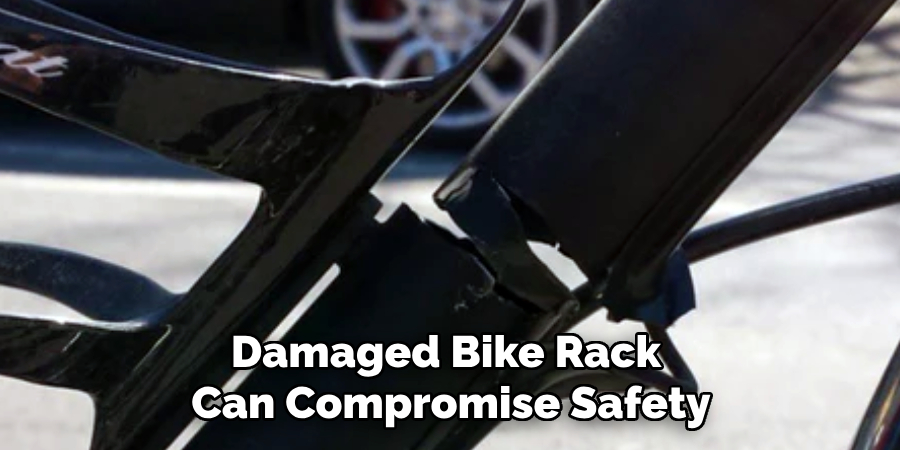
Major Structural Damage
If you notice cracked frames or severely bent components, it’s time to seek professional repair or replacement. Attempting to use a damaged bike rack can compromise safety and performance.
Persistent Locking Issues
When the locking mechanism fails to work properly even after thorough cleaning and lubrication, it’s best to consult Thule support or a professional locksmith to assess the issue.
Complex Problems with Tilting Mechanisms
Internal problems like broken springs or malfunctioning pivots in tilting mechanisms often require expertise for disassembly and repair. Contact a professional to avoid further complications.
Warranty Considerations
If your rack is covered under warranty, repairs should always be performed by authorized Thule service centers to ensure the quality of service and maintain your warranty coverage.
Tip: Seeking expert help for complicated or critical issues ensures your bike rack remains safe, reliable, and long-lasting.
Conclusion
Maintaining and repairing a Thule bike rack is essential to ensure safe and secure bike transport. You can keep your rack in excellent condition by accurately diagnosing problems, using the right tools, and performing regular preventive maintenance. Addressing minor issues promptly helps avoid larger, costlier repairs. This guide on how to fix Thule bike rack issues empowers you to handle basic repairs yourself while knowing when to seek professional help. By following these steps, you can extend the life of your Thule product and enjoy the satisfaction of keeping a high-quality bike rack functioning reliably for years to come.