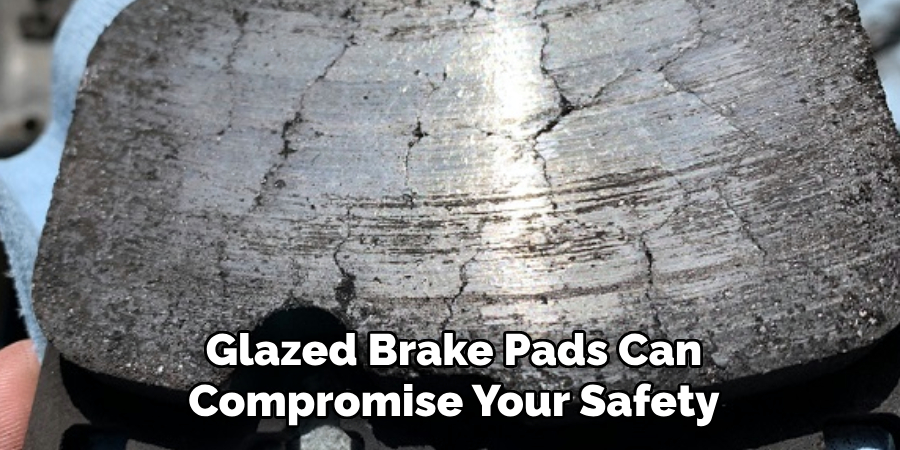
When brake pads become glazed, they lose their effectiveness, resulting in reduced braking power and increased stopping distances. Glazing occurs when the surface of the brake pads becomes smooth and shiny due to excessive heat or prolonged pressure.
This common issue can compromise vehicle safety and should be addressed promptly. Fortunately, fixing glazed brake pads is a straightforward process that doesn’t always require professional assistance.
This guide on how to fix glazed brake pads will walk you through identifying glazing symptoms and restoring your brake pads to optimal condition.
Why Do Brake Pads Become Glazed?
Brake pads are designed to withstand high temperatures and friction, but under certain conditions, they can become glazed. Excessive heat is the primary cause of glazing, which can occur due to aggressive braking or prolonged use without allowing the brakes to cool down.
When brake pads overheat, the resins and adhesives that hold them together start to melt and form a smooth layer on the surface. This layer reduces friction between the brake pad and rotor, resulting in reduced braking power and increased stopping distances.
Needed Materials
Jack and Jack Stands:
To access the brakes and remove the glazed brake pads, you will need to raise your vehicle with a jack and support it with jack stands. Make sure to work on a level surface and follow proper safety precautions.
Wrench or Socket Set:
You will need a wrench or socket set to remove the wheel lug nuts and any necessary bolts holding the brake caliper in place.
Brake Cleaner:
A spray can of brake cleaner is essential for removing any glazing residue from the rotor and pads. Avoid using other cleaners as they may leave behind a residue that can affect braking performance.
Sandpaper or Emery Cloth:
To rough up the surface of the glazed pads, you will need sandpaper or emery cloth. This will create small grooves that improve the pads’ grip on the rotor and restore their effectiveness.
Brake Lubricant:
Applying a thin layer of brake lubricant to the contact points between the brake pads and caliper can prevent future glazing by reducing friction and heat build-up. Make sure to use a brake-specific lubricant.
8 Step-by-step Guidelines on How to Fix Glazed Brake Pads
Step 1: Prepare Your Vehicle
Start by parking your vehicle on a flat, level surface and engaging the parking brake. For added safety, place wheel chocks behind the tires that will remain on the ground to prevent any movement. Using your jack, lift the vehicle until the desired wheel is off the ground and secure it with jack stands.
Double-check that the vehicle is stable before proceeding to remove the wheel. This step ensures that you can safely access the brake assembly for further inspection and repair.
Step 2: Inspect the Brakes
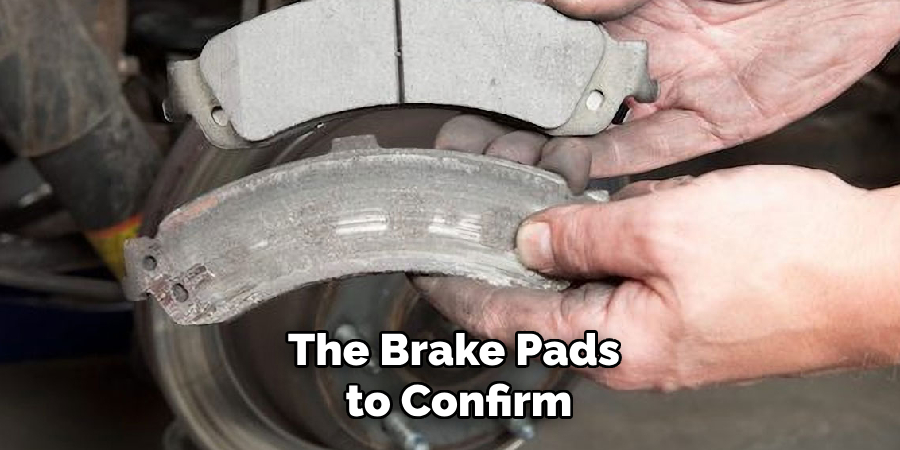
Once the wheel is removed, carefully examine the brake assembly. Look at the brake pads to confirm the presence of glazing – a glazed brake pad surface will appear smooth and glossy. Inspect the rotor for any discoloration or uneven wear, as these issues may accompany glazing and affect braking performance.
Take a moment to check for any additional damage, such as cracks, chips, or worn-out components that may need replacement. This thorough inspection ensures you accurately identify the extent of the problem and avoid overlooking other potential issues in your brake system.
Step 3: Remove the Brake Pads
Using a wrench or socket set, remove the bolts securing the brake caliper in place. Once removed, carefully pull out the caliper and set it aside, making sure not to strain or damage the brake lines. Gently remove the pads from their housing and lay them on a clean surface.
You may need to remove the brake pads’ retaining clips or pins depending on your vehicle’s make and model. Refer to your owner’s manual for specific instructions if necessary.
Step 4: Clean the Rotor
Spray brake cleaner generously onto the rotor surface, making sure to cover all areas affected by glazing. Use a clean cloth to wipe off any residue and repeat until the rotor appears clean and free of glazing.
Take care not to inhale the fumes from the cleaner and avoid getting it on your skin as it can be harmful.
Step 5: Rough up the Surface of the Glazed Pads
Using sandpaper or emery cloth, gently rough up the surface of the glazed pads. This will create small grooves that help improve their grip on the rotor and restore effective braking performance. Make sure not to damage or remove too much material from the pads.
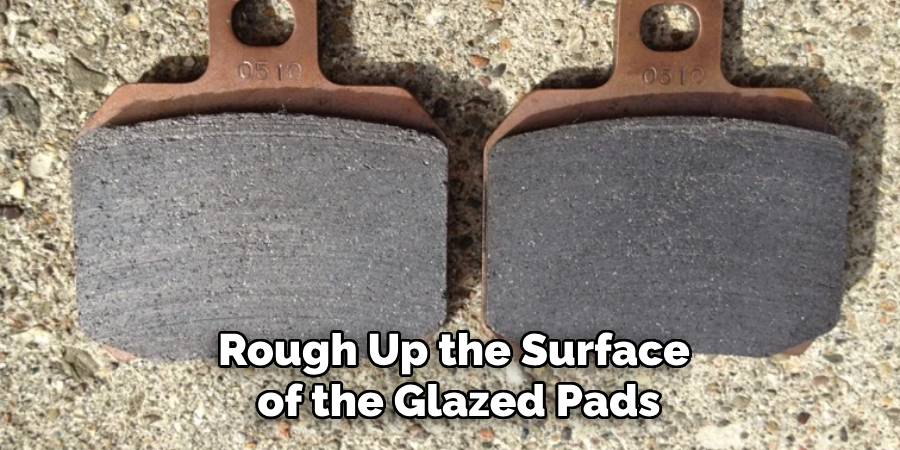
It is recommended that the pads be replaced if they are severely glazed or too thin.
Step 6: Clean and Lubricate Contact Points
Wipe down the brake caliper and housing with a clean cloth and spray any contact points with brake cleaner. This will remove any built-up residue that can cause future glazing.
Apply a thin layer of brake lubricant to the contact points between the brake pads and caliper, making sure not to get any on the pad surface. This will reduce friction and heat build-up, preventing future glazing.
Step 7: Reinstall Brake Pads
Carefully place the cleaned and prepared brake pads back into their housings, ensuring they are seated properly. If your vehicle uses retaining clips or pins, reinstall them securely according to your owner’s manual.
Next, position the brake caliper over the pads and align it with the mounting points. Use your wrench or socket set to tighten the caliper bolts firmly, but avoid overtightening, as this could damage the components. Double-check that everything is properly secured before moving on to the final step. Proper reinstallation is crucial for maintaining brake assembly integrity and ensuring safe operation.
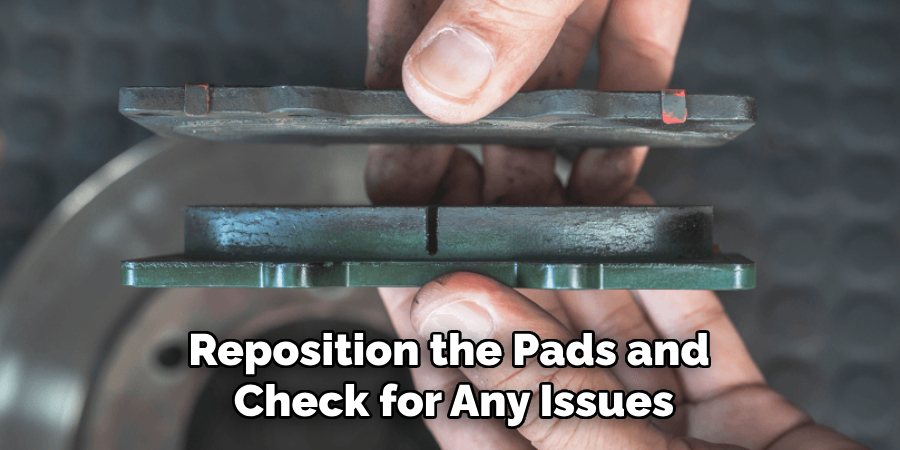
Step 8: Test Braking Performance
Before lowering the vehicle, pump the brake pedal a few times to reposition the pads and check for any issues. Once you are satisfied with the brakes’ feel, carefully lower your vehicle and repeat these steps for each wheel as needed.
Take your vehicle for a test drive to assess its braking performance. You should notice improved braking power and reduced stopping distances after fixing glazed brake pads.
Following these guidelines on how to fix glazed brake pads will help you effectively fix glazed brake pads on your own and maintain safe driving conditions. Remember to always follow proper safety precautions when working on your vehicle’s brakes and consult a professional mechanic if you encounter any difficulties or concerns. Regular maintenance and inspections can prevent glazed brake pads and other braking issues, ensuring your vehicle’s safety and performance.
Frequently Asked Questions
Q: How Long Does It Take for Brake Pads to Become Glazed?
A: The time frame for brake pads to become glazed can vary depending on factors such as driving habits, vehicle weight, and road conditions. However, it is typically recommended to inspect and replace your brake pads every 50,000 miles.
Q: What Causes Brake Pads to Become Glazed?
A: Excessive heat and friction are the main causes of glazed brake pads. This can be due to heavy braking, towing a heavy load, or driving in stop-and-go traffic for extended periods. Dirty or contaminated brake components can also contribute to glazing.
Q: Can You Fix Glazed Brake Pads Yourself?
A: Yes, you can fix glazed brake pads yourself by following the step-by-step guidelines mentioned above. However, it is important to have some mechanical knowledge and follow proper safety precautions when working on your vehicle’s brakes. If you are unsure or uncomfortable fixing glazed brake pads on your own, it is recommended that you seek professional help. Overall, regular maintenance and inspections can prevent glazing and ensure safe braking performance.
Q: How Can I Prevent Glazed Brake Pads?
A: To prevent glazed brake pads, it is important to perform regular maintenance and inspections on your vehicle’s brakes. This includes checking for any wear or damage, cleaning the components, and replacing parts as needed. It is also recommended to avoid excessive heavy braking, driving in stop-and-go traffic for extended periods, and towing heavy loads frequently. Proper driving habits and taking care of your vehicle’s brakes can help prevent glazing and ensure safe driving conditions.
Conclusion
Maintaining your vehicle’s braking system is crucial for ensuring safe and efficient driving. Glazed brake pads can compromise your safety and the performance of your brakes, but by following the steps outlined in this guide on how to fix glazed brake pads, you can address the issue effectively and restore optimal braking functionality.
Regularly inspecting and maintaining your brake components, adopting proper driving habits, and addressing potential issues promptly can help prevent glazing and extend the lifespan of your brake system. Always prioritize safety and consult a professional mechanic if you are unsure or encounter challenges during the process. Taking care of your brakes today ensures peace of mind and safer journeys tomorrow.