Are you tired of looking at your mottled walls every day? Mottling paint, also known as “picture framing,” is a common issue when the paint doesn’t spread evenly on the wall, leaving visible streaks and patches.
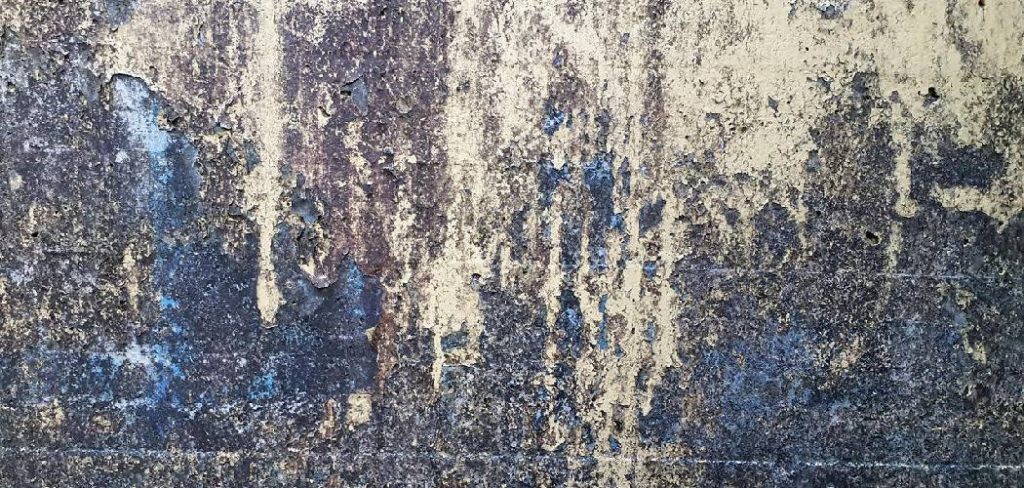
This common problem can arise from various factors, such as improper application techniques, inadequate paint mixing, or unfavorable environmental conditions during the painting process.
Fortunately, understanding the underlying causes of mottling and implementing practical solutions can help achieve a smooth, uniform finish.
In this guide on how to fix mottling paint, we will explore practical steps and techniques to address mottling paint, ensuring you achieve the desired results for your painting projects.
Whether you’re working on walls, furniture, or any other surface, these tips will equip you with the knowledge to fix and prevent mottling in future endeavors.
What Will You Need?
Before we dive into the methods for fixing mottling paint, it’s essential to ensure you have the necessary tools and materials. This will ensure that the process runs smoothly and efficiently. Some of the items you may need include:
- Paint roller
- Paint tray
- Stir stick or brush
- Sandpaper or sanding block
- Primer (if needed)
- Painting tape or drop cloths
- Lint-free cloth
Once you have all the required items, you can begin the process of fixing mottling paint on your walls or furniture.
10 Easy Steps on How to Fix Mottling Paint:
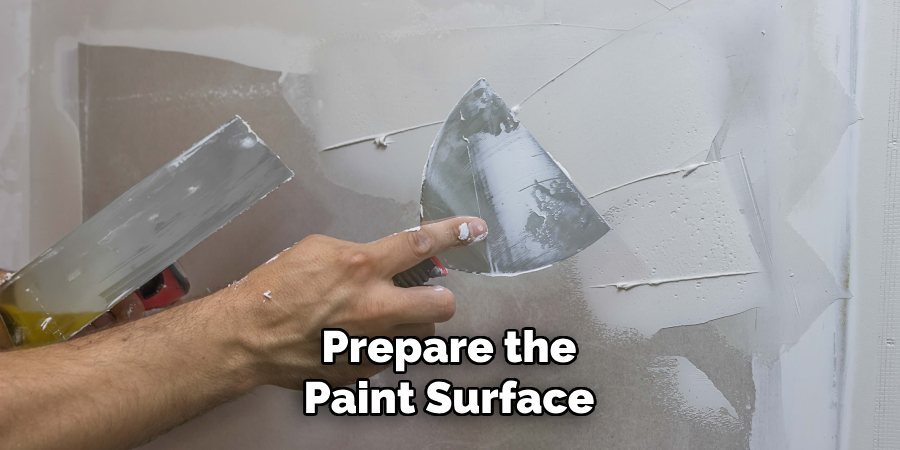
Step 1. Prepare the Surface:
Proper surface preparation is crucial for tackling mottling paint effectively. Start by removing any furniture or obstacles from the area to have clear access to the entire surface.
Lay down painting tape or drop cloths to protect your floors and adjacent surfaces from paint drips or spills. Next, examine the surface you plan to repaint for any existing dirt, grease, or dust that can interfere with paint adhesion.
Use a damp, lint-free cloth to clean and wipe down the walls thoroughly. If the surface has old, flaking paint or rough patches, use sandpaper or a sanding block to smooth it out.
This sanding process not only helps remove imperfections but also provides a better grip for the new layer of paint. After sanding, wipe away any residue or dust with another clean cloth.
If you suspect that the underlying coat can affect the final outcome, or if you’re going over a dark color with a lighter one, applying a primer might be necessary to ensure an even finish. Preparing the surface properly sets the foundation for a successful painting job and minimizes the risk of further mottling.
Step 2. Choose the Right Paint:
Selecting the right paint is crucial to preventing mottling and achieving a smooth finish. Opt for high-quality paint suitable for your specific surface, whether interior walls, exterior siding, or furniture.
Consider the paint’s finish as well, as matte or eggshell finishes are less likely to show imperfections than glossy finishes, which tend to highlight surface flaws. Ensure that the paint is thoroughly mixed before application to guarantee even distribution of pigments.
If possible, consult a paint specialist to determine the best type and color for your project to minimize the chances of mottling in the long run.
Step 3. Use the Correct Tools:
Using the appropriate tools is essential for applying paint evenly and avoiding mottling. Choose a quality paint roller that matches the type of paint and surface texture you’re working with.
A short nap roller can provide a sleek finish for smooth surfaces, while a longer nap roller may be more suitable for textured walls. Be sure to use a clean roller sleeve to prevent dirt or debris from entering the paint.
Additionally, invest in high-quality brushes for cutting edges and corners where a roller may not reach. Properly cleaning your tools before and during the painting process will help maintain a consistent application and prevent streaks or patches.
Utilizing the correct tools prepares you to tackle the project effectively and reduce the risk of mottling in the final result.
Step 4. Apply Paint Evenly:
Achieving an even paint application is critical to preventing mottling. Start by loading your roller with a modest amount of paint, then utilize a “W” or “M” pattern to distribute it across the wall evenly.
This technique helps spread the paint more uniformly than straight vertical or horizontal strokes. Overlap each pass slightly to blend any edges, maintaining a wet edge to prevent noticeable lines when the paint dries.
Work in manageable sections to keep the paint from drying too quickly, which can lead to inconsistencies. For best results, apply one or two thin coats rather than a single thick layer, allowing each coat to fully dry before proceeding to the next. Patience and methodical application will help ensure a smooth, mottling-free finish.
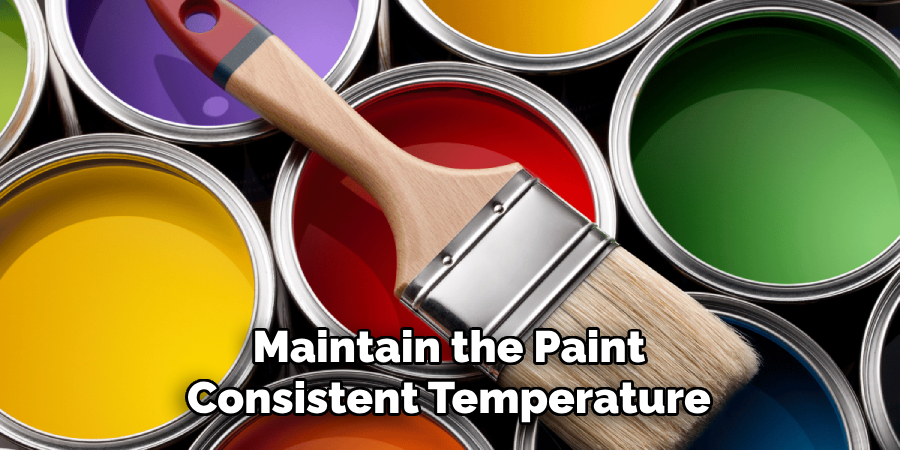
Step 5. Maintain a Consistent Temperature:
To prevent mottling, it’s essential to maintain a consistent temperature and humidity level in the painting environment. Extreme temperatures and fluctuating humidity can adversely affect the drying time and paint adhesion, leading to appearance inconsistencies.
Aim for a stable room temperature between 50°F and 85°F and moderate moisture. If possible, avoid painting in direct sunlight or on extremely humid or cold days, as these conditions can interfere with the paint’s drying process.
Fans or dehumidifiers may help control indoor environments, ensuring an even finish. Keeping the temperature and humidity steady can reduce the risk of mottling and achieve the desired results.
Step 6. Allow Adequate Drying Time:
Allowing sufficient drying time between coats is critical in preventing mottling and ensuring a smooth finish. After applying a coat of paint, patience is essential to let it dry thoroughly as per the manufacturer’s instructions.
This duration can vary depending on the paint type, environmental conditions, and surface material. Rushing the process by applying a subsequent layer too soon can disrupt the paint’s ability to adhere evenly, creating uneven patches or a mottled appearance.
Use a gentle fan or open windows to increase air circulation, promoting faster and more uniform drying.
Step 7. Inspect and Touch Up:
Once the paint has fully dried, carefully inspect the surface for imperfections or areas that still appear mottled. Use good lighting to identify spots where the paint may not have adequately adhered or where coverage is uneven.
If any issues are found, lightly sand the area with fine-grit sandpaper to even out the surface, then clean off the dust with a damp cloth before applying a touch-up coat. When touching up, use a small brush or roller to blend the edges seamlessly with the surrounding paint.
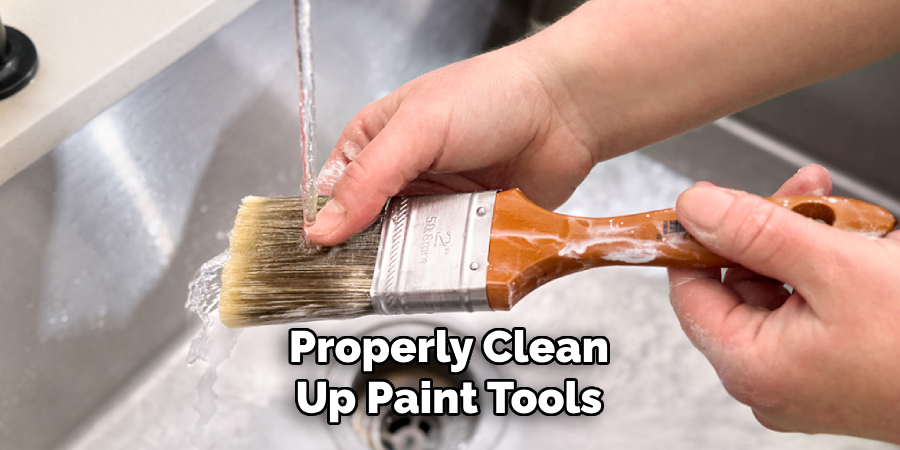
Step 8. Clean Up:
After completing your painting project, it’s essential to properly clean up both your tools and the workspace to maintain the quality of your equipment and ensure the area remains tidy.
Begin by washing brushes and rollers in warm, soapy water if you use water-based paints. For oil-based paints, use mineral spirits or a specialized cleaner. Rinse until all paint residue is removed, then store the tools in a dry place to keep them in good condition for future use.
Dispose of any unused paint, empty cans, and other waste materials according to local regulations to protect the environment. Finally, remove any painter’s tape used to protect trims and fixtures.
Step 9. Enjoy Your Work:
After all the hard work and attention to detail, take a moment to enjoy the fruits of your labor. Stand back and admire the refreshingly smooth and even surface, free from mottling and imperfections.
Whether you’ve painted a room, furniture, or a building exterior, the updated look can bring new life and vibrancy to any space. Remember that your efforts have not only enhanced the visual appeal but may also increase the longevity and durability of the painted surfaces.
Celebrate your accomplishment by sharing the transformation with friends and family or simply enjoying the renewed atmosphere in your daily life.
Step 10. Protect and Maintain the Painted Surface:
To ensure the longevity and durability of your newly painted surface, it’s essential to establish a routine maintenance schedule.
After the paint has fully cured, which usually takes a few weeks, consider applying a clear protective sealant if the surface is susceptible to wear and tear, such as in high-traffic areas or on external surfaces exposed to harsh weather conditions.
Regular cleaning with a soft cloth or sponge and mild detergent can help preserve the paint’s appearance. Avoid using abrasive materials that may damage the finish. Periodically inspect the surface for any signs of wear or damage, addressing these issues promptly to prevent further deterioration.
By following these steps and maintaining proper care, you can ensure that your painted surfaces remain free from mottling and retain their beauty for years.
Conclusion:
How to fix mottling paint is a meticulous process that demands attention to detail and adherence to best practices. The key to a flawless finish is thorough preparation, consistent environmental conditions, and a patient approach to application and drying.
By following a systematic method—from preparing the surface and applying the paint evenly to allowing adequate drying time and inspecting for touch-ups—you can overcome mottling challenges and attain a professional-looking result.
Regularly maintaining and protecting the finished surface will prolong its aesthetic appeal and durability. With commitment and technique, anyone can transform a mottled surface into a testament to their painting skill.