Are you feeling hot and stuffy in your home office or bedroom? A hand fan can be an excellent solution for cooling you down.
How to fix a hand fan can be a rewarding experience, preserving a beautiful accessory that provides relief in warm weather. Hand fans, often crafted with intricate designs and delicate materials, can suffer from wear and tear over time. Common issues include torn fabric, broken ribs, or weakened joints. Fortunately, with some basic tools and a bit of patience, many of these problems can be effectively addressed.

This guide will walk you through the steps needed to assess the damage and make the necessary repairs, ensuring your hand fan remains functional and aesthetically pleasing. Whether you have a traditional paper and bamboo fan or a more modern design, these techniques will help restore its original charm and usability.
What Will You Need?
Before you begin, gathering the necessary materials and tools for repairing your hand fan is essential. Here are some common items you may need:
- A Clean and Flat Work Surface: To avoid scratching the delicate fan, a table or desk covered with a soft cloth or paper towel should be used.
- Adhesive: Depending on the type of damage, you may need different types of glue, such as craft glue, super glue, or wood glue.
- Scissors: These will be handy if any fabric needs trimming or reshaping.
- Tweezers: Useful for delicate repairs that require precision.
- Needle and Thread: If your fan has ripped fabric or loose seams, a needle and thread can help reinforce and repair them.
- Replacement Parts: Sometimes, you may need to replace ribbons, tassels, or other decorative elements. Having these on hand before starting the repair process is a good idea.
Once you have all your materials and tools, it’s time to start fixing your hand fan.
9 Easy Steps on How to Fix a Hand Fan
Step 1. Assess the Damage
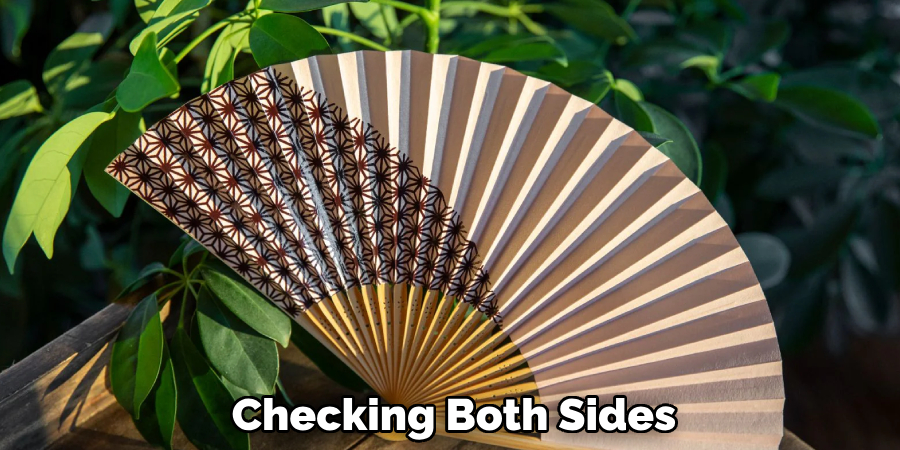
Before diving into the repair process, it’s crucial to assess the damage to your hand fan thoroughly. Start by gently opening and closing the fan to identify any issues. Look for tears or rips in the fabric, checking both sides for any subtle signs of damage. Examine the ribs and guards to see if any are cracked or bent out of shape. Take note of any loose rivets or joints that affect the fan’s movement, as this will be key to ensuring its functionality post-repair.
Also, inspect decorative elements like ribbons or tassels for wear or fraying. By understanding the extent and nature of the damage, you can plan your repair approach effectively, deciding whether more intensive restoration or simple fixes are needed. Taking the time to assess the damage lets you gather additional materials or replacement parts you might not have previously considered, ensuring that you are fully equipped to carry out a lasting repair.
Step 2. Clean the Fan
Once you have assessed the damage, the next step is to clean your hand fan gently. Use a soft, lint-free cloth slightly dampened with water to wipe away any dust or debris from the surfaces. Avoid using excess moisture, as this can damage sensitive materials like paper or silk. For stubborn stains or dirt, a mild soap solution can be applied using a cotton swab, taking care to avoid any decorative elements or areas with paint.
Allow the fan to dry completely by placing it on a flat surface in a cool, dry place before proceeding with repairs. A clean fan ensures better adhesion of glue and thread, setting a solid foundation for further restoration steps. Cleaning enhances the fan’s visual appearance and primes it for the repair process, improving the final outcome.
Step 3. Repair the Ribs
Examine the ribs closely with your fan clean and ready for cracks or breaks. Applying a small amount of wood glue can often bond the pieces effectively if a rib is cracked but not completely broken. Use a brush or a narrow applicator to apply glue precisely along the crack, then press the rib together until the adhesive sets, following the manufacturer’s instructions for drying time.
If a rib is broken, you may need to replace it with a new one or reinforce it with a small piece of thin bamboo or similar material. Carefully align the repair or replacement to match the curve and positioning of the other ribs. Be gentle and patient during this process, as the ribs play a crucial role in the structural integrity and functioning of the fan. Once repaired, leave the fan flat and allow any adhesives to dry thoroughly before moving on to the next step.
Step 4. Fix the Fabric
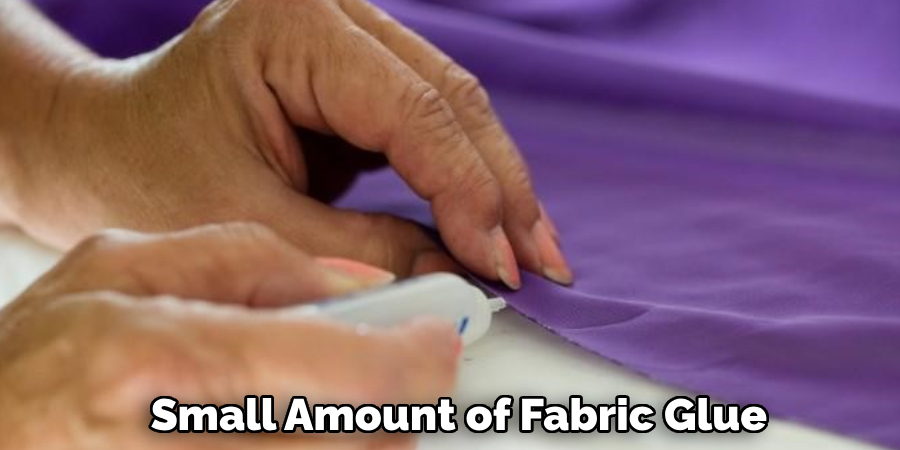
After addressing the rib issues, it’s time to turn your attention to the fabric of the hand fan. If you notice any tears or holes, trim away frayed edges with scissors to create a clean surface. For small tears, you can use a small amount of fabric glue or a needle and thread to carefully stitch the edges together, ensuring that the repair is as discreet as possible. When using glue, apply it sparingly and use a flat surface to press down gently, which will help prevent ridges or bumps.
If the damage is more extensive, consider patching the area with matching fabric. Cut the patch to size, then affix it using fabric glue or sewing, depending on the material of your fan. Allow any adhesives to dry completely before testing the fabric’s flexibility. Properly fixing the fabric will restore the overall look and functionality of the fan, allowing it to open and close smoothly without future fear of ripping.
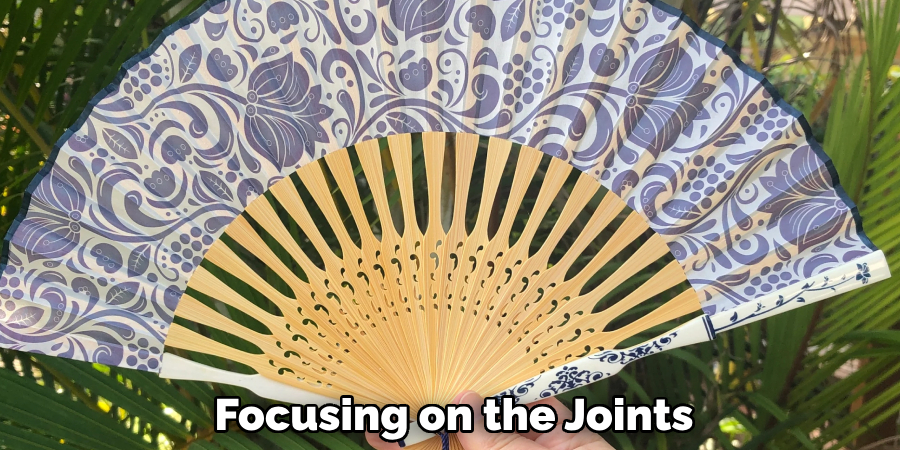
Step 5. Reinforce Loose Joints
Loose joints can significantly impact the performance of a hand fan, causing it to open or close improperly. To address this issue, locate any loose rivets or joints, particularly around the pivot point where the fan folds. Use a small screwdriver or similar tool to gently tighten any screws, being careful not to over-tighten as this can cause damage. If the rivets are loose, you may need to replace them or add a small drop of superglue to reinforce them. Ensure that any adhesive applied is given adequate time to dry before testing the fan’s movement.
Step 6. Repair or Replace Decorative Elements
After ensuring the structural integrity of your hand fan, turn your focus to any decorative elements that may need attention. Examine ribbons, tassels, or other embellishments for signs of wear or damage. If they are frayed or loose, detach them carefully and assess whether they can be restored or need replacement. For ribbons or tassels that are slightly damaged, try trimming stray threads or retying them securely.
To replace decorative elements, choose new ones that match the fan’s aesthetic and use fabric glue or tiny stitches to attach them, maintaining their alignment with the fan’s design. Restoring these elements enhances the fan’s beauty and retains its originality and charm, bringing it back to its former glory.
Step 7. Final Inspection and Testing
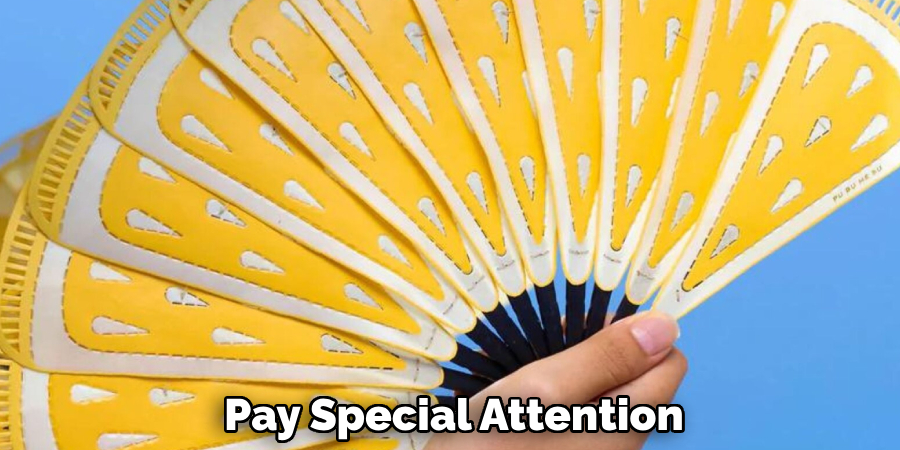
Once all repairs have been completed, conduct a thorough inspection of your hand fan to ensure everything is secure and in optimal condition. Open and close the fan several times, checking for any hindrances in movement or unexpected sounds. Pay special attention to areas where repairs were made to confirm their durability. If any issues are detected, address them promptly by adjusting the repairs or applying additional adhesive. Testing this way helps identify any lingering weak spots and allows for any final tweaks to ensure the fan functions seamlessly.
Step 8. Preservation and Storage
After successfully restoring your hand fan, it’s essential to focus on preservation and proper storage to prolong its life. Keep the fan in a dry, relaxed environment to prevent moisture and heat damage. When not in use, wrap it in acid-free tissue paper and store it in a sturdy box away from direct sunlight or damp areas. Ensure it is placed flat or supported well to avoid stress on the structure. Regular maintenance checks will also help detect early signs of wear, allowing for timely interventions and further repairs if necessary.
Step 9. Regular Maintenance Checks
To ensure the longevity of your hand fan, incorporate regular maintenance checks into your routine. Occasionally inspect the fan for any wear or damage, mainly focusing on the joints, ribs, and fabric. Dust the fan gently with a soft brush to remove any accumulated dirt or debris hindering its operation. If you notice any minor tears or loose elements, address them promptly before they worsen, using the techniques outlined in the previous steps.
Following these steps and incorporating regular maintenance into your routine can effectively repair and restore a hand fan to its former glory.
Conclusion
In conclusion, how to fix a hand fan requires attention to detail and patience, but the results are truly rewarding. ‘
Addressing any structural damage, reinforcing weak points, and carefully restoring decorative elements ensures the fan’s optimal performance and aesthetic appeal. Furthermore, implementing proper preservation methods and regular maintenance checks prolongs the fan’s life, safeguarding it from future damage.
This comprehensive approach not only restores the fan to its original beauty but also advances its cultural and historical significance, allowing the piece to be enjoyed and cherished for generations to come.