Are you having trouble with one of the burners on your glass-top stove? Don’t worry—this is a common issue and can be easily fixed.
When a burner on a glass-top stove stops working, it can be a source of frustration, disrupting your cooking routine. However, the solution is often more straightforward than you might think, and with some essential tools and careful handling, you can restore your stove to full functionality.
This guide will walk you through the step-by-step process of how to fix a burner on a glass top stove. Whether the problem is due to a faulty burner element, a malfunctioning switch, or an issue with the wiring, understanding the common causes and corresponding solutions can save you time and the expense of calling a professional.
What Will You Need?
Before you begin, make sure you have the following items on hand:
- A replacement burner element (if necessary)
- Screwdriver (flathead or Phillips, depending on your stove model)
- Multimeter (optional but recommended for troubleshooting)
- Soft cloth or sponge
- Mild soap and water solution
- Towel or drying rack
Once you have gathered all the necessary materials, let’s start fixing your burner.
10 Easy Steps on How to Fix a Burner on a Glass Top Stove
Step 1: Identify the Problem
Begin by determining why the burner is not functioning correctly. Start with a visual inspection to see any obvious signs of damage, such as a crack in the glass or visible wear on the burner element. The problem might be related to the power supply if everything appears intact. Ensure the stove is plugged in correctly and the relevant circuit breaker has not tripped. If no visible issues are found, it is time to test the burner element itself.
Use a multimeter to check for continuity within the burner element. The element likely needs replacing if the multimeter registers zero or infinite resistance. By carefully diagnosing the problem before proceeding with repairs, you can pinpoint the issue more efficiently and avoid replacing components unnecessarily.
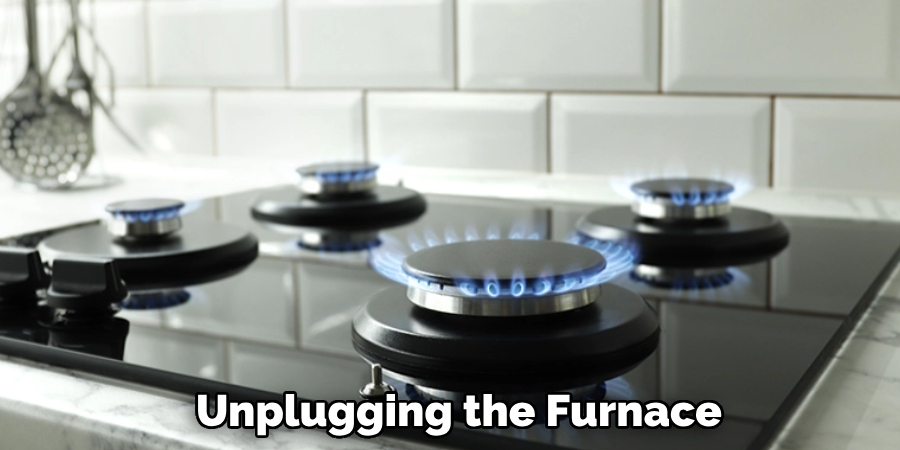
Step 2: Safety First
Before proceeding with any repairs, ensure your safety by disconnecting the stove’s power supply. This can be done by unplugging the furnace from the wall outlet or turning off the appropriate circuit breaker. This precaution helps prevent any electrical shocks or accidents during the repair process. A well-lit workspace is also essential, so use adequate lighting to inspect the stove safely and carefully. Once you’re confident that the power is disconnected, you can safely proceed with the following steps to fix the burner.
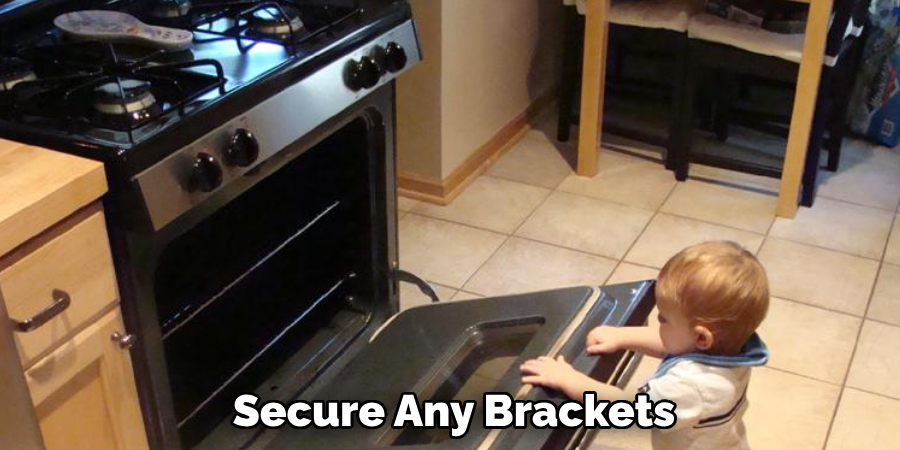
Step 3: Removing the Burner Element
You can now remove the faulty burner element with the power securely disconnected. First, ensure that the glass top is cool to the touch. Carefully lift the glass top to access the internal components of the stove. Depending on your stove model, you may need to unscrew and remove brackets or clips securing the glass top. Once the top is lifted, locate the burner element in question. Disconnect any attached wires, noting where they connect for reassembly later. Gently lift and remove the burned-out element from its housing. This step sets the stage for either testing and troubleshooting the element or replacing it with a new one if needed.
Step 4: Testing the Burner Element
With the burner element removed, it’s time to test it to confirm whether it is faulty. Use a multimeter set to the resistance or continuity setting. Connect the multimeter’s probes to the terminals of the burner element. A functioning burner should show a resistance reading that matches the specifications indicated in your stove’s manual; if it registers zero or infinite resistance, the element is likely defective and needs replacing. This testing step ensures accurate identification of the burner issue, allowing you to decide whether to reinstall the element or replace it.
Step 5: Obtain a Replacement Element
If testing reveals the burner element is faulty, you’ll need to purchase a replacement. Refer to your stove’s model number to find the correct part. Replacement elements can be acquired from the manufacturer, online retailers, or appliance repair stores. Ensure you have the proper specifications for your stove to avoid compatibility issues. The correct replacement part is crucial for the burner to function adequately post-repair, so take the time to confirm details before purchasing. With the replacement element ready, you can move on to the next step of reinstallation.
Step 6: Install the New Burner Element
With the replacement burner element in hand, you are ready to reinstall it. Carefully connect the wires to the appropriate terminals on the new element, referencing any notes or photos taken during the removal process. Ensure all connections are secure, as loose wiring can prevent the burner from operating correctly. Once the new element is wired, gently place it back into its housing. Position the glass top back into place and secure any brackets or clips you previously removed. Ensure everything is aligned correctly and the glass sits flush with the stove surface. After confirming these details, you can turn the power back on to test functionality.
Step 7: Test the Repaired Burner
Once the new burner element is installed and the glass top is secured, it is time to test the functionality of the burner. Restore power to the stove by plugging it back in or switching the circuit breaker back on. Turn the control knob for the repaired burner to a low setting initially, observing whether it heats up as expected. Gradually increase the heat setting to ensure full functionality. Monitor the burner for any unusual behavior, such as flickering or inconsistent heating, as these could indicate improper installation or an issue with another component. If the burner operates smoothly across all settings, congratulations—your repair was successful!
Step 8: Reassemble and Clean Up
After successfully testing the repaired burner, it’s time to reassemble any remaining parts and clean up your workspace. If you removed any additional panels or components to access the burner, ensure they are reattached securely. Double-check that all screws, brackets, or clips are correctly tightened. Next, gently clean the glass top and surrounding areas to remove any dust or residue that may have accumulated during the repair process. Use a mild soap and water solution with a soft cloth to wipe down the surface, followed by a dry towel to eliminate moisture. Finally, dispose of any old or faulty elements and packaging materials responsibly.
Step 9: Final Safety Check
After the repair and the stove is reassembled, perform a final safety check to confirm everything is working. Inspect all wiring connections to ensure they are secure and no exposed wires or damaged components. Verify that the glass top is appropriately aligned and safe, with no loose parts. If everything looks satisfactory, perform one last test of the broker just to confirm consistent and uniform heating across different settings.
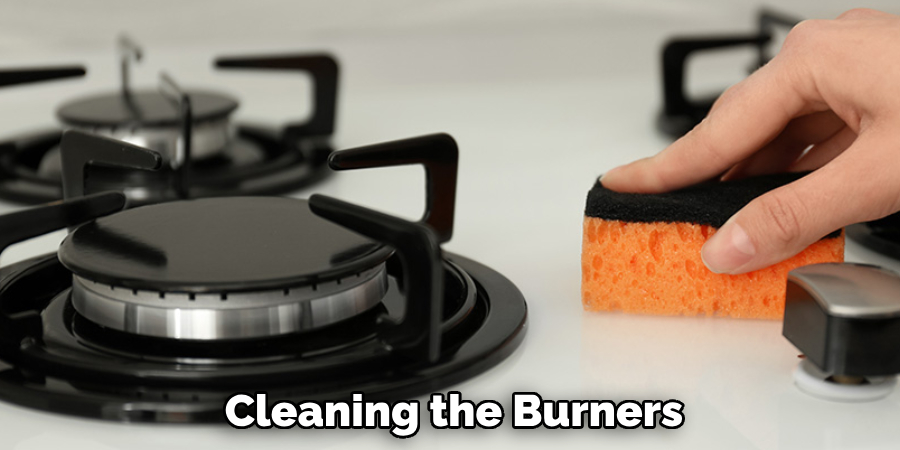
Step 10: Documentation and Maintenance Tips
Once you’ve confirmed that the stove is functioning correctly, it’s beneficial to document the repair process for future reference. Record the part number of the replacement burner element and any troubleshooting steps taken during the repair. Additionally, consider creating a maintenance schedule to keep your stove in optimal condition. Regularly cleaning the burners, checking for loose wiring, and ensuring proper alignment can extend the appliance’s lifespan and prevent future issues. By keeping detailed records and maintaining a proactive approach, you can ensure the smooth and efficient operation of your stove.
With these steps and tips, you can successfully repair a faulty burner element on your stove. Always prioritize safety by disconnecting power before beginning any repairs and seeking professional assistance if needed.
5 Things You Should Avoid
1. Using Abrasive Cleaners
Avoid using harsh or abrasive cleaning agents that can scratch the smooth surface of a glass-top stove. Instead, opt for gentle, non-abrasive cleaners designed for glass and ceramic surfaces.
2. Applying Excess Pressure
Refrain from using excessive force or heavy tools when adjusting or fixing the burner. Too much pressure can crack the glass or damage the delicate components underneath.
3. Ignoring Manufacturer Instructions
Disregarding the stove’s manual can lead to improper repairs or warranty voiding. Always consult the manufacturer’s guidelines before attempting any fixes.
4. Reinstalling a Broken Burner
If you suspect it is damaged or broken, avoid reinstalling it to fix the issue. This could cause further damage to the stove or create a dangerous situation.
5. Neglecting Safety Precautions
Always ensure the stove is completely off and unplugged before attempting repairs. Working on a live appliance can pose electrical hazards and increase the risk of injury.

Conclusion
In conclusion, fixing a burner on a glass-top stove requires careful attention to detail and adherence to safety protocols. It is crucial to begin by diagnosing the issue correctly, ensuring that any problem with the burner itself, the wiring, or the control knob is identified.
Always use the correct tools and techniques as the manufacturer recommends, and consult a professional if the task seems overwhelming. By following these guidelines, you can effectively address and resolve burner issues while maintaining the integrity of your stove and safeguarding yourself from potential hazards.
Hopefully, this guide on how to fix a burner on a glass top stove has provided you with the necessary steps and safety precautions to successfully repair a burner on your glass top stove. Happy fixing!