Are you tired of sitting in a chair that constantly creaks, sags, or feels uncomfortable? Broken or worn-out springs can often cause these issues.

When a favorite chair starts sagging or losing its support, it might be time to address the springs. Over time and with frequent use, chair springs can stretch or break, causing discomfort and reducing the chair’s efficiency.
Fortunately, with a few essential tools and some patience, even those new to DIY projects can fix chair springs. This guide will walk you through how to fix springs in a chair, from identifying the type and extent of the damage to carefully repairing or replacing the springs to restore your chair to its original comfort and functionality.
Whether it’s a treasured antique or a modern piece, restoring the springs in your chair can extend its life and enhance your home decor.
What Will You Need?
To fix the springs in a chair, you will need the following tools and materials:
- Pliers
- Screwdriver
- Hammer
- Upholstery or heavy-duty scissors
- Replacement springs (if necessary)
- Zip ties or twine (if necessary)
- Fabric or upholstery material to cover the repaired area (optional)
It’s important to have all of these items ready before starting your repair project. This will help ensure a smooth process and minimize any potential interruptions.
10 Easy Steps on How to Fix Springs in a Chair
Step 1: Remove the Fabric Covering
Start by turning the chair over to access the underside. Carefully use the pliers to remove any staples or tacks holding the fabric covering in place. If the fabric is still in good condition and you plan to reuse it, take extra care to avoid tearing.
Once you’ve removed the fabric, set it aside for reattachment after the springs are fixed. This step will expose the chair’s frame and springs, allowing you to examine the extent of the damage.
Step 2: Inspect the Springs
Once you have removed the fabric covering, look closer at the springs. Identify any springs that are stretched, broken, or have come loose from their attachment points. Pay attention to the type of springs used, as this will determine how you proceed with repairs or replacements.
A thorough inspection at this stage is crucial, as it helps to understand the necessary steps to restore the chair’s original support and comfort. Document any damages you find so that you can address each issue in the subsequent steps.
Step 3: Remove Damaged Springs
Once you have identified the damaged springs, carefully remove them using the appropriate tools. Begin using the pliers to unhook the springs from their anchors or frames. Be gentle during this process to prevent any damage to the surrounding areas.
If the springs are particularly resistant, you should use a screwdriver or a hammer to loosen them, taking care not to cause unnecessary harm to the structure. Note how the springs were attached, as this will guide you during reinstallation.

Handling the removal with precision is crucial to ensure that the frames remain intact, facilitating easier replacement or reattachment of new springs.
Step 4: Acquire Replacement Springs
Now that you have removed the damaged springs, it’s time to acquire the appropriate replacements. Measure the old springs to find suitable replacements that match in size, tension, and type.
If you cannot find an exact match, consult with a local furniture repair shop or an online retailer specializing in furniture hardware to acquire the closest alternative. Acquiring the correct replacement springs is essential to restoring the chair’s proper support and ensuring longevity.
Step 5: Attach the Replacement Springs
With the new springs, begin by positioning each spring where the damaged ones were previously attached. Use the notes you made during the removal process as a guide to ensure accurate placement. Start securing the springs by attaching one end to the designated anchor point on the chair frame using the pliers.
If your springs come with clips or additional securing mechanisms, make sure these are firmly fastened. Double-check each spring to confirm they are tightly secured and make any necessary adjustments to ensure they’re installed as intended.
Proper attachment is crucial as it directly impacts the chair’s stability and firmness, restoring its original comfort and functionality.
Step 6: Test the Springs for Tension
With the replacement springs securely in place, it’s essential to test their tension and alignment. Gently press down on the seat to ensure the springs provide adequate support without excessive give or resistance.
Check that each spring compresses and retracts smoothly and evenly, indicating proper installation. If any spring feels too tight or loose, adjust its position or tension until it functions optimally. This step ensures that the chair will provide balanced support, contributing to its comfort and functionality once fully reassembled.
Step 7: Reattach the Fabric Covering
Once you’re satisfied with the tension and alignment of the springs, it’s time to reattach the fabric covering. Carefully position the fabric over the chair’s frame, ensuring it aligns with its original placement.
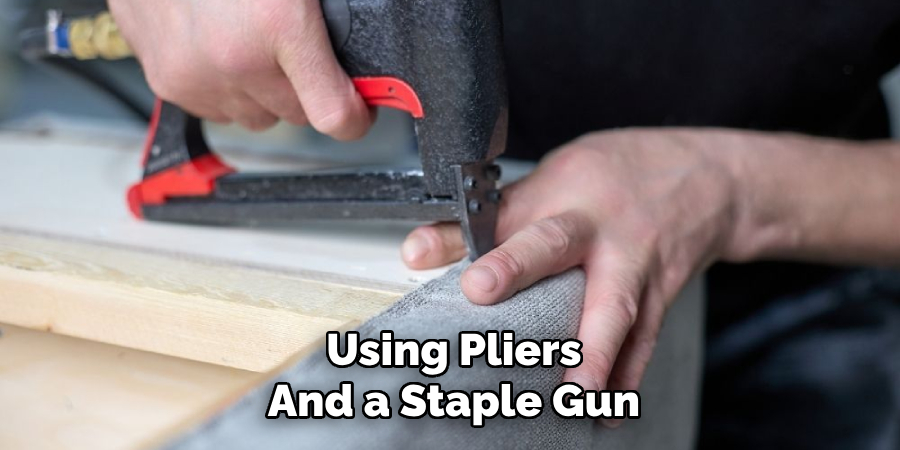
Using pliers and a staple gun, secure the fabric back onto the frame, starting from one side and working around to the other edges. Pull the fabric taut to prevent sagging and maintain a neat appearance.

If you’ve opted to replace the fabric with new material, ensure it is cut to size and properly aligned before securing. This finishing touch restores the chair’s aesthetic while safeguarding the newly repaired springs, allowing you to enjoy a renewed and comfortable seating experience.
Step 8: Conduct a Final Inspection
After reattaching the fabric covering, conduct a thorough final inspection of the chair to ensure all components are securely in place. Sit in the chair to test its comfort and stability, paying attention to any unusual noises or movements that might indicate incomplete repairs.
Check that the springs function correctly and that the fabric is evenly attached without any slack or wrinkles. This final check ensures your repair work has succeeded in restoring the chair’s integrity and comfort, allowing you to be confident in the results of your efforts.
Step 9: Clean and Polish the Chair
With the chair fully reassembled and inspected, take the opportunity to clean and polish any exposed parts. Use a suitable cleaner depending on the chair’s material: wood polish or wax can enhance the finish for wooden parts, while a mild soap solution is ideal for metal frames.
Gently wipe down the surface to remove dust or fingerprints, reaching into any intricate areas. Buff the surface to a shine to improve its appearance and protect it from future wear. This final step refreshes the chair’s overall look, complementing its newfound strength and functionality.
Step 10: Enjoy Your Restored Chair

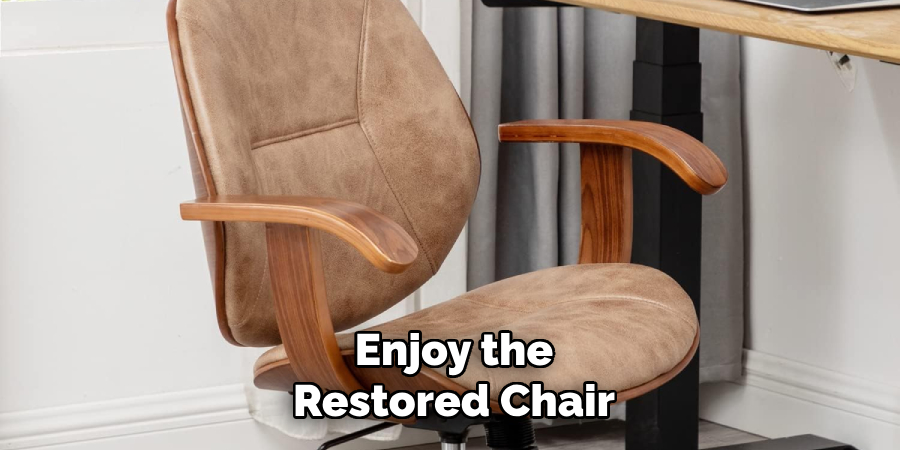
With the repair process complete, your chair is now ready for use. Enjoy sitting in your restored chair, appreciating the comfort and support the newly installed springs provide.
Take a moment to admire the work you’ve accomplished, knowing that you have extended the life of your furniture with your efforts. Should you encounter any issues or require adjustments in the future, refer back to the earlier steps in the guide for a simple resolution
Feel free to share this process with others who may benefit from it, allowing them to breathe new life into their own furniture pieces. By following these steps, you can successfully repair and restore a chair with damaged springs.
5 Things You Should Avoid
- Ignoring Safety Precautions: Always ensure you have the necessary protective gear before attempting any repairs. Neglecting safety could result in injuries.
- Using Inappropriate Tools: Avoid using tools not explicitly designed for repairing chair springs. Using incorrect tools can cause more damage and complicate the repair process.
- Skipping the Inspection: Only repair after thoroughly inspecting the chair springs. Identifying the extent of the damage is crucial for choosing the correct repair method.
- Applying Excessive Force: When working with springs, it is essential to handle them gently. Applying too much force can lead to breakage or deformation of the springs.
- Neglecting Professional Help: If you need clarification on the repair process, it’s best to consult a professional. Fixing the springs with adequate knowledge or experience can improve the situation.
By avoiding these common mistakes, you can ensure a successful and safe repair of your chair springs.

Conclusion
To successfully fix springs in a chair, it’s essential to approach the repair process with patience and care. Begin by gathering the appropriate tools and materials, ensuring you have everything you need for a smooth and efficient repair. Thoroughly inspect the chair springs to assess the damage and determine the most suitable repair method.
Follow the step-by-step procedure, gently handling the springs to prevent further damage. If the process becomes unclear or challenging at any point, do not hesitate to seek the expertise of a professional.
Hopefully, the article on how to fix springs in a chair has provided you with valuable insights and guidance. So, remember to avoid common mistakes and follow the necessary precautions for a safe and successful repair. Happy repairing!
