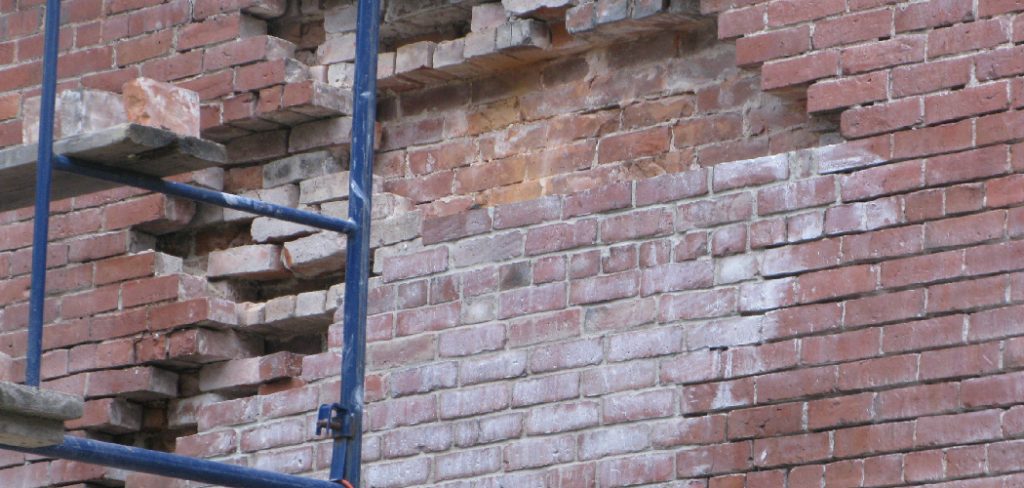
Have you ever looked at your brick veneer wall and thought “Man, that thing needs some work”? You’re not alone – brick facades look glorious when first installed but can start to show their age after a few years of exposure to the elements. Crumbling mortar, cracked or missing bricks, and staining – all are common complaints homeowners have with brick walls over time. But never fear! With some mortar, bricks, and know-how, you can restore your brick veneer to like-new condition.
In this post, I’ll walk you through the process step-by-step including how to fix brick veneer wall. By the end, your wall will be good as gold and you’ll feel a great sense of pride and accomplishment. Let’s get started!
Tools and Materials You Will Need to Fix Brick Veneer Wall
- Hammer
- Cold chisels
- Brush
- Tuck pointer or joint raker
- Mortar mix (preferably premixed)
- Water
- Gloves and safety glasses
Step-by-step Guidelines on How to Fix Brick Veneer Wall
Step 1: Inspect the Wall
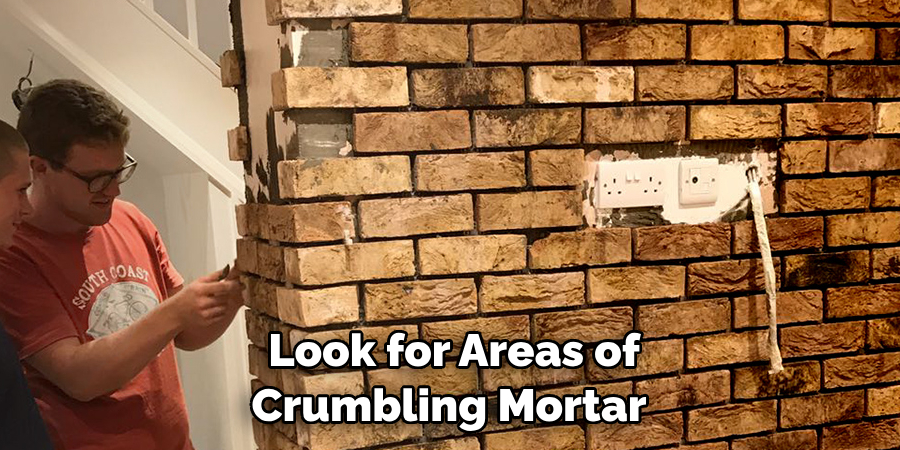
The first step in any project is to assess the situation. Look for areas of crumbling mortar, cracked or missing bricks, and staining on your brick veneer wall. Take note of which areas need attention so you can address them later. This will also help you determine how much materials you’ll need. If you’re unsure about the severity of any damage, consult a professional before proceeding.
Step 2: Remove Loose Mortar
Using your hammer and cold chisels, carefully remove any loose or damaged mortar from between the bricks. Take care not to damage the surrounding bricks or you’ll end up with more work on your hands. Once you’ve removed all the loose mortar, brush away any remaining debris. Removing the old mortar will give your new mortar a clean surface to adhere to.
Step 3: Soak Bricks and Mix Mortar
Before applying any new mortar, you’ll need to soak the bricks in water. This will prevent them from absorbing moisture from the fresh mortar and causing it to crack. While the bricks are soaking, mix your mortar according to package instructions. It’s best to use premixed mortar for consistency and convenience. This can be purchased at most home improvement stores.
Step 4: Apply Mortar
Using your tuck pointer or joint raker, apply a generous amount of mortar between the bricks. Be sure to fill all gaps completely and evenly. You can also use your finger to smooth out the mortar if needed. Take care not to get any mortar on the face of the bricks. While it’s still wet, you can use your brush to lightly texture the surface of the mortar to match the surrounding bricks.
Step 5: Replace Damaged Bricks
If any bricks are cracked or missing, now is the time to replace them. Carefully remove the damaged brick using your hammer and chisel. Then, wet the replacement brick and apply mortar on all four sides. Press the brick into place, making sure it’s level with the surrounding bricks. Use your brush to clean up any excess mortar.
Step 6: Let It Dry
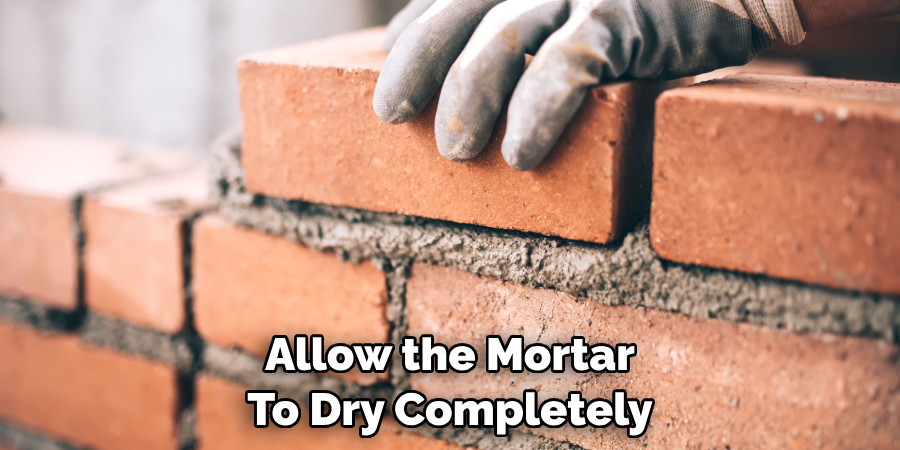
Allow the mortar to dry completely before moving on to any finishing touches. Refer to package instructions for drying time, but typically it will take about 24 hours. Do not touch or apply weight to the wall during this time. Make sure to protect your work from any rain or moisture. If the weather is not cooperating, consider using a tarp or plastic sheeting to cover the wall.
Step 7: Finishing Touches
Once the mortar has dried, you can use your brush to lightly dust off any excess debris. If needed, you can also apply a sealer to help protect against future moisture damage and staining. This step is optional but recommended for longer-lasting results. Make sure to follow the instructions on your chosen sealer for best results.
And that’s it! With these simple steps, you can easily fix your brick veneer wall and restore it to its former glory. Remember to take your time and be careful during each step, and you’ll have a beautiful brick facade that will last for years to come. Happy fixing!
Additional Tips and Tricks to Fix Brick Veneer Wall
1. If you are planning to fix a brick veneer wall, make sure to have all the necessary tools and materials before starting. This includes safety gear like gloves and goggles, as well as a hammer, chisel, level, trowel, mortar mix, and bricks or stone veneers.
2. Before installing the brick veneer, it is important to clean and prepare the underlying wall surface. This includes removing any debris or loose materials, as well as repairing any cracks or holes.
3. When applying mortar to the wall surface, make sure to use a trowel and spread it evenly in a thin layer. This will help ensure that the veneer bricks adhere properly and prevent air pockets from forming.
4. It is important to periodically check the level as you install each row of bricks. This will help ensure that they are straight and level, giving your wall a professional and polished look.
5. To add stability to the brick veneer wall, it is recommended to use metal flashing along the top edge of the wall. This will help prevent water from seeping behind the veneer and causing damage.
6. If you notice any gaps between the veneer bricks, use a mortar mix to fill them in and smooth them out with a trowel. This will help improve the overall appearance of your wall.
7. Once the brick veneer is fully installed, allow the mortar to dry completely before applying a sealant or water repellent. This will help protect your wall from moisture and extend its lifespan.
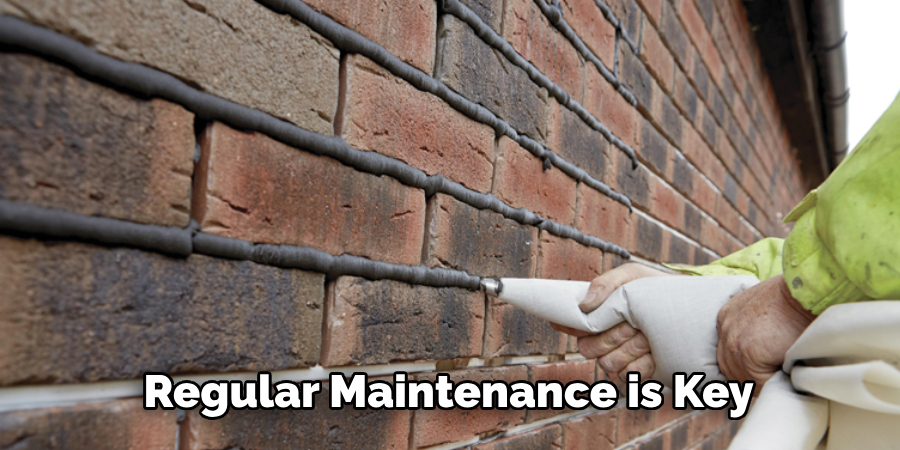
8. Regular maintenance is key to keeping your brick veneer wall in good condition. Make sure to inspect it periodically for any cracks or damage and repair them promptly to prevent further issues.
9. If you are unsure about how to fix a specific issue with your brick veneer wall, it is best to consult a professional for advice and assistance.
Following these additional tips and tricks can help you successfully fix a brick veneer wall and ensure that it looks great for years to come. Remember to always prioritize safety and proper installation techniques to achieve the best results. Happy renovating!
Precautions Need to Be Followed for Fixing Brick Veneer Wall
1. First and foremost, make sure to wear protective gear such as safety goggles, gloves, and a dust mask before starting any repair work on the wall. This will protect you from any potential hazards such as flying debris or harmful chemicals.
2. Before beginning the repair process, carefully inspect the entire brick veneer wall for any signs of damage or structural issues. Look for cracks, loose bricks, or any other damage that may need to be addressed before proceeding with the repair.
3. If you notice any structural issues, it is best to consult a professional before attempting any repairs on your own. They will be able to assess the situation and provide guidance on how to proceed safely and effectively.
4. It is important to thoroughly clean the damaged area of the brick veneer wall before starting any repairs. This will ensure proper adhesion of the repair materials and prevent any potential future damage.
5. When selecting materials for repairing the brick veneer wall, make sure to choose ones that are specifically designed for this purpose. Using improper or low-quality materials can lead to ineffective repairs and potentially cause further damage in the long run.
6. Before applying any repair materials, it is important to moisten the damaged area with water. This will prevent the surrounding bricks from absorbing too much moisture from the repair material and causing them to crack or become loose.
7. When repairing cracks or missing mortar, make sure to properly fill in all gaps and voids with the chosen repair material. Use a trowel or putty knife to smooth out the surface and ensure a proper seal.
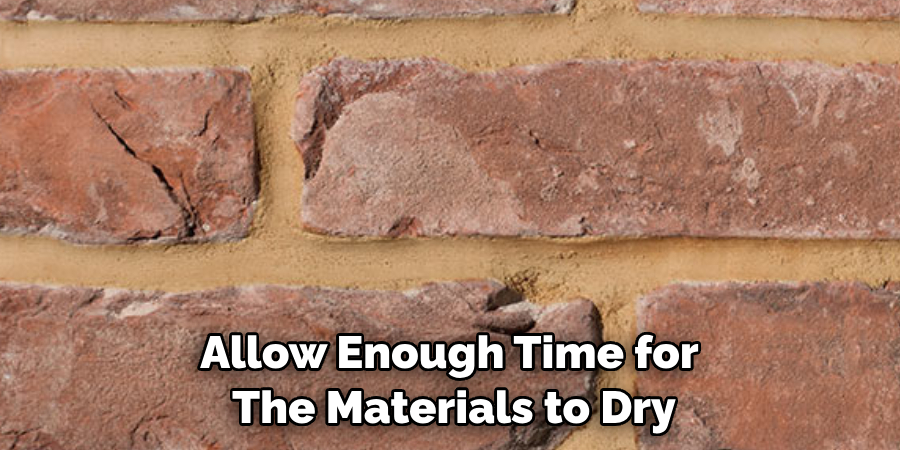
8. After completing the repair, make sure to allow enough time for the materials to dry and cure completely before attempting to paint or apply any other type of finish on the wall.
Following these precautions will help ensure that your brick veneer wall is fixed properly and will last for years to come. By taking the time to carefully inspect, clean, and use appropriate materials, you can effectively repair any damage and maintain the structural integrity of your wall. Remember to always prioritize safety and consult a professional if you are unsure or uncomfortable with any aspect of the repair process. With proper precautions and techniques, you can successfully fix a brick veneer wall and keep it looking great for years to come. So, don’t hesitate to tackle this DIY project with confidence! Happy repairing!
Conclusion
Now you know how to fix brick veneer wall. With the simple steps outlined above, you can easily repair any cracks or damage to your brick veneer wall without needing to hire a professional. By following these methods, you can also ensure that your wall remains structurally sound and maintains its aesthetic appeal for years to come.
